

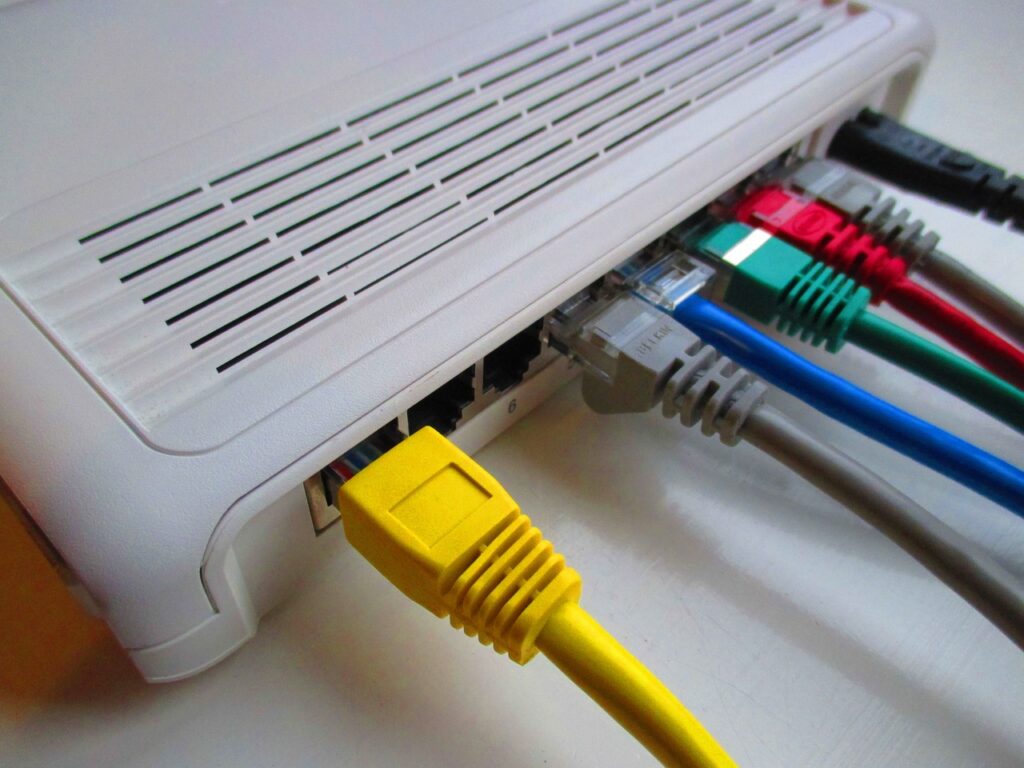
An Ethernet cable or a network cable is a cord that runs from a router throughout your home, providing all your devices with a local area network. The Ethernet cable provides your devices with an uninterrupted internet connection, much more stable and faster than a more common Wi-Fi connection. These network cables are usually limited by their length and durability, meaning that if the network cable is too long, it will not provide your devices with a stable enough connection.
Since most people don’t get a chance to view how the internet connection gets conducted through a home, this simple procedure seems complicated and impossible to do on your own. Once you learn the basic rules for running the Ethernet cables through your walls and to your devices, you can manage this home project effortlessly.

Before You Start
Before beginning with the Ethernet cable installation, there are a few essential things you need to consider and some tools to acquire. You will first need to research which Ethernet cable is suitable for your particular internet connection. After finding the right option, you must obtain all the materials and tools necessary to run the installations through your home.
Types of Ethernet Cables
Since there are many types of Ethernet cables available on the market, the best way to figure out which cable you need for your specific purposes is to test the speed of your home connection. Depending on your internet speed, you should choose the category of Ethernet cable accordingly. In this case, it is essential not to overdo it or to get an outdated version. There are only several types of network cables you will find in residential uses:
- Cat-5e: This category is an improvement of the outdated Cat-5 cable; they come with better resistance to cross-talk and can support up to 1Gbps of speed at bandwidths of 100MHz. This is also the most common category found in the consumer market.
- Cat-6: Category 6 is a considerable improvement from Category 5e. It comes with a 1Gbps speed for longer distances and can support up to 10Gbps at shorter distances at up to 250MHz bandwidth.
- Cat-6a: Category 6a is a more advanced version of the Cat-6 cable, supporting double the bandwidth and up to 10Gbps.
- Cat-7: Category 7 can reach up to 100Gbps and a bandwidth of 600MHz, making it one of the most capable categories of network cables but also one of the rarest cables used.
- Cat 8: The Cat-8 cable is significantly better than the previous cables, considerably improving speed and bandwidth. It is also far more expensive than the aforementioned categories.
Tools Needed
It is best to gather all the tools necessary before beginning your home renovation project for the process to go smoothly. The tools you will need to acquire for wiring and connecting the Ethernet cables are:
- Ethernet wall socket
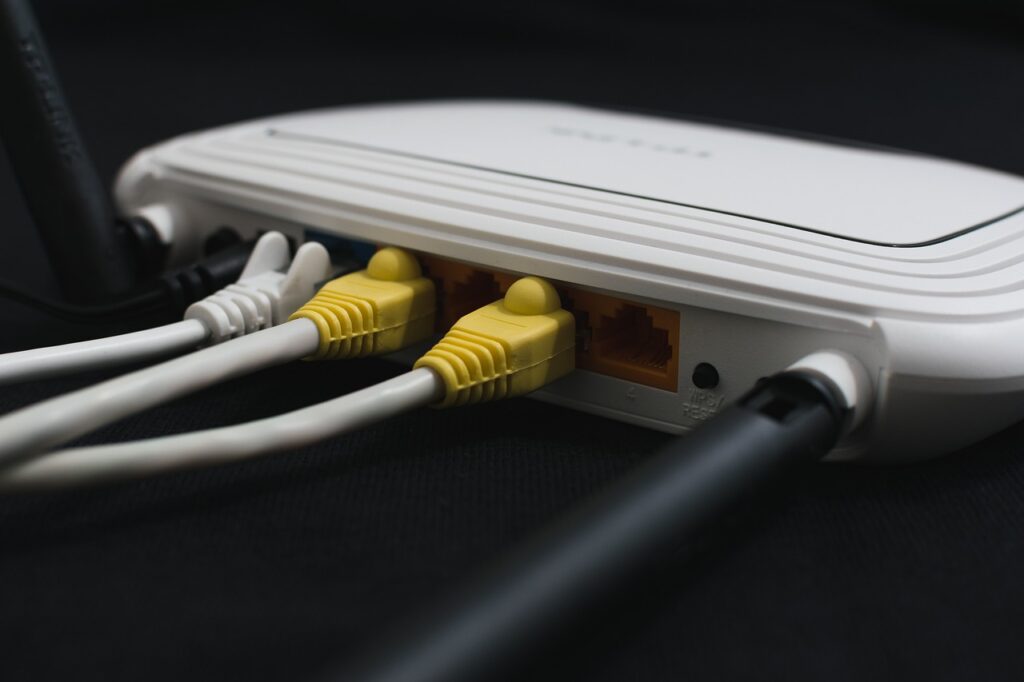
- Ethernet switch
- Router
- Correct length cable
- Measuring tape
- Cordless drill
- Label maker
- Stud finder
- Hammer
- Screws
- Nails
- Ports

Step-by-Step Guide to Install Ethernet Cable Through Walls
1. Prepare a wiring plan
It is advisable to create a wiring plan beforehand. Your job will be much easier if you find the blueprints of your home with the accurate room dimensions available. This will also help you find the correct length for the cables and map out rooms that need an Ethernet source.
2. Create a Distribution Point
The next step would be to set up a distribution point, which is a place where the main router will be and a place where all the cables run from. The first thing to do is turn off the power. With a stud finder, locate two studs and drill the first hole between them. If you don’t see any obstacles behind the wall, you can continue to cut through the drywall to create a panel. Add a wiring panel to sort out all your cables and keep them neat.
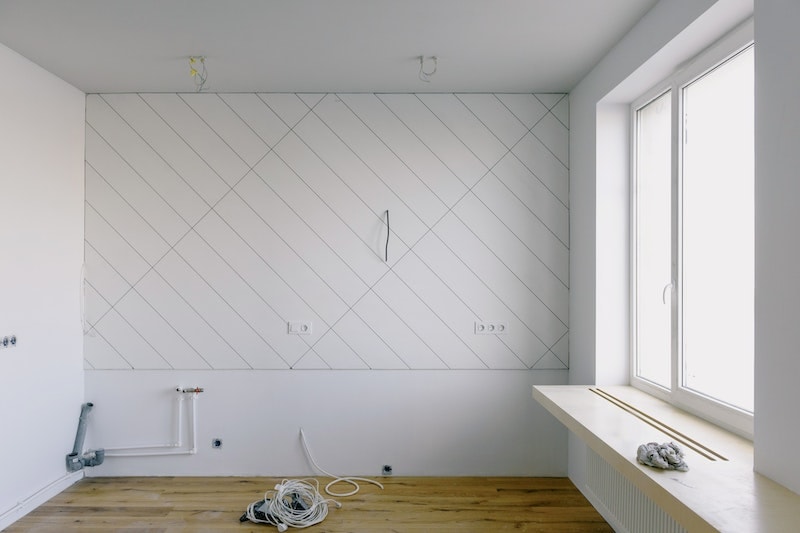
3. Drill the holes
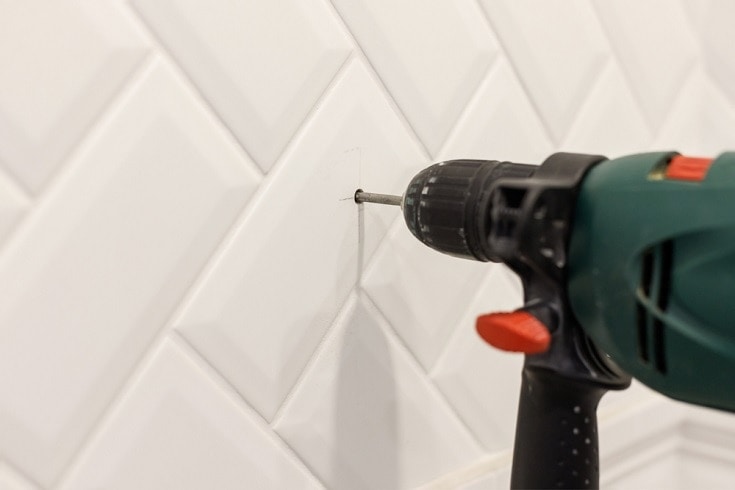
The next step is cutting all the holes necessary to conduct the Ethernet cables throughout the house. Begin at the distribution point. Depending on the home’s architectural design, you may need to drill holes in the walls, ceiling, or floor. The holes must be close to the devices, such as TV, gaming console, or PC. After you drill all the necessary holes, run the cables through the walls. For maintaining an organized project, label all your cables by their location.
4. Terminate the cables
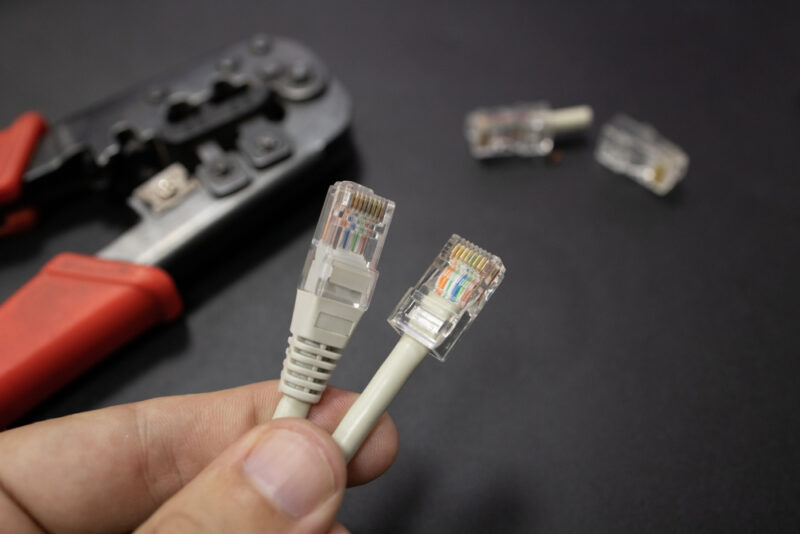
Secure the cables. Once you correctly conduct all the cables through your home, you can crimp them. With a punch-down tool, wire all the lines to the Ethernet wall sockets.
5. Additional Tips
While this project can be done in just a matter of hours and is not as challenging as it may seem, there are some tips you should follow to get the best results.
- Avoid installing cables over unsafe areas such as water pipes or over-conduit areas.
- Mark the wires or use different colored labels.
- Never bend the cables to prevent interference.
- Avoid tying the cables closely together as it can lower their performance.
Final Thoughts
While installing Ethernet cables through your walls may seem challenging, it can be pretty simple once you learn the basics. Create a blueprint of where you want the cables to go before you start, as this will make the process much easier.
Featured Image Credit: TooMuchCoffeeMan, Pixabay
Contents
