How to Sharpen Lathe Tools: 5 Tips & Tricks
-
Pete Ortiz
- Last updated:
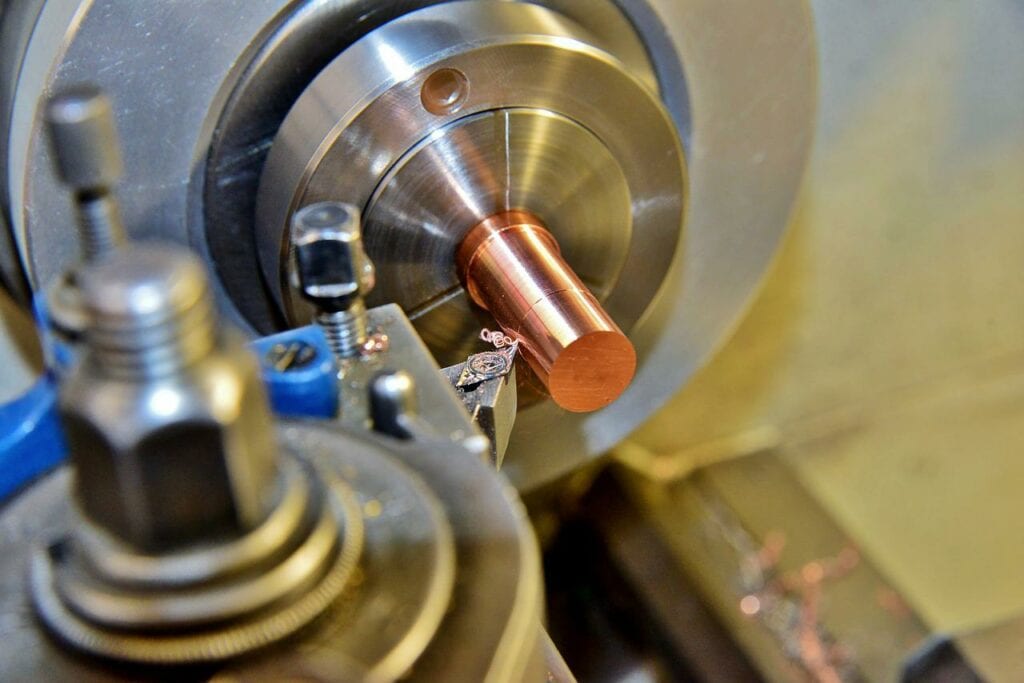
A lathe is a machine that rapidly rotates a workpiece while a cutting tool is slowly directed to the workpiece to remove materials as the piece spins against it. They are highly versatile tools with applications in both professional and amateur workshops.
Lathe and accompanying tools are arguably some of the most important tools in a workshop. Whether for hobbyist or professional use, these tools give users the ability to shape different materials in metal, glass, and woodwork. Unfortunately, continued usage of lathe tools will make them lose their sharpness and become blunt. This not only affects the quality of your work but could also lead to injuries.
 How Lathe Tools Get Dull
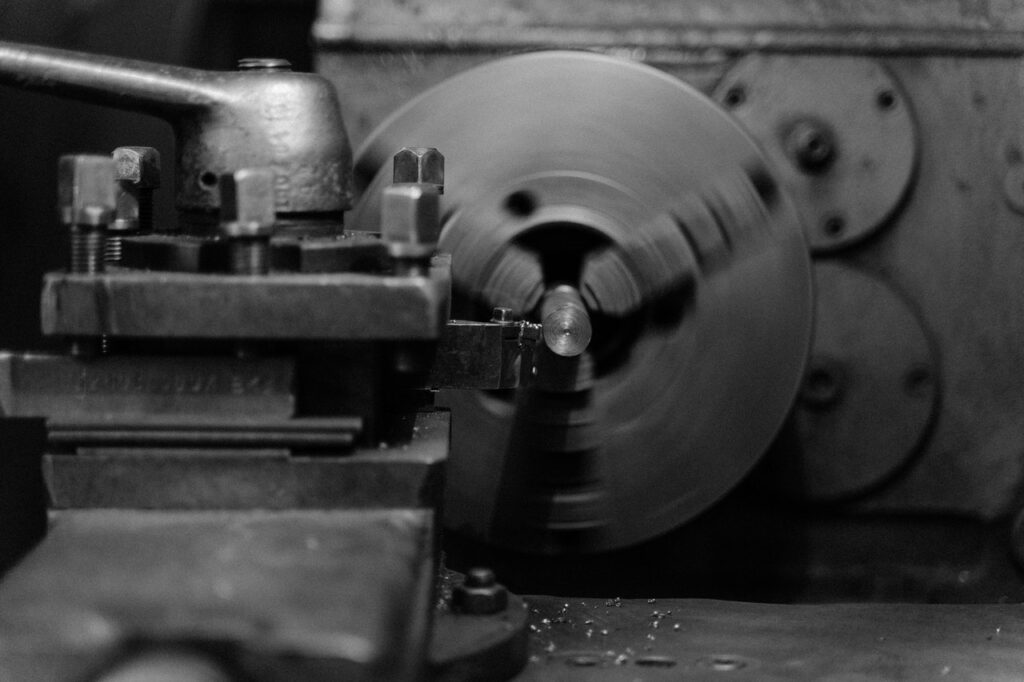
Nothing dulls lathe tools faster than a piece of wood or metal spinning at 3,000 reps per minute. The friction generated dulls the edges, thus limiting their ability to carry out their mandate. Therefore, you need to perform maintenance services to improve durability. This includes employing different sharpening techniques with the right tools to ensure that your tools are in optimum condition.
To help you maintain your lathe tools, we have researched and compiled a step-by-step guide on how to sharpen lathe tools. This includes the sharpening schedule and the sharpness tests to ensure that you get the best experience from your lathe tools.
How to Sharpen Lathe Tools With a Bench Grinder
There are various methods you can employ to sharpen your lathe tools. You could use a sharpening stone, a belt sander, or a grinder. However, the most common and effective sharpening equipment for lathe tools is a slow-speed bench grinder. Experts recommend the grinding method because it is simpler and much faster than the other available methods.
The following guideline will help you sharpen your lathe tools using a slow-speed bench grinder safely and effectively. We will strategically walk you through each step to ensure that your tools are in great shape and ready for your next lathing project.
The 5 Tips for Sharpening Lathe Tools With a Bench Grinder
1. Basic Preparations
Before attempting any grinding procedures, you must first prepare your workspace for sharpening. This involves getting the proper protective gear to prevent the hazards commonly associated with using lathe tools. These include face and hand protection measures.
You should plan on wearing proper eye and breathing protection such as goggles and a mask to prevent flying fragments that are dispersed in the air while sharpening lathe tools. You should also consider getting gloves as well. Proper machine handling and safety protocols combined with this protective gear should keep you adequately safe while sharpening lathe tools.
In addition, you also need to ensure that the bench grinder is stable and firmly secured into position before you begin sharpening. Since grinders often rotate at an incredibly fast speed, you don’t want to risk the wheel coming off. It could easily impale your hands. The best way to achieve this is to attach the grinder to a bench or work area using clamps. Then, put your tool support in place so it is ready for action.
2. Dress the Grinding Wheel
The grinding wheel is the tool used in sharpening lathe tools. So, preparing the grinding wheel is a vital step that should not be skipped. To prepare the wheel, you need to dress it. Dressing the wheel simply refers to the process of removing any debris from the surface.
Dirt and debris on the wheel could lead to challenges and imperfections while sharpening your lathe tools. Experts recommend using a diamond sharpening tool to rub along the edges of the wheel. Repeatedly rub the grinding wheel’s outer edges until all the debris is gone. This also helps sharpen the diamond sharpening tool as well. It is recommended that you use an 80-grit wheel on your grinder.
3. Get Proper Grinding Angles
Before attempting any sharpening procedures, first understand your lathe tools and the appropriate sharpening angles for the tools. These tools have different bevel angles at which they cut. Many cutting edges usually range between 7–30 degrees.
The bevel angles should never exceed 90 degrees, even for the sharpest of lathe tools. It would cause scrapping of the workpiece. Lathing experts recommend that you do not tamper with the bevel angles. It is much safer to maintain the original edge of your lathe tools.
4. Ensure Proper Contact
Another important step is ensuring that there is proper contact between the lathe tool and the grinding wheel. To do this, place the tool on its dedicated rest, then gently advance it until it contacts the grinding wheel.
Remember that your blade should make as little contact with the grinding wheel as possible during this process. If the angle is not set correctly or if you press hard against your tool, you may experience sharpening issues such as excessive vibration, loss of control, and bouncing, which will weaken your grip over it.
5. Begin Sharpening
Now that you have finished setting up your equipment, you are ready to begin sharpening. Consider using a slow grinding speed for this process. Gently push the lathe tool towards the moving grinding wheel while limiting contact for about 10 seconds. You may notice some sparks when contact is made between the wheel and your tool, but this should not alarm you. In fact, sparks are the first indicator that the angle is set just right.
As you continue sharpening the lathe tool, try moving it from side to side to get the entire edge. Keep checking the pattern in which the sparks fly as they are an indication that you are still sharpening at a proper angle. The sparks should be visible along the entire edge of your lathe tool.
After you have repeated the 10-second sharpening procedure and the lathe tool appears to be sharp, dip it in a bowl of cold water. This cooling process is vital because the lathe tool gets too hot from the friction produced while sharpening. Cooling will allow you to hold the tool for the remainder of the sharpening process on the other side of the blade. But first, make sure that the surface is dry before proceeding.
Also, ensure that you do not over-grind any side of the tool. This could make the tool kit weak and highly susceptible to cracking.
Testing the Sharpness of Your Lathe Tools
After you have sharpened your lathe tools, there are several methods you can use to find out if they are sharp enough to fulfill their purpose.
One way is to run your thumb across the blade edge to feel for a bur. The bur is what does the cutting when lathing. However, with this method, be cautious to avoid cutting your finger on the sharpened edge.
Another way you can test the sharpness is the end grain sharpness test. Take a piece of softwood such as pine and clamp it down on your workbench. Run the lathe tool down the corner of the end grain to see if it cuts shavings from the grain. If sharp enough, it should be able to produce some shavings.
Alternatively, you can use the light test sharpness test. This involves holding your tool under a source of light. If the edge reflects light, then you need to re-sharpen your lathe tool. But if it looks dull under the light, consider your sharpening endeavor successful. A magnifying glass will come in handy when using the light test.
How Often Should You Sharpen Lathe Tools?
This is a very common question among lathe tool owners. While we would like to recommend that you wait for a specific number of days before sharpening your tools, it does not apply to lathe tools. The sharpening schedules are highly irregular and will depend on several factors.
- The type of materials you are working on
- How often you use your tools
- What you are using these tools for
- The size of the projects you use your tools for
If you use the tools for bigger projects, you will likely have to sharpen them more often. This translates to exposing lathe tools to more friction. Consequently, this dulls the edges at a faster pace and requires sharpening more often.
Another important consideration is the quality of the shank material. Different metals such as carbide and steel have varying reactions to friction. Some tools get blunt at a faster rate than others. For instance, an 8-piece Yellowhammer turning toolset dulls much slower than carbon blade alternatives. This is because they are equipped with high-speed steel shanks that reduce the pace at which the edges get blunt.
So, to determine how often you should sharpen your tools, simply inspect the edges of your blades. The level of sharpness will give you an indication of whether it’s time to re-sharpen your lathe tools.
 Conclusion
Lathe tools are essential in any workshop. They provide users the ability to shape different types of materials including metal, glass, and wood. However, with prolonged usage these tools will lose their grip and get blunt, thus needing sharpening.
There is no specific schedule for sharpening lathe tools. The right time to sharpen your tools will depend on the type of materials you use them on and the size of your lathing projects. However, you can do a simple sharpness test to determine whether it is time to re-sharpen your tools.
If you follow the correct procedure using a grinder to sharpen lathe tools as we have outlined, you will keep your tools in tip-top condition. Just use the recommended cutting angle and, avoid over-sharpening them and you will be fine.
- See Also: 5 Tips to Winterizing Your Lawnmower
Featured Image Credit: Ralphs_Fotos, Pixabay
Contents

 How Lathe Tools Get Dull