

Staining can be a great way to rejuvenate old tile, and it also provides a way to change the appearance of your tile without ripping it all up and starting again. If you have tile in your home that you are interested in updating, keep reading as we provide you with a step-by-step guide to staining tile quickly and easily. We help you get set up, tell you what tools you need, and provide plenty of tips and tricks that you can use to achieve the look that you want.
Before You Begin
First, understand that this project can take a long time to complete, so you should set aside at least several hours to complete the task once you start staining the tile. We also recommend getting your tools and supplies together before you begin so you don’t need to stop.
- Tape measure
- Scrub brush
- Masking tape
- Rubber gloves
- Tile sponge
- Tile stain
- Urethane-based sealer
- Paint roller
- Paintbrush

The 8 Tips & Tricks For Staining Tile
1. Measure the Area
The first step is to use a tape measure to carefully measure the area that you intend to stain, so you know how much stain to purchase. Multiplying the length times the width will give you the area, and each can of stain and primer will tell how much area that it can cover.
2. Clean the Tile
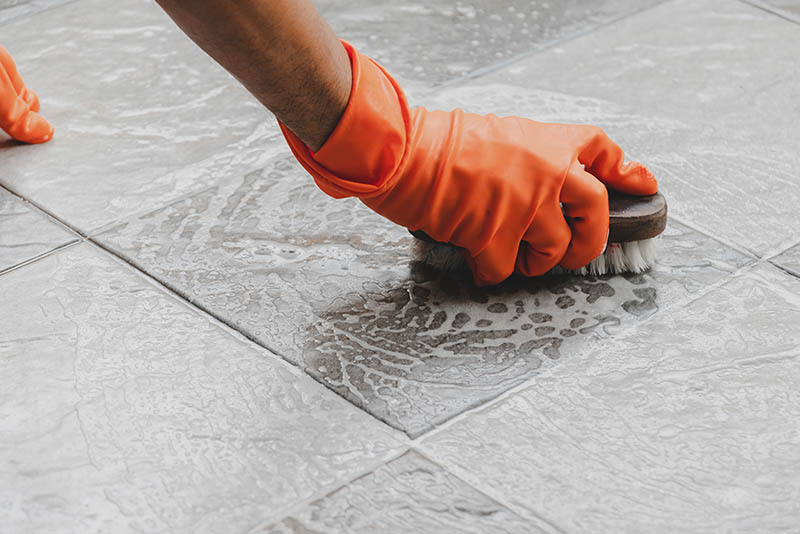
One of the most important steps in this process is cleaning all the dirt and grime off the tile so you can apply the stain evenly and get a uniform color. Use a cloth or scrub brush to remove the contaminants. If the tiles are especially dirty, you may need to use an industrial-strength cleaner to help you get them as clean as possible. Anytime that you use harsh chemicals, don’t forget to wear your safety equipment.
3. Prepare the Floor
If the tiles that you intend to stain are rough or uneven, you might need to sand the surface to even it out and make it smooth. 180–200-grit sandpaper will work well and will remove the shine. You can use a hand sander or an electric model, but don’t press too hard, or you might damage the tile or take off too much at once. Always wear protective gear when sanding. When you finish, rinse or mop the surface to pick up any dust, and allow it to dry completely before continuing to the next step.
4. Cover Areas That You Don’t Want to Stain
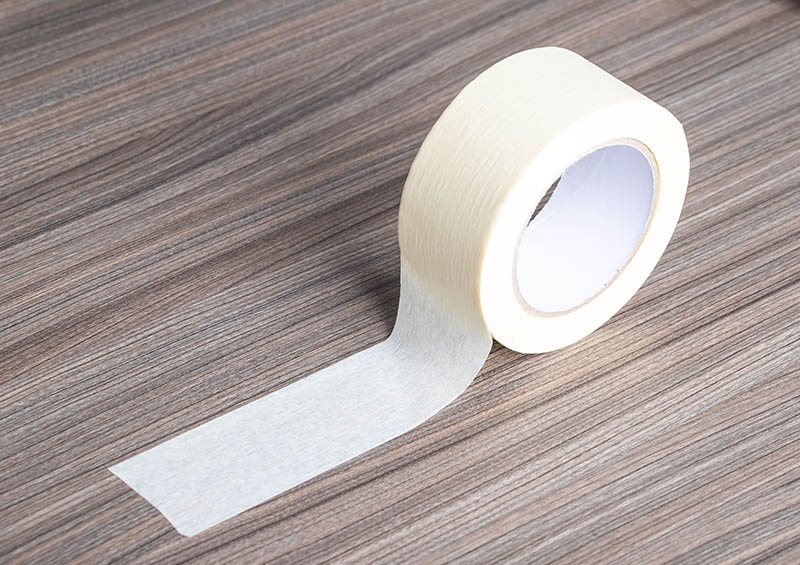
You can use masking tape to cover the areas of the tile that you don’t want to stain. The masking tape will also help you produce clean straight lines that look professional. Masking tape is easy to remove and doesn’t leave a film behind.
5. Add Your Primer
With the tile prepared, you can start adding a primer. Use a manageable-sized brush to apply the primer right to the edge of each tile that you intend to stain. Take your time for the best results, and allow the tile to dry until it is no longer tacky before moving on to the next step. Always wear a dust mask and rubber gloves, and ensure that there’s plenty of ventilation when working with primer, stain, or polyurethane. Open windows and use fans to push air through the room until you finish the project.
6. Add Your Stain

The best way to add stain to your tile is to use a tile sponge that you can dip into the stain, and then wipe it onto the tile. Work your way to the edge of each tile, as you did with the primer. When you finish, allow it to dry for at least 24 hours. If you are creating patterns that require you to use more than one color, work with one color at a time, and allow it to dry completely before starting the next color. Many people like to use a paint roller with a short nap to spread the stain when staining floor tile and large wall tile areas. You can use that method, but be aware that doing so will also stain the grout between the tiles.
7. Add a Polyurethane Coat
A polyurethane coating can help protect your tiles from the environment and will also add a gloss. Tiles with a polyurethane coating are less likely to chip and crack. They will also be easier to clean. As you did with the primer, add the polyurethane to each tile with a paintbrush. If you want to add more than one coat, you will need to wait at least 4 hours before starting the next coat, to allow it to dry.
8. Clean Up
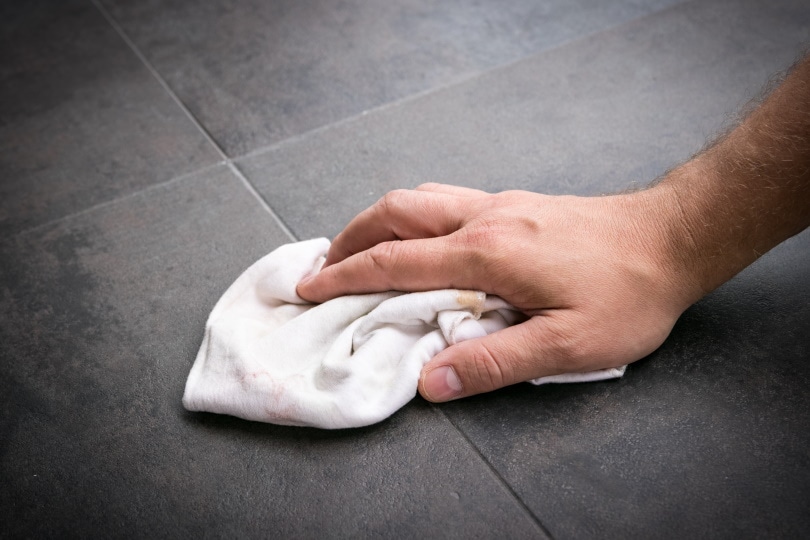
Once the stain and polyurethane layers are dry, all that’s left is cleanup. Carefully remove any masking tape that you applied, and wipe down the surface of the tile with a clean damp cloth to bring out the shine.

Tips for Maintaining Your Tiles
- Clean the tiles and the grout between them regularly to prevent dirt from settling in and causing the grout to deteriorate.
- Only use ammonia-free products when cleaning grout.
- Use a broom, vacuum, or soft cloth to remove dust and debris from the tile several times a week.
- When cleaning tiles, don’t oversaturate them with water.
Conclusion
Staining tile is not difficult, but it can take a while to prepare the floor for staining. Waiting for the primer, stain, and polyurethane to dry can also take a long time. However, once complete, you will have changed your tile’s appearance for a fraction of what it would have cost to replace it. For the best results, always wear your safety equipment, ensure that there’s plenty of ventilation when staining tile, and work slowly.
Featured Image Credit: faithie, Shutterstock
Contents
