
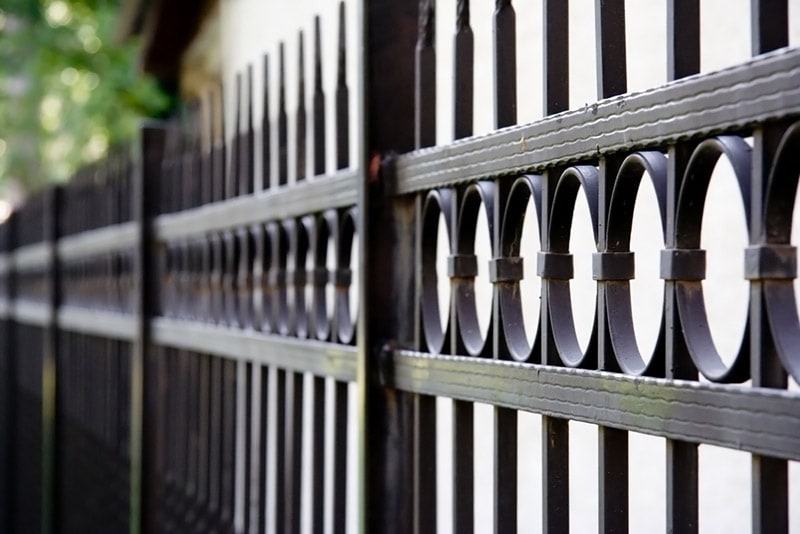
Over time, fences can start to lean. A leaning fence can be visually unappealing and, in some cases, can be a safety hazard. If you have a leaning fence with some problem posts, do not worry. You can likely fix it yourself. There are ways to straighten a fence post without having to remove it completely.
This article includes everything you need to complete the job, the complexity, and the time it’ll take. By the end, you will be equipped to tackle your own leaning fence post with confidence. Here are 11 tips, tricks, and steps to help you straighten a fence post without removing it from the ground.

Preparation
Straightening a post without removing it is a straightforward job, but it does require a little planning and a handful of basic tools. The job should be able to be completed in just a few hours, though more complicated fences might require more work to return to working order. Here is what you can expect before starting your job.
- Time: 4-8 hours
- Complexity: Basic-Intermediate
- Level
- Drill
- Shovel
- Hammer
- Concrete (optional)
- Post-stabilization kit (optional)
- Eye protection
- Gloves
 The 11 Tips to Straighten a Fence Post Without Removing It
 The 11 Tips to Straighten a Fence Post Without Removing It
1. Examine the Post and the Area
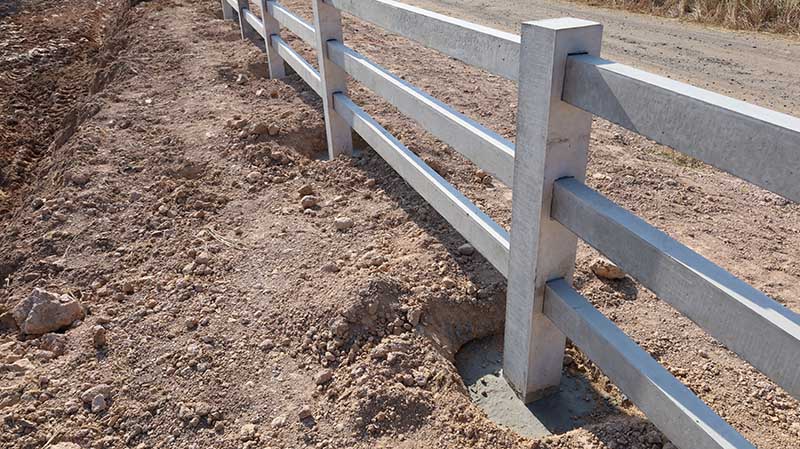
The first thing to do is to examine the post and the area around the post. You want to look for any signs of damage, insects, or signs of erosion. Before fixing a leaning post, you need to know what is causing the leaning. In most cases, a fence post leaning is caused by loose soil, mild erosion, or water. In some cases, the post could be bent, cracked, rotted, insect-ridden, or suffering from serious ground erosion. Serious issues, like severe damage or destruction by insects, might necessitate fully replacing the posts instead of simply fixing the lean.

2. Remove Any Tension or Weight Laying on the Post
The next thing to do is to remove any tension or weight from the fence. If you are trying to fix a chain-link fence, you will need to remove the ties and caps that hold the chain-link to the post. If you have a wooden fence, you might need to remove the crossbars and pickets in order to get the post to stand freely. If you do not remove the weight from the post, you will not be able to straighten it properly.
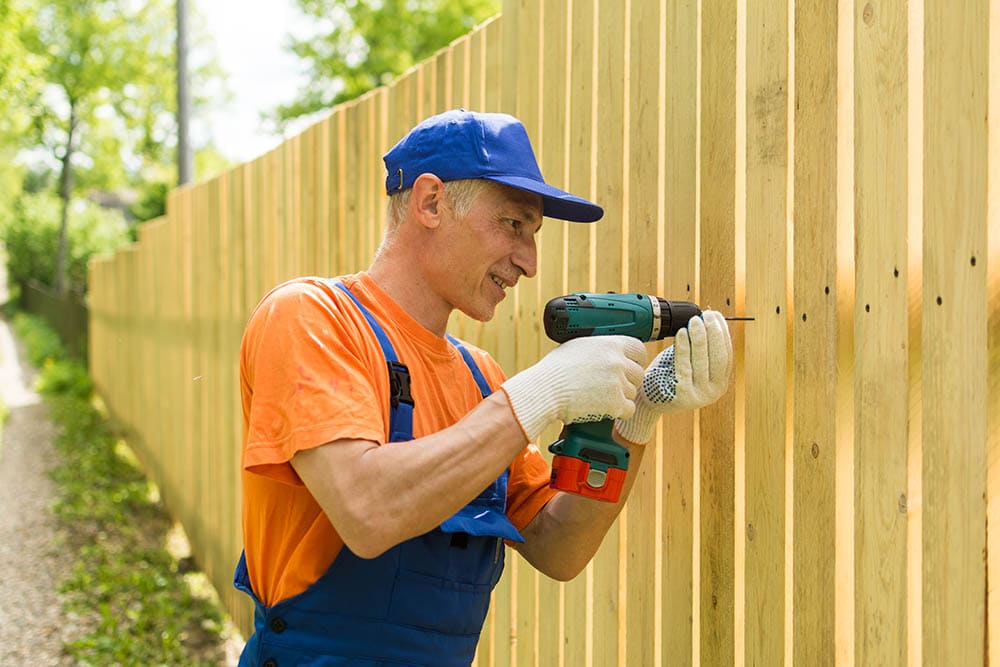
3. Remove Fence Pickets or Panels If Necessary
If you need to, remove the fencing attached to the post. In some cases, you might be required to remove the entire fence panels from the post. Some fences will have two panels attached to each post. To effectively straighten any post, you will need to remove these panels. Detach them and set them aside. Do not lose the fasteners and hardware – you will need them again to replace the panels.
4. Straighten the Fence Post
Once the weight has been removed from the post, it is time to straighten it. In most cases, you should be able to straighten the post by hand. Take note of which direction the post is leaning and whether straightening the post creates a gap or hole at the base. If you need to, you might need to have a second person or brace to help hold the post straight while you continue to work.
5. Level the Post
Using a level, make sure that the post is completely straight. Adjust as necessary. For the best results, you should make sure your post is completely level.
6. Backfill the Post’s Hole and Base
After the post is straight and level, it is time to backfill your post base. You can fill your post hole with loose soil, grit, concrete, or gravel. You want to ensure that the gaps that opened in the post’s base are completely filled. If you are worried about loose soil, it might be a good idea to add additional materials to try and shore it up.
7. Stabilizing Your Post
Stabilizing your post is one of the most important parts of this process. If you do not properly stabilize your post, then there is a good chance that the lean will return. Concrete is one of the best ways to stabilize a post but doing so makes removing or replacing the post extremely difficult in the future. You can also use grit. Grit is a material that is similar to small gravel. You can get grit at feed stores because it is used to help chickens get nutrients. Grit is a great way to pack-in posts because it is dense, pours easily, and lets water flow through without sinking or eroding.
The easiest way to stabilize your post is to simply use the existing dirt. If you are going just to use loose dirt, make sure you pack it in very tightly. You probably also want to wait at least 24 hours to let the dirt settle before reattaching the fence. Loose dirt has a habit of compacting and shifting, which can lead to your post shifting out of position.
8. Reattach Fence Pieces as Needed
After you have your post straightened, leveled, and stabilized, it is time to replace the fencing that you removed. For chain-link fences, reattach the fencing sheet via the ties and caps. For a wooden fence, replace the panels, put the pickets back, and reattach the crossbars and support as needed. If you have stabilized your post properly, reattaching the fence should not shift your post out of place.
9. Using Products and Kits
There are a series of products and kits specifically designed to straighten a post without removing it. You can use these products as you see fit. There are clips that attach to each side of the post, screw into it, and then are staked into the ground. There are anchors that go into the ground and then use a wire to straighten the post. There are wedges that can be dropped into a post hole to help prop up and stabilize the post.
If you plan on using products like this, be sure that they are designed to solve the problem that you are trying to tackle. Some of the products are only good for fences on soft ground, and some are meant for concrete footers and other issues.
Also, be sure to follow the instructions and read user reviews before making a purchase. No products or kits are required to straighten a post, but in some cases, they might make a job easier to complete.
10. Be Wary of Underlying Damage
During all of these processes, be aware of greater underlying damage. Concrete footers can shift or become cracked. Rot can cause posts to lean, but straightening won’t fix the underlying issue. Severe ground erosion can also cause a bad lean that cannot be solved by simply packing in loose dirt around the post. If you see any of this damage during your job, you might have to switch gears from fix to replace.
These tips will not always work on posts suffering from greater issues than first realized.

11. When to Call a Professional
At the end of the day, you might need to call a professional to fix your fence. You should consider calling in a professional if you notice any of these issues:
- Cracked or damaged concrete footings
- Rotten posts
- Posts that are badly cracked or damaged
- Posts that are bent or have insect damage
- Fences that have multiple posts leaning in one direction
- Fences that have multiple panels that are leaning at the same time
These issues are often larger than a single afternoon can handle and can require a fencing professional to come and fix them. There is no shame in throwing in the towel on a job that gets out of hand.

Conclusion
The two biggest things to keep in mind before straightening a fence post are that you have to remove all weight or tension from the post before straightening and be on the lookout for larger issues or damage. If you do not remove the weight or the post is damaged beyond what you initially thought, your job will fail. Otherwise, straightening a post without removing it is fairly easy. These steps, tips, and tricks will help you complete your job as smoothly and effectively as possible.
Featured Image Credit: Ljupco Smokovski, Shutterstock
Contents
