

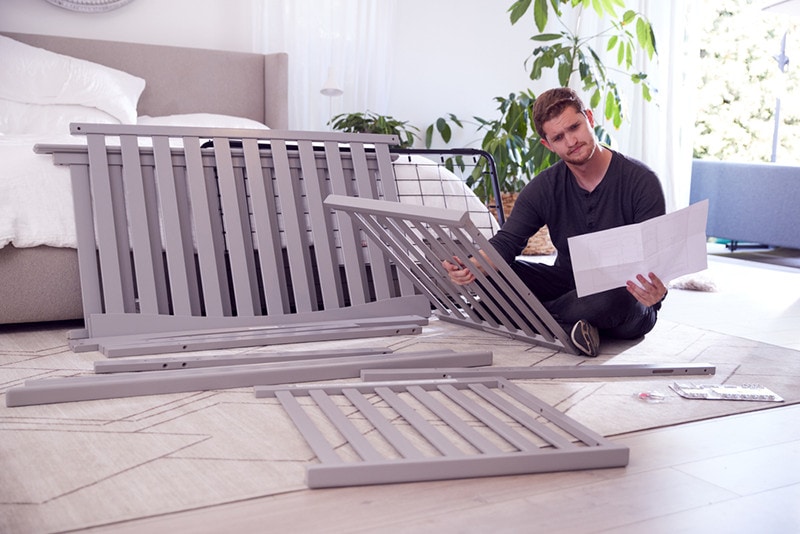
Hailing from Sweden, IKEA is a market leader not only in the EU but in the States as well. This company’s furniture is cheap, accessible, and (relatively) easy to assemble. What about taking it apart, though? The good news is that you can get this done in less than an hour.
On the downside, if you don’t know what you’re doing, you might end up damaging the furniture. But you’re in luck because we have put together a straightforward, user-focused guide on taking apart an IKEA bed. So, gather all the tools, follow our instructions closely, and let’s get to it!
| Time Needed | 30–60 minutes (on average) |
| Estimated Cost | $50–$100 for the tools |
| Difficulty Level | Easy/Moderate |

Before You Begin: Getting Everything Ready
IKEA products are famous for being easy to put together or disassemble, even for someone with little to no experience or sleight of hand. As long as you have basic skills and the right instruments for the job, you can do this without breaking a sweat. Make sure to keep a rubber mallet, wrench, and screwdriver set close. For marking, use a sharpie.

Here’s the full list of the required tools:
| Tools Required | Materials/Products Needed |
| Rubber mallet + hammer | Painter’s tape |
| Wrench + Allen wrench set | Pencil, marker, or Sharpie |
| Regular + Phillips screwdriver | Set of wood screws |
| Pliers (optional) | Wood-to-wood straps |
The 8 Steps on How to Take Apart an IKEA Bed
1. Download Instructions From IKEA’s Website
This step is often ignored, but if your bed has a guide on the IKEA website, go ahead and download it. There are quite a few assembly instructions1 there. All you have to do is enter your bed’s name in the search bar, scroll down to Product Details, and select “Assembly & Documents”. The user manuals are very easy to follow as there are lots of detailed pictures.
Besides, they don’t cost a penny and take two seconds to download. Even if you’ve been assembling and taking apart furniture for years, you should still quickly review the instructions. With IKEA products, it’s essential to be precise and do everything according to the book to ensure durability and longevity.
2. Label Everything Before Taking It Apart
A Sharpie is perfect for this, but a pencil and a marker will also do. Also, you’ll need to have some painter’s tape ready. This is done to make sure that when you put the bed back together, you don’t mess anything up. So, label every single piece before you start removing screws and bolts.
3. Take Some Photos With a Phone
To make the reassembling process even less stressful, grab your phone and take some photos. The more angles you capture, the less guessing you’ll have to do later. Pay extra attention to the joints and the hinges. Sometimes, parts of IKEA furniture have labels and numbers. This is true for beds as well.
Be sure to take pictures of these so that you can make sense of the instructions. You could shoot some videos as well, but, for the most part, they won’t be necessary. The key takeaway here is to have clear, high-resolution images that capture the pilot holes and the labels. Together with the labels, the photos will help during the assembly.
4. Start By Unscrewing the Cross-Brace
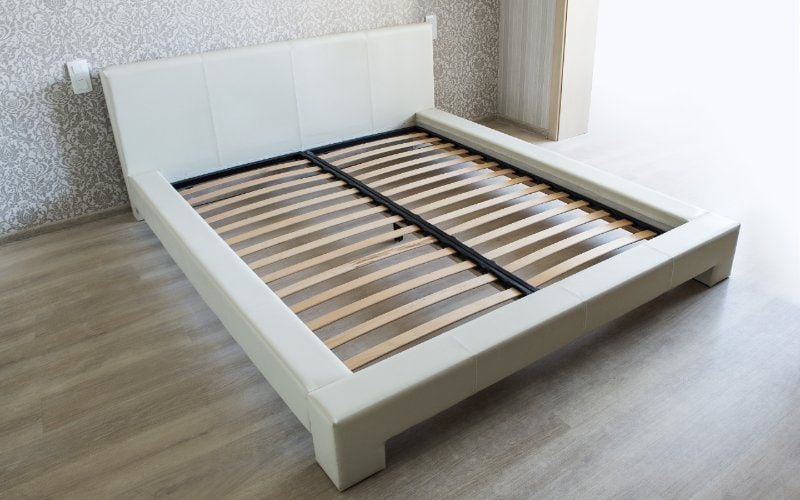
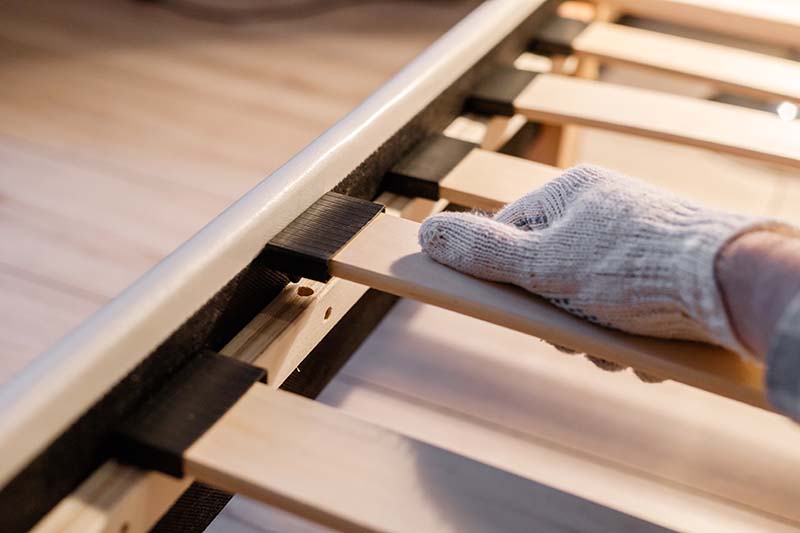
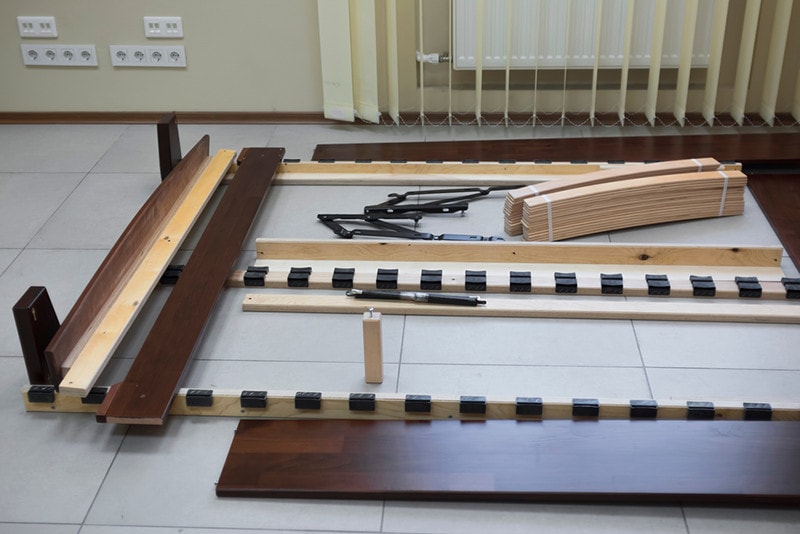
Ok, now that the preparations are done, it’s time to take the bed apart! The first thing you should do is remove the mattress. Next, get rid of the bedding and the slats. Now, the slats tend to slip; to avoid that, roll them up and fasten using wood-to-wood straps and some wood screws. With that out of the way, find the cross-brace and remove the screws holding it.
But don’t touch the mounting plates: let them be for now. Don’t push too hard with the screwdriver, either; otherwise, you might damage the pilot holes. Also, leave the first screw in so that it holds the brace while you’re busy with the rest. When all the screws are removed, put them in a container or a Ziploc bag. This way, you’ll be able to access them quickly when putting the bed together.
5. Carefully Remove the Mid-Beam
The metal mounting plates will be holding the mid-beam in place: you have to remove them to move forward with the dismantlement. Just like with the screws, keep all the plates in one single bag/container for quick access. True, you can order missing hardware, but it’s always better to use the factory plates: they’ll go in easier and ensure a perfect fit.
6. The Hex Bolts Come Next
Alright, now grab the Allen wrench tool and remove the hex bolts on each side of the bed frame. While IKEA beds aren’t very heavy, it would still be best to have a friend/family member helping you lift and move the individual parts around. And with the bolts gone, go ahead and remove the U-shaped brackets.
Try to loosen them with your hands and only then use the wrench or pliers. If the fasteners have a spindle shape, you need to rotate the bolts (anti-clockwise). Keep doing that with the Allen wrench until you see the bolt pointing directly at the plywood that it’s fastened to.
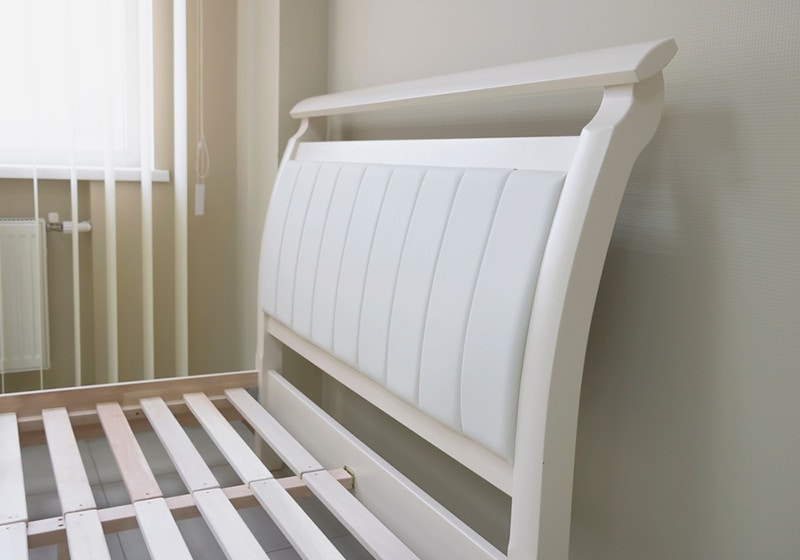
7. Now Just Remove the Headboard
We’re almost there! All that’s left to do is handle the headboard and the footboard. Begin with the headboard. To take it apart, the side rail has to be lifted. Again, a buddy will be of great help here. Or use something tall and sturdy enough to hold it in place, like a ladder or larger-than-average box. First, use a hammer to remove it from the rail; next, disconnect it from the frame.
8. Don’t Forget About the Footboard!
Do the same gentle hammering to remove the footboard and then separate it from the frame. When you’re done, the whole bed will be taken apart. Double-check everything to make sure every single bolt, bracket, slat, and furniture piece is accounted for. You’ll need this hardware later on when reassembling the IKEA bed.
Now, the disassembling process might differ a bit depending on the bed, but the main steps will always be the same. When the bed is taken apart, it’s much easier to move around, thanks to the compact size. More importantly, if you transport it while fully assembled, the bumps on the road might damage it.
Disassembling an IKEA Bed: Useful Tips and Tricks
Alright, now that we managed to successfully take the bed apart, here are some tried-and-true tips that will help make the process easier:
- Don’t rush it. It’s possible to disassemble an IKEA bed in 20–30 minutes. But you should still take your time. Remember that IKEA furniture is mostly made of thin plywood. So, be gentle with it
- Avoid working in a tight space. When you’re cramped in a basement or garage, it will be much harder to put the bed together. Ensure quick access to the tools and plenty of light
- Make sure the cabinets are empty. Before dismantling the bed, check the cabinets and remove everything so that you don’t accidentally damage it
- Put padding to good use. When moving the bed while it’s disassembled, consider using some padding/blankets to protect the individual pieces from scratches
- Double-check the hardware. If you miss a hinge, screw, or wood board, it will be almost impossible to assemble the furniture once you arrive
Is IKEA a Good Brand?
The short answer is yes, IKEA products are worth their price. While it’s not particularly fancy, this company’s furniture wins over potential clients by being affordable and easy to put together. Recognized around the globe as one of the biggest furniture brands ever, IKEA has a lot to offer to someone looking for a balance between durability and cost.
That said, the Swedish powerhouse is often criticized for its poor build quality. You need to be very careful when moving or reassembling their furniture. Otherwise, it might break down and render itself useless. So, essentially, with IKEA, you’ll get exactly what you pay for.
How Long Do IKEA Beds Last?
On average, bed frames by IKEA have a lifespan of 5–10 years. When properly taken care of, they will last for 10–15+ years. Thus, unless you live in an extremely humid area or leave the bed in a cold attic or basement for a long time, it will serve you for a decade or two. Again, the biggest “nightmare” for any IKEA product is when the owner makes a mistake when reassembling it.
If you use third-party screws that are too big for the factory holes or apply a bit too much force with a screwdriver or hammer, that could cause permanent damage. On the bright side, most IKEA beds come with generous warranties. So, if you’re careful and don’t put the frame through much stress (like kids jumping up and down on it 24/7), it should last for many years.
 Conclusion
If this is your first time trying to take apart an IKEA bed, it can be a bit scary. But if you take it slow, give yourself enough space, and use our tips and tricks, you’ll be done in no time! The most important thing here is to use the right tools for the job. Also, be careful not to damage the screw holes and the individual parts of the bed.
Ideally, if you have a friend or family member that’s willing to help, that’d be great. However, this is perfectly doable with your own two hands. Don’t forget to photograph and mark everything, keep the screws and other hardware somewhere safe so that you don’t lose it, and get this done!
Featured Image Credit: Garna Zarina, Shutterstock
Contents
