
A trellis is used to help plants grow vertically–and straight. They come in different shapes, sizes, and materials, and you can also build a simple homemade trellis out of a few stakes and a mesh screen.
You can create a trellis for both indoor plants and outdoor gardening plants. They work wonderfully for plants that reach the height of 2 feet or more, as plants of these heights may not have the structural stability to stay straight on their own. And in many cases, trellises can also be used as a decorative tool to accent your outdoor garden or to even add a bit of privacy to the space. Here’s how to use a trellis for your plants.
 The 7 Tips & Tricks on How to Use a Trellis for Plants
 The 7 Tips & Tricks on How to Use a Trellis for Plants
Installing a trellis can be simple or complex, depending on the type of trellis that you use and its size. We’ve created this guide to give you an overview of the general steps needed to set up a trellis in your outdoor garden. Keep reading to learn more!
Things You’ll Need:
- Vinyl panel or wire mesh (material may vary per trellis)
- Tall garden stakes
- Zip ties (or galvanized wire)
- Gravel (optional)
- Metal wire cutters
- Screws, nails, and bolts (optional)
1. Gather Your Materials
It’s best to make a list of everything that you need for your trellis. You can buy most (if not all) of the materials at a local gardening or home improvement store such as Lowe’s or Home Depot. But don’t forget the “extra items” that you’ll need to install the trellis.
This typically includes things like wire cutters, zip ties, stakes, shovels, and other tools for the installation. The materials that you need for your specific trellis will vary, which means the installation process will be slightly different for each type. Overall, the main thing to ensure is that the trellis is functional and stable enough to support the plants. And the heavier the trellis materials, the more support it will need at its base.
2. Choose The Installation Location
The size, variety, and the number of plants that you have will determine which trellis location is best for your plants. Some trellises can be placed directly inside the planters, while others need to be planted in the ground.
If you’re using trellises for multiple rows of plants, be sure to measure the space between the plants to ensure that there is enough room to dig around them for the trellis holes. If you’re installing a trellis against the wall of your home, be sure to measure the distance from the exterior wall to the trellis location. Place stakes or any other type of marker in the ground to note the location where you’ll dig your trellis base holes.
3. Attach The Panels
Some trellises may come with different panels that will need to be attached before you can plant them in the ground, while others can be folded or installed individually. If you purchased a trellis, review the specifications to determine what types of fasteners you need for the setup. If you’re building your own trellis, be sure to have enough fasteners to attach the panels at multiple locations (i.e. base, sides, and the top).
4. Dig Holes In Surrounding Dirt
If you have fairly small trellises, you won’t need to use a shovel to dig holes in the ground. You can simply use your stakes (or a small garden shovel) to poke holes into the ground surrounding the plant. However, for a larger trellis, it’s best to use a shovel to dig down anywhere between 16-20 inches to ensure that it has the stability to support the structure and the plants.
You don’t want it to fall over during times of high wind. Use a tape measure to measure the width of your trellis from one post to the other. Start digging the first hole and then start on the other–be sure to measure them to ensure they’re deep enough. Deep holes promote solid drainage and prevent metal and wood trellis bases from corroding and rotting.
5. Place The Trellis In The Ground
Before placing the trellis base in the holes, fill in the hole with about a half-inch of gravel. Next, place the trellis in the holes that you’ve dug. Take a quick look at the plant location to ensure that the trellis is close enough to surround the entire plant.
For large trellises, it’s best to grab an assistant who can hold the trellis upright while you examine the base to ensure its level. Look at the bottom of the panel and make sure neither side is too high or low. If needed, place a level along the bottom panel–you may need to hold it in place.
If the air bubble rests in the center, the trellis is level and you’re good to go. If the panels aren’t level, simply add dirt (or gravel) and adjust them until they are.
6. Stabilize The Trellis Posts
After you have determined that each side is in line with the ground, it is time to anchor your trellis in place. You may find it helpful to have an assistant hold the trellis while you fill the holes around the posts using gravel. Or, you can use dirt or sand. To help compact the soil around the posts, you can step on it–it shouldn’t be too loose.
7. Set Up Your Flowers and Plants
After you have properly installed your trellis you can begin planting. Plant climbing vines or flowering varieties at least a few inches from the base of the trellis. They will be encouraged to climb up the trellis, and to use it as a support structure.
Planting right underneath it could cause your climbing vines to fall onto it. Your flowering plants could grow up and out of its sides. When establishing the trellis, be sure to consider the type of plant you are planting and make any necessary changes.
Reasons To Add A Trellis To Your Garden
Gardeners install trellises for different reasons. And if you have tall plants or are growing a sizable garden, adding a trellis may be a good idea. Trellises can also help you save space if you have a small garden and want to grow more plants in narrow rows.
You’ll also find that trellised plants tend to require fewer watering sessions, as you can just water the base of the trellis where most of the plant roots are located. Let’s look at other trellis benefits.
They Provide Sun Protection
If you live in the Midwest, south, or western part of the country, summertime shade can be a must-have in your garden. All plants need sunlight, but sometimes crops can receive too much sun during the day, leading to dryness and burned leaves.
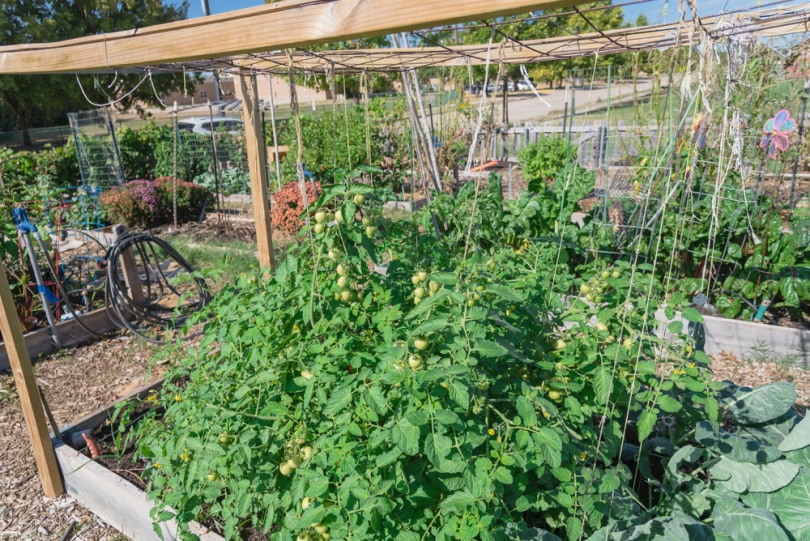
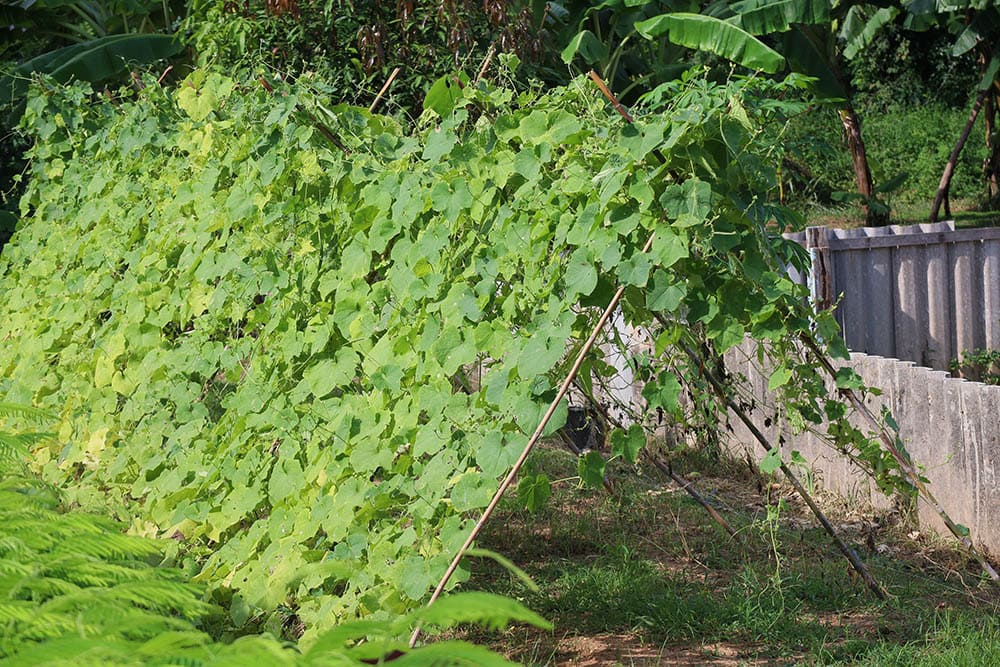
A trellis can provide the perfect amount of summertime shade. Cool-weather and vining vegetables such as cucumbers and lettuce can be grown on slanted trellises so that they don’t become dry and withered.
Trellises Prevent Diseases
Trellises also help to increase air circulation for plants and keep them off the ground. This, in turn, can help to reduce their susceptibility to fungal diseases and common soil pests. So, if you have plants that have issues with moisture once they sprout, a trellis may be a good idea.
Types of Trellises
Determining the best trellis to use in your garden will depend on the size of your garden, the type of space that you have, plant varieties, and your purpose for the trellis. Here are the most common types of trellises used in outdoor gardens.
A-Frame
These types of trellises are perfect for small gardens that don’t have a lot of space. They’re made by taking two wooden frames and then covering them with chicken wire or plastic mesh.
Then, the mesh is stapled to the outer sections of the frames and each side is set against the other so they form an “A” shape–hence the name. This is one of these simplest types of trellises and it can be used for a number of different plants.
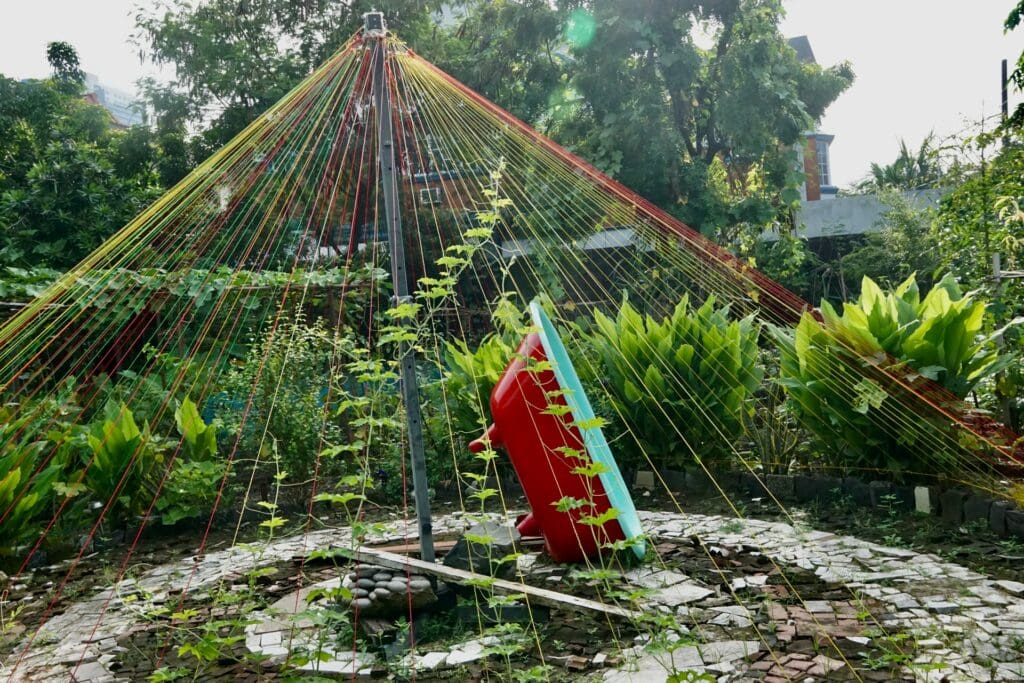
Tepee
Tepee trellises are similar to A-frames, but they provide more coverage. They tend to serve as the main focal point in a garden and can be created by simply placing three 6 ft. poles together at the top. The poles form a point, which will be the top of the trellis and its height may vary. The ends of the poles will be spread out, to create a teepee.
Staked Row
Staked row trellises are perfect for long, even rows of vegetables or plants, especially if you have a large garden. Though they aren’t the most attractive trellis option, they are very utilitarian, easy to build and provide great uniformity.
To set them up, you simply need to insert your stakes (or poles) into the ground about 1 or 2 ft. deep. Place all of the stakes about 3 feet apart and do this until you reach the end of the plant row.
Once all the stakes are in place, take a piece of chicken wire or mesh, place it across each pole, and staple it to the outer section of the pole. Tall plants and climbing vines such as English ivy and roses are perfect for this type of trellis.
Conclusion
As you can see, setting up a trellis for your garden is a pretty straightforward process, though it will vary according to the type of trellis. Remember, make a list of everything that you need for your trellis set up and ensure that you take a good look at your garden’s layout before choosing the trellis and materials.
Overall, you’ll find that adding a trellis to your outdoor garden can help to improve air circulation, prevent possible fungal issues, and create space in areas that may be a bit tight or overcrowded.
Featured Image Credit: Trong Nguyen, Shutterstock
Contents
