
When it comes time to pack up your pressure washer for the winter, some crucial steps need to be taken to keep your machine running well into the future. Most warranties state that they will not cover any damage caused by freezing or improper storage. Freezing can blow out seals and cause cracks in the unit’s housing leading to leaks, weak water pressure, and complete operational failure. A gas engine that sits too long will have additional problems caused by deteriorating gasoline clogging up the gas line.

Winterizing Your Pressure Washer
Preparing your pressure washer for the winter is not very difficult and only requires a few steps and a few minutes of your time to complete. Let us look at what winterization entails for a pressure washer.
Step 1 — User’s Manual
A great place to start when getting ready to winterize a pressure washer is the user manual. Every model is unique, and there may be special requirements for yours. The user manual will tell you how to winterize your pressure washer without voiding the warranty.
Step 2 — Fuel Stabilizer
If you are using a gas-powered washer, we highly recommend using a fuel stabilizer to protect the engine. Two things happen with gasoline when it’s left to sit over the winter months.
- It reacts with oxygen and becomes less flammable. This decreased flammability causes the engine to be hard to start, and it might sputter and run rough. You can tell if gas is old by comparing it to fresh gas. If the gas in question is darker, it’s bad.
- Hydrocarbons in the gasoline react with oxygen and form a gum. This gum sticks to every surface in the fuel line and can cause premature wear and engine failure over time.
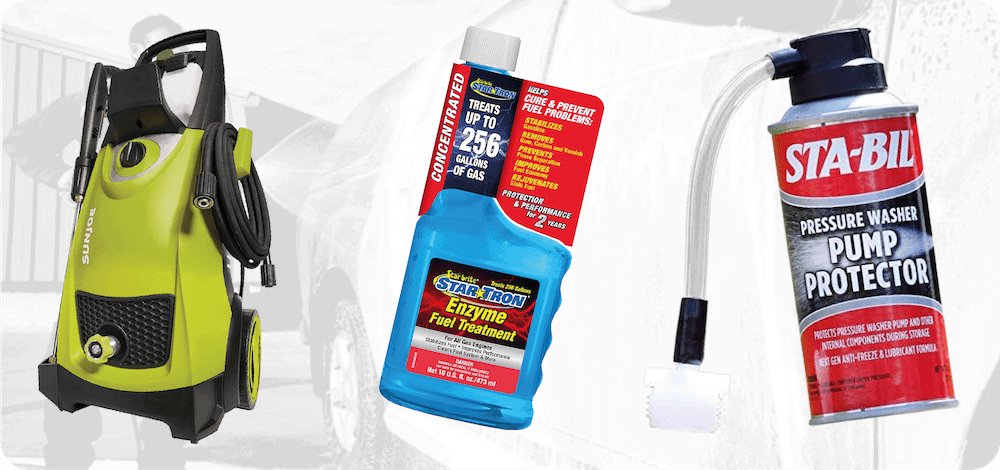
Fuel stabilizers can help solve both problems by keeping the gasoline fresh for longer and preventing the gum particles from forming. The stabilizer can also help clean out any gunk that may have already developed. There are several products made by Star Tron, Sta-Bil, and many others that will work.
Add the fuel stabilizer to your gasoline and let the engine run for two or three minutes to make sure the stabilizer makes its way through the entire gas line.
Step 3 — Remove the Cleaning Solution
Squeeze the trigger to release any water in the system. Remove any cleaning solution from the detergent tank and rinse it the best you can.
Step 4 — Flush the System
Place the detergent feeding tube in a bucket of clean water. Run the pressure washer for several minutes to clean out any remaining detergent from the machine. Turn off the power washer, replace the hose, and squeeze the trigger to release the water left in the line.
Also read: Electric vs gas pressure washers
Step 5 — Add Antifreeze
If you ever need to store your pressure washer in an environment that will see below-freezing temperatures, we recommend adding an antifreeze product to the line to protect it. The most popular product to use for this is Briggs and Stratton Pump Saver, but there are a few other brands available.
To use the Pump Saver product, attach it to the water inlet on your machine. Press the button on the can until foam comes from the nozzle on the pressure washer. Disconnect the can, and you’re finished. The power washer is lubricated and protected from freezing. If you can keep the temperature above freezing, you won’t need to use antifreeze, but the lubrication it provides is still essential.
Step 6 — Storage
Now your power washer is ready for winter storage. We strongly recommend storing your power washer indoors, preferably in a heated environment. A cellar or garage is the next best choice. There are also inexpensive covers you can buy to keep dust and moisture out of your machine during the winter months.
As you can see, there are not a lot of steps required to keep your pressure washer working year after year. These steps will significantly reduce the amount of wear that occurs to the inner seals, allowing the machine to maintain high pressure. They’ll also prevent you from finding a broken machine in the spring. If this article has helped you winterize your pressure washer, please share this article on Twitter and Facebook.
Related reads:
- HOW TO EASILY GET GORILLA GLUE OFF YOUR SKIN
- HOW TO REMOVE A BROKEN BOLT OR SCREW (QUICKLY & EASILY)
Contents
