
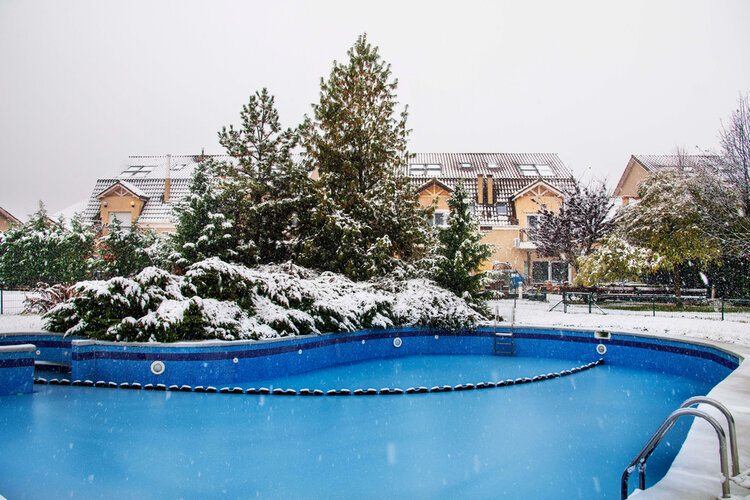
When it comes time to shut down the swimming season for the winter, many people have questions about the best way to winterize an inground pool. If this is your first year or two with an inground pool, the routine is not quite set in yet, and it’s common to forget from year to year.
We’ve created a short 10-step guide that you can use as a sort of checklist to make sure you get everything done in the right order and don’t forget anything. Properly closing your pool in the winter will help extend the life of your pool as well as make it easier to set up again in the spring.

The Steps:
These are the 10 steps you will need to take to winterize your above ground pool. If you keep the chemicals in your pool well balanced, it’s possible to close the pool in a single day, but we recommend allotting at least two or three days.
1. Skim the Pool of Leaves and Debris
The first thing we want to do is use a hand skimmer to remove as many leaves and other debris as we can. Automatic skimmers can help reduce the contaminants as well as save you time, but you will want to give your pool a once over with human eyes to make sure it’s as clean as possible.
2. Scrub the Walls
Once you have removed any debris with a skimmer, the next thing to do is use a pool brush to scrub down the walls the best you can. Scrubbing is especially essential when you have alls with a pebble or other rough surfaces that might trap debris. The pool brush can also help remove the water line on the wall, and you should brush the bottom.
3. Vacuum the Pool
With the walls scrubbed, allow the pool to sit for a few hours so any debris can settle to the pool floor. After some time has passed, you can vacuum to get all of the debris off the bottom. You can also use an automatic vacuum if you have one. Automatic vacuums work very well and can save you time if you already have one on-hand.
4. Backwash the Filter
If you have a sand filter, this is the time to backwash it to get rid of as many contaminants as you can that may have built up over the swimming season. Backwashing is part of regular maintenance and can help extend the life of the sand as well as reduce the stress on your pump.
If you have a cartridge filter system, you may choose to change your cartridge now, but we prefer to change it in the spring to start fresh.
5. Adjust the Chemicals
With the pool free of contaminants, it’s time to check the chemical balance using test strips. Water that is not balanced can stain the walls and lead to premature deterioration in some cases. We recommend using the test strips to get as many chemicals within their recommended limits as possible. Your pH, in particular, should be within recommended guidelines. You can use either pH increaser or pH decreaser to get the pH to where you need it.
6. Shock the Pool
Many people like to shock the pool once the chemicals are correctly balanced. Using pool shock to raise the chlorine to shock level can help sanitize your pool as well as eliminate any bacteria that may remain after scrubbing. When shocking the pool, make sure that there are no clumps of chlorine on the floor as it could bleach the color, and if your liner is nylon, the chlorine could harden it and cause it to crack.
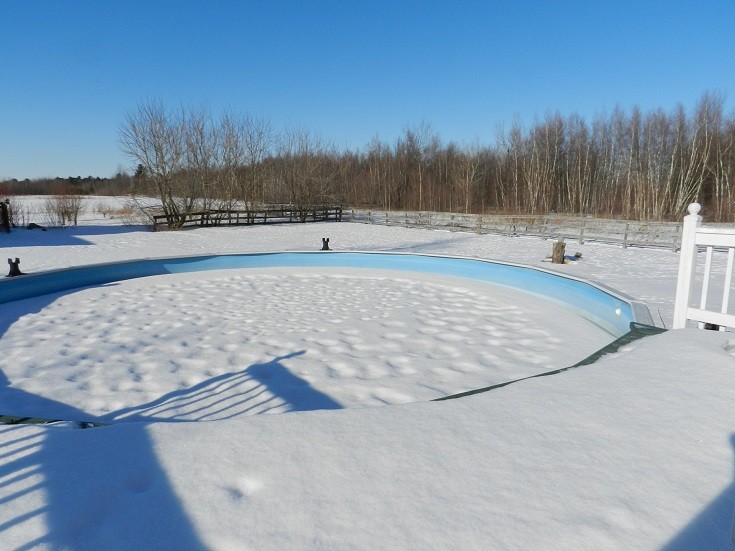
7. Drain the Pool
Once you allow some time for the chlorine shock to disperse, you can drain the water level. If you use a sand filter, you can use the backwash feature to drain the pool somewhat, but a better way is to use a submersible pump to remove the water. You will need to lower the water level in your poll to a point about two inches below your lowest return valve. The backwash method will not allow you to get the water as low as you need it. Make sure to dispose of the water in a proper drain and never drain an inground pool entirely, or it can cause permanent damage.
8. Seal the Lines
With the water below the return lines, we can empty the lines by using a shop vac or similar device to suck any remaining water out. We can then seal them with an expandable rubber drain plug. With the expandable plugs in place, you can add antifreeze to the system through the skimmer. Pour about one gallon of antifreeze per 10 feet of pipe to help reduce the chances that the plastic tubes will freeze during the winter season causing permanent damage.
9. Remove Accessories
The next thing we need to do is remove all accessories and store them away for the winter. Remove the ladder, any floatation devices, cleaning tools, etc., and store them in an area free of humidity and intense sunlight. Your basement, garage, or storage shed are perfect places to store your equipment through the winter to protect them from the harsh weather.
10. Cover
The final step to winterize your inground pool is to cover it up. Covering the pool will help prevent debris and snow from getting it the water. The cover will also prevent sunlight from getting in the water. Algae cannot grow without sunlight, so if you want your pool to be clear in the spring, you will need to keep the sunlight out at all costs.
Summary
Closing your pool for the summer is not difficult and requires only a day or two. You will need to use some elbow grease while brushing the walls, vacuuming, and storing away the accessories, but the rest is easy. If you plan ahead, you will hardly notice that you are closing the pool. We recommend using this list as a guide, and you will have little work to do to get the pool running again in the spring.
We hope that you have enjoyed reading and now feel confidant about closing your pool for the winter. If you have found it helpful, please share these ten steps to winterizing your pool on Facebook and Twitter.
Contents
