
Is your attic overloaded with vinyl records you collected over the years? If so, you may wonder what to do with them to declutter your space. Of course, you wouldn’t want to throw them all in the garbage. So how can you keep your records and clean up your attic simultaneously? Simple—hang them on the walls!
Also known as “album art,” vinyl records can be used as eccentric decor for your boring walls. They add colors and some personality to your home. Also, hanging records on walls is a great way to show off your favorite artists.
You must know a few tips and tricks to hang records on walls properly. You can do so in multiple ways, with specialty frames being the most straightforward option. But you can also use screw hooks and mounting tape or thumbtacks. So, let’s discuss 14 tips to revamp your home’s overall look!

The 14 Tips on Hanging Records With Screw Hooks
Screw hooks allow you to remove the record and play it whenever you’re in the mood.
1. Plan Your Layout
First, examine your wall and decide where the records look best. You can hang them in a row across the wall or arrange them in a rectangular or square shape.
The ideal spot and layout for hanging records depend on their size, but you can test different arrangements on the wall and see what looks best. You can also keep the records close to your record player to take out one and enjoy it anytime.

2. Get Screw Hooks for Each Record
To determine the exact number of screw hooks you’d need, consider how many records you want to hang. One record requires four hooks, and you can calculate accordingly. You can find L-shaped screw hooks easily at your nearest hardware store.
You may find screw hooks in two colors: silver and gold. Consider your room’s accents (e.g., light fixtures) and paint to choose the right color.
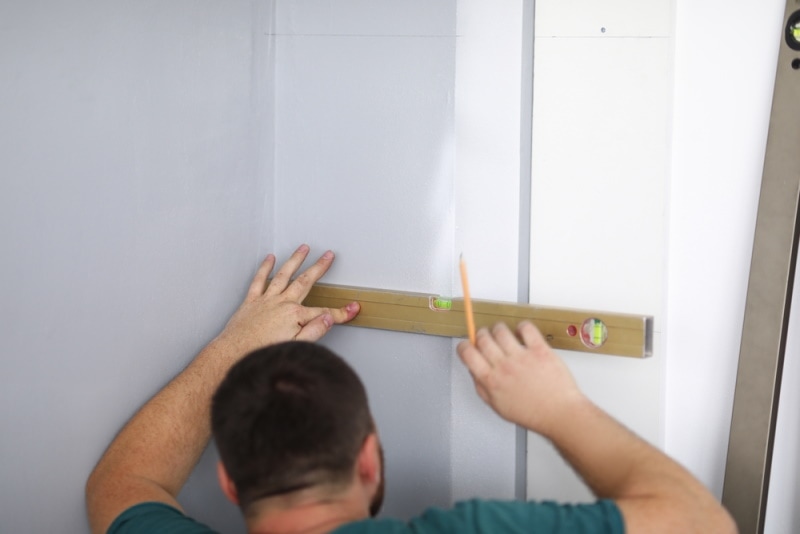
3. Use a Pencil to Position the Records Correctly
Use a spirit level and a pencil to draw a line where the record’s bottom will go on the wall. Doing so will ensure that your records are positioned as you want them. Next, ensure the line is straight by checking the bubble in the spirit level’s tube. If the bubble is in the center of the two black lines, you have positioned it straight.
Instead of a pencil, you can use a strip of painter’s tape for the marking. Unlike the pencil, the tape will leave no mark on your walls.

4. Always Start by Marking the Hook Positions for the First Record
Always start your measuring and marking process from the bottom hooks of the first record. First, mark two dots, about 10 inches apart, on the straight line you drew with the pencil or painter’s tape.
Make sure the dots are positioned in the center of your layout. For every record, you will need two screws for the bottom and one screw for each side. Remember to keep the side screws about halfway up the jacket to prevent the record from falling off the wall.
Mark the location of the right-side screw by measuring 1.5 inches horizontally to the right and 6.5 inches vertically from the right bottom screw. For the left-side screw, mark the measurements from the left bottom screw. Make sure both sides are 12.5 inches apart horizontally. There is no top screw.
5. Mark the Hook Positions for the Remaining Records
The screw measurements for the bottom and side screws will remain the same for the remaining records. When adding more records, ensure each one is 1 inch apart from the next. Also, mark the left bottom screw of one record 4 inches apart from the right bottom screw of the other.
6. Insert the Screws
Once you’re done with the marking, move toward installing the screws in the wall. First, you’d need to make small holes with nails in the drywall. Then, twist the screws into the wall with your hands while keeping them straight.
Ensure that the “L” region of the bottom screw hooks is pointing upwards and the side screws are pointing inwards of the record. Every screw should stick out an inch from the wall for the perfect hanging.
7. Slide the Records Gently
Always gently slide the records between the side screws to ensure they rest on the bottom hooks safely. If you do it roughly, the screw hooks may rip out of the wall.
You can repeat the entire process to add another row of records. However, leave a 1-inch space between the top and bottom edges of the records in both rows to prevent them from overlapping.
Hanging Records in Frames
If you have a few records, you can display them in frames for a chic and neat look. You’ll have many options in specialty record frames, each having different advantages and disadvantages. Here are some tips to follow if you choose to go this way:
8. Get Play-and-Display Frames
Play-and-display frames are an expensive option. You can open the frame’s front, fit the record in it, and shut it—that’s how accessible your records would be. Then, open the frame and enjoy your favorite music whenever you’re in the mood.
9. Try Plastic Frames
If you don’t want to use the record solely for decoration, you should opt for plastic frames. They are not as expensive as play-and-display ones and are available in packs of 10 or 20.
Remember that it will be nearly impossible to access the record later without damaging it. So whether you display a record sleeve or the LP in the plastic frame, make sure you’re using the one you don’t plan to play.
10. Use a Grooved Wall Hanger for Thicker Records
To hang thicker records, grooved wall hangers are the most suitable choice. These frames only feature a top and a bottom rail with no glass front. This allows the records to slide in and out quickly.
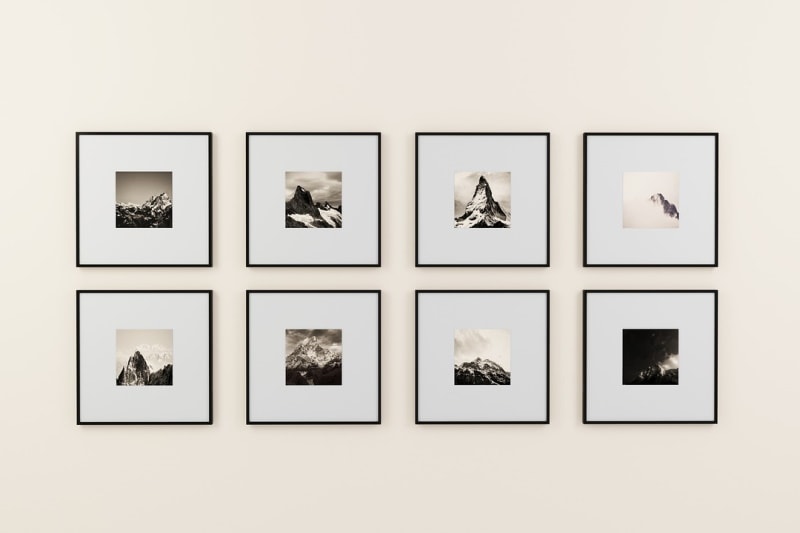
11. Plan the Frame Layout
As you now know, the process of hanging records starts with planning the layout. So, decide how you want your frames to go on the wall—straight, single-row, double-row, rectangular, or square. Naturally, the frame display looks best when you hang the same number of records in every row.
If you plan to hang multiple records, use parchment paper to mark the correct positions on the wall. It’s recommended to leave a 1-inch space between two frames, but you can increase it as you like.
12. Use Indoor Mounting Tape for Frames to Prevent Wall Marking
Mounting tape is the best way to prevent permanent wall markings, especially if you live in a rented apartment. But make sure that the tape is strong enough to bear the frame’s weight. You can check the weight limit of the mounting tape on its packaging.
After getting the tape, clean and dry the area on the wall you want to hang the frames. Next, pull the backing from one side of the tape and press it to the frame. Then, remove the other side’s backing and press the tape into the wall for a few minutes. This will ensure that everything is firm and durable.
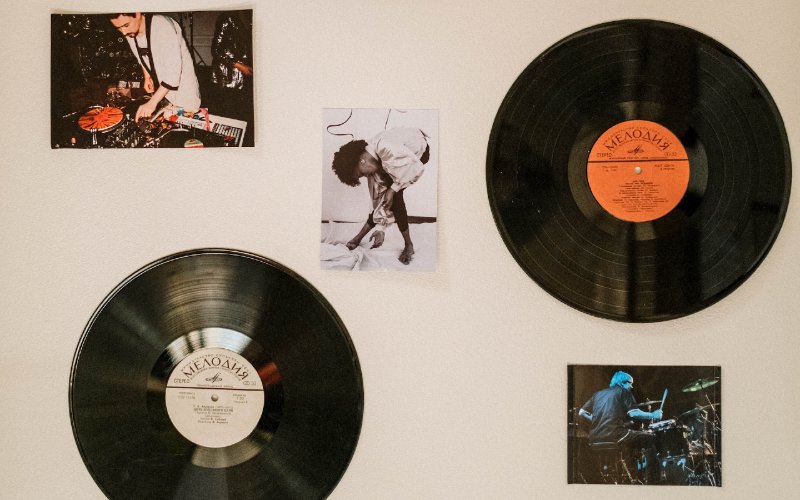
Hanging Sleeveless Records With Thumbtacks or Mounting Tape
Sleeveless records also make a great addition to your wall decor. These tips will help you hang them on the wall easily.
13. Use Painter’s Tape to Test Your Layout for Sleeveless Records
To plan the layout for your sleeveless records, take two pieces of painter’s tape and roll them up. Then, attach both on the back of a record and stick it to the wall. Next, do the same with the rest of your records to test different layouts on the wall.
If you want to hang the records in a straight line, use a spirit level to ensure it’s perfect. Mark a line with a pencil and attach the bottom edge of the records along this line.
14. Fix the Position of Records With Mounting Tape or Thumbtacks
Mounting tape or thumbtacks work amazingly in permanently hanging sleeveless records on the wall. You can use the tape as we discussed before; cut two pieces and stick them on the record’s back. Next, peel the tape’s backing and press the record firmly against the wall. Repeat the process with the remaining records.
If you’re using thumbtacks, stick one through the LP’s middle hole and attach it to the wall.
Conclusion
Decorating your walls with old vinyl records is an easy way to elevate your home’s appearance. They look classy and give a modern touch to your room’s interior. Whether you use screw hooks or frames, ensure you’re taking the right measurements and leaving an optimal distance between the records. Also, don’t forget to use the spirit level to ensure they are aligned straight.
- Related Read: Tips on How to Hang Vines On A Wall Properly
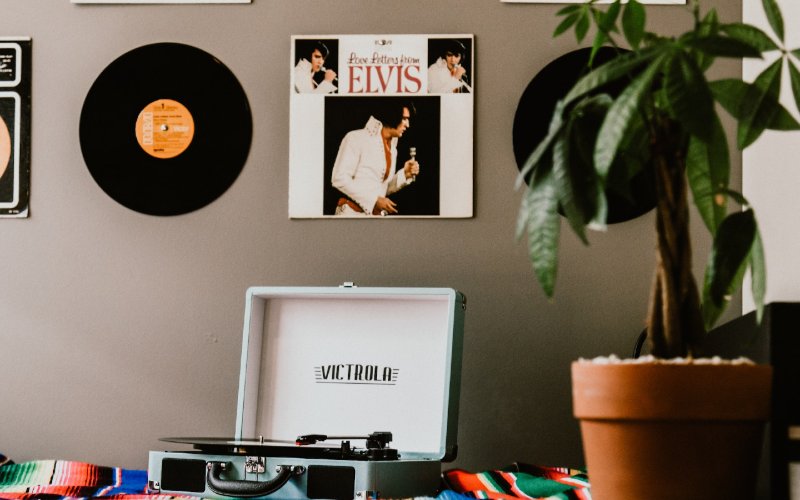
Featured Image Credit: Victrola Record Players, Unsplash
Contents
