

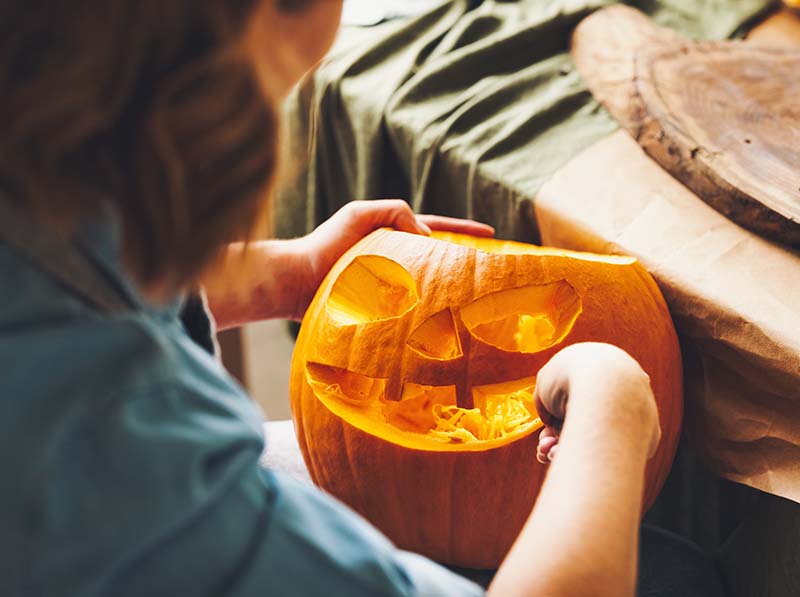
When it comes to Spooky Season, one thing always stands out: Jack O’Lanterns! These carved pumpkins are a staple of Halloween decorations and look their best when fresh. But keeping your pumpkin looking its best isn’t always easy. If you’ve ever carved Jack O’Lanterns, you know how quickly they can turn into a slimy mess.
But we’ve got your back. Here are eight great tips on how to keep your Jack O’Lanterns fresh for as long as possible. With these tips, you’ll be sure to have your pumpkins looking their best this spooky season!

The 8 Tips on How to Keep Jack O’Lanterns Fresh
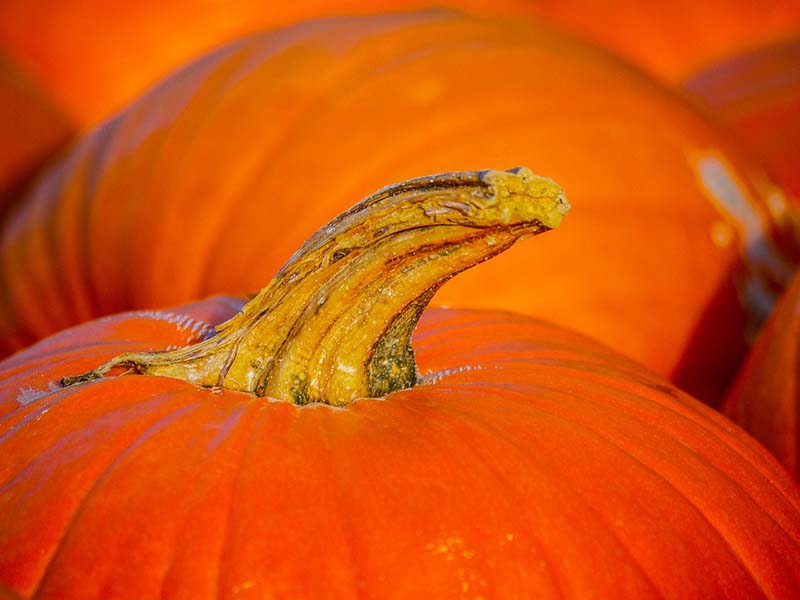
1. Use the Freshest Pumpkin You Can Find
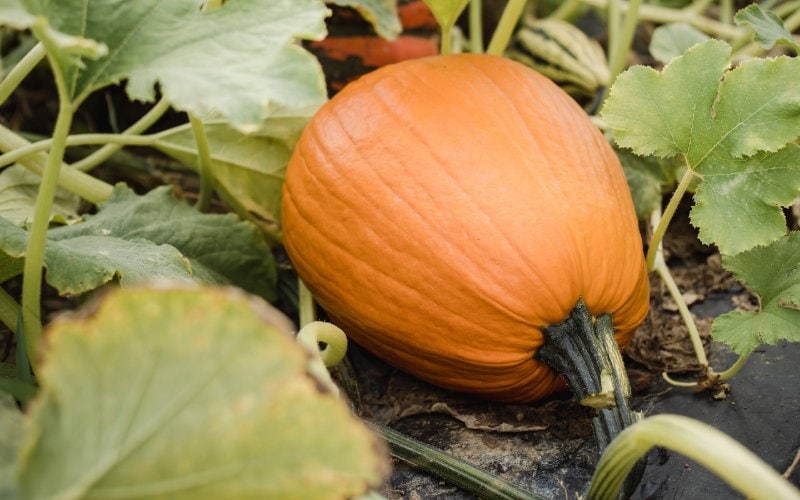
The key to keeping your Jack O’Lantern looking fresh is starting with a fresh pumpkin. Look for one that is firm, with no soft spots, and a bright orange color. You can usually tell a fresh pumpkin by the way it looks and feels.
Start by squeezing and pressing gently all over the pumpkin. If it feels soft, it’s probably bad, and you should look for another one. Make sure that there are no holes or punctures, as they’ll only expedite decay.
While this might seem like a no-brainer, it really can make a huge difference in how long your Jack O’Lantern stays fresh. The fresher the pumpkin, the longer it will take for it to start to rot.
2. Clean the Inside of Your Pumpkin

Once you’ve picked out your pumpkin, it’s important to clean out the inside before carving. Remove any dirt or debris from the inside of your pumpkin with a damp cloth or paper towel, and be sure to remove all the seeds and strings. This will help get rid of any bacteria or mold that might be lingering inside the pumpkin.
Plus, the fewer germs you have inside, the longer your Jack O’Lantern will stay looking its best. Leftover pumpkin sludge will only serve to speed up the rotting process. So, pay extra attention to cleaning out the inside of your pumpkin before you start carving.
3. Spray the Interior
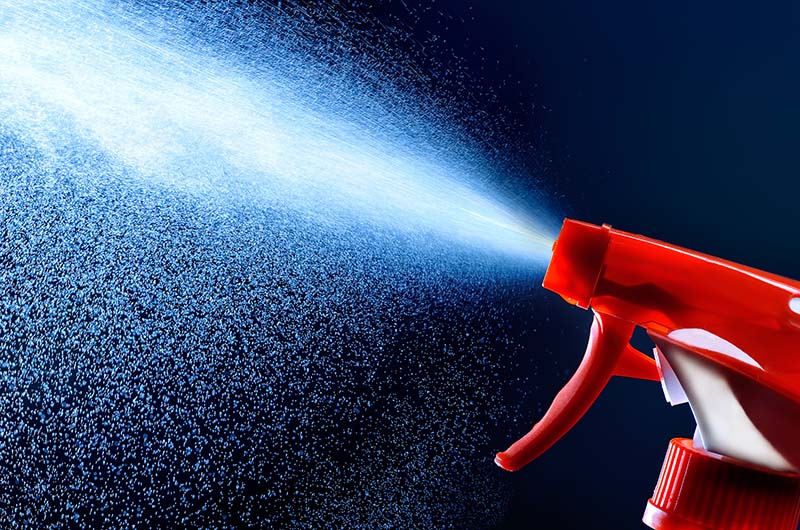
Did you know that you can make a handy DIY spray that will help seal the inside of your pumpkin and keep it fresh for longer? All you need is some water, bleach, and white vinegar. Mix these together in a spray bottle and lightly spritz the inside of your pumpkin.
This will help create a barrier against air and moisture that can cause mold and rot to start growing faster.
To make this solution, simply add a tablespoon of bleach to every quart of water you use. For the vinegar, you can be a bit more liberal with it and add a couple of tablespoons to your solution.
4. Use an Alternative Spray Solution
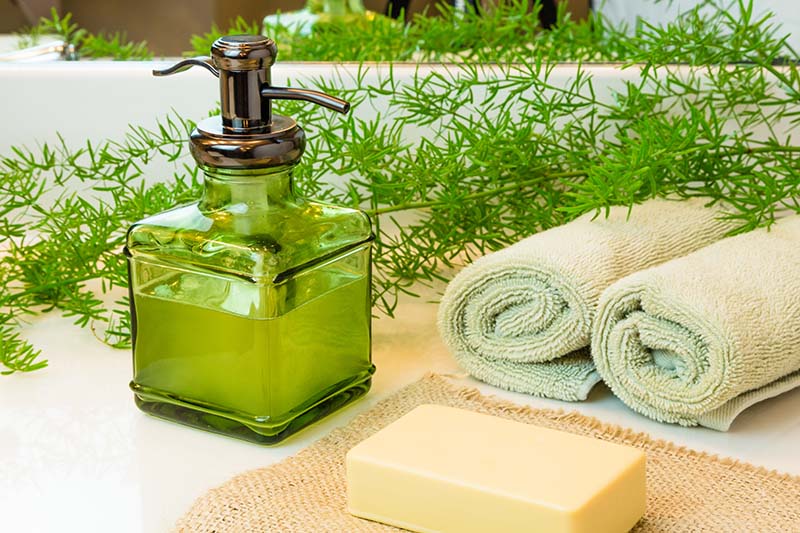
Maybe you don’t like working with bleach or vinegar and would prefer using something a bit gentler. Not a problem—peppermint pure Castile liquid soap works as a great alternative!
Simply mix the Castile soap with some water and spray the inside of your pumpkin. This will help seal in the moisture and prevent mold and rot from setting in.
Peppermint acts as a natural fungus-fighting solution, ensuring that your Jack O’Lantern stays fresh and spooky all season long. Please note, though, that you should never use both spray solutions together. Rather, choose one or the other from tips #3 and #4.
5. Seal It With Hairspray
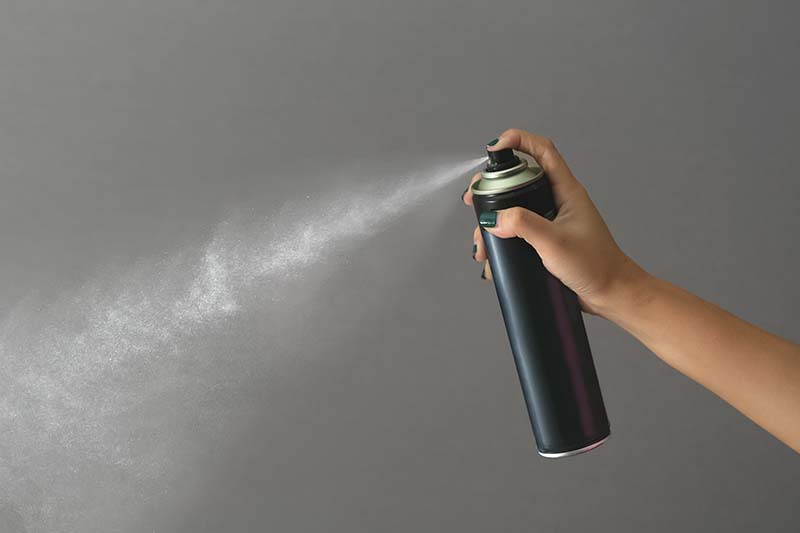
Once you’ve finished carving your Jack O’Lantern, give the interior one final blast of hairspray before setting out for display. As with the previously mentioned spray methods, hairspray works to create a barrier against air and moisture, which can cause rot to set in quickly.
The hairspray helps seal the cut portions of the pumpkin, making sure that no bacteria or mold can get in and start the rotting process. As an added bonus, it will also help your pumpkin last longer when exposed to wind, rain, and other elements.
For optimal protection (and prevention), try using a hairspray that’s designed to combat humidity. This way, the moisture won’t be able to seep in and create any unwanted surprises.
6. Leave the Stem
When most people cut into their pumpkins, they usually remove the stem with the rest of the top and remove the guts from there. But leaving the stem intact can actually help keep your Jack O’Lantern fresh for longer.
The secret is to cut the bottom out instead—remove the inner sludge from there and then carve your design. Not only will this allow more of the pumpkin’s moisture to escape, but it will also prevent nasty pools of leftover pumpkin gunk from forming at the bottom of your Jack O’Lantern.
By leaving the stem on and carving the pumpkin from the bottom, you can help keep your pumpkin fresh and festive all season long.
7. Spread Olive Oil Around the Inside
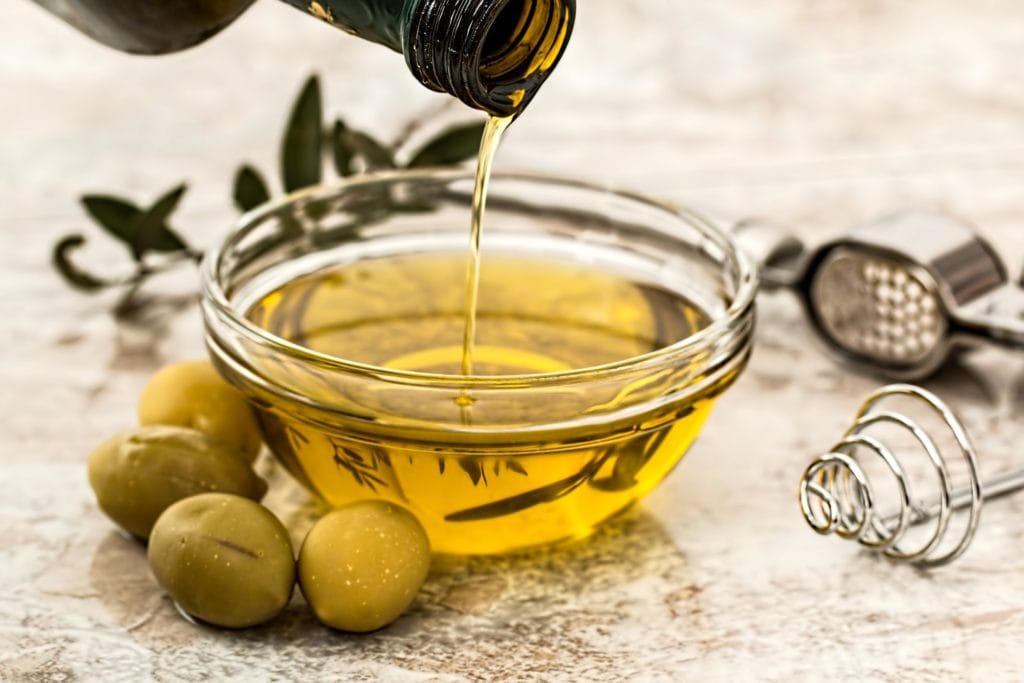
If you want the most natural protection for your Jack O’Lantern, you need to look no further than olive oil! With its antibacterial properties and ability to prevent moisture from entering the pumpkin, olive oil is the perfect tool for keeping your Jack O’Lantern looking its best.
Simply pour some olive oil around the inside of your pumpkin before carving, and then brush it around with a pastry brush. If you don’t mind the mess, feel free to use your hand.
Either way, olive oil will help seal the cuts you make, preventing moisture from entering and mold from growing. Plus, it has a pleasant smell that will keep your Jack O’Lantern smelling nice for weeks on end.
8. Slather Petroleum Jelly Inside
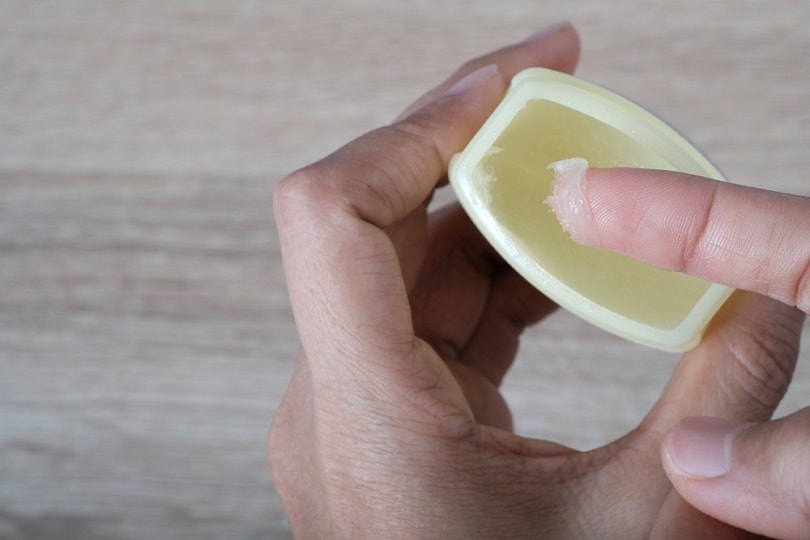
Petroleum jelly, commonly referred to as the popular brand, Vasoline, is a great way to keep your Jack O’Lantern looking fresh for weeks.
Much like the other solutions mentioned, petroleum jelly helps create a barrier between the pumpkin and the outside air. This prevents moisture from entering and helps seal in the freshness of your Jack O’Lantern.
Plus, petroleum jelly is non-toxic and safe for your family, which makes it a great alternative to other sprays and chemicals. All you have to do is slather it on the inside of your pumpkin and let it set.
Tips to Cut Your Jack O’Lantern Like a Pro
If you want to give your Jack O’Lantern a spooky yet professional look, it pays to be well-equipped! Here are some tips on how to cut your pumpkin like a pro:
Choose Your Blade Wisely
A sharp serrated knife is going to make all the difference here; it will provide you with a smoother, cleaner cut that can even handle intricate designs! And with a cleaner cut comes less chance of infection and rot.
Trace Out Your Design First
It’s a lot easier to cut out your design if you have something to trace! Plus, you won’t have to worry about making any mistakes as you go along. Grab some paper or a stencil, draw up the shape you want your Jack O’Lantern to have, and use it as your guide.
Use Toothpicks to Secure Your Design
Once you’ve cut out the shape of your design, stick some toothpicks around the edges. This helps keep the sides in place while you carve in any details. It also adds a bit of stability so that they don’t break when you take them out.
Go Slow and Steady
Rushing through the carving process is a surefire way to get an uneven pumpkin, so try to take your time. It’s better to be slow and steady than have an unevenly cut Jack O’Lantern in the end!
Lightly Sand Any Rough Edges
Once you’re done carving, lightly sand away any rough edges with a piece of fine-grit sandpaper. This will give your design a smoother finish and help keep it looking great for longer.
Clean Up Your Tools Afterward
Your pumpkin-carving tools are bound to become encrusted with pieces of pumpkin flesh, so take a few minutes to clean them after carving. This will help make sure your blades stay sharp and prevent the spread of any harmful bacteria from the pumpkin.
Follow these tips, and you’ll be on your way to having a professional-looking Jack O’Lantern in no time! Happy carving!

Final Thoughts
Now that you know the best methods for a healthier, fresher Jack O’Lantern, you’re certain to get great results. With these tried-and-true tips, you can make sure that your Jack O’Lanterns look their best for weeks on end!
Just remember to avoid using more than one type of DIY spray or solution on your pumpkin, as this can cause some unwanted reactions. With a planned approach, you can keep your Jack O’Lanterns fresh for the entire season! So, carve away and have fun!
Featured Image Credit: Alexander Raths, Shutterstock
Contents
