
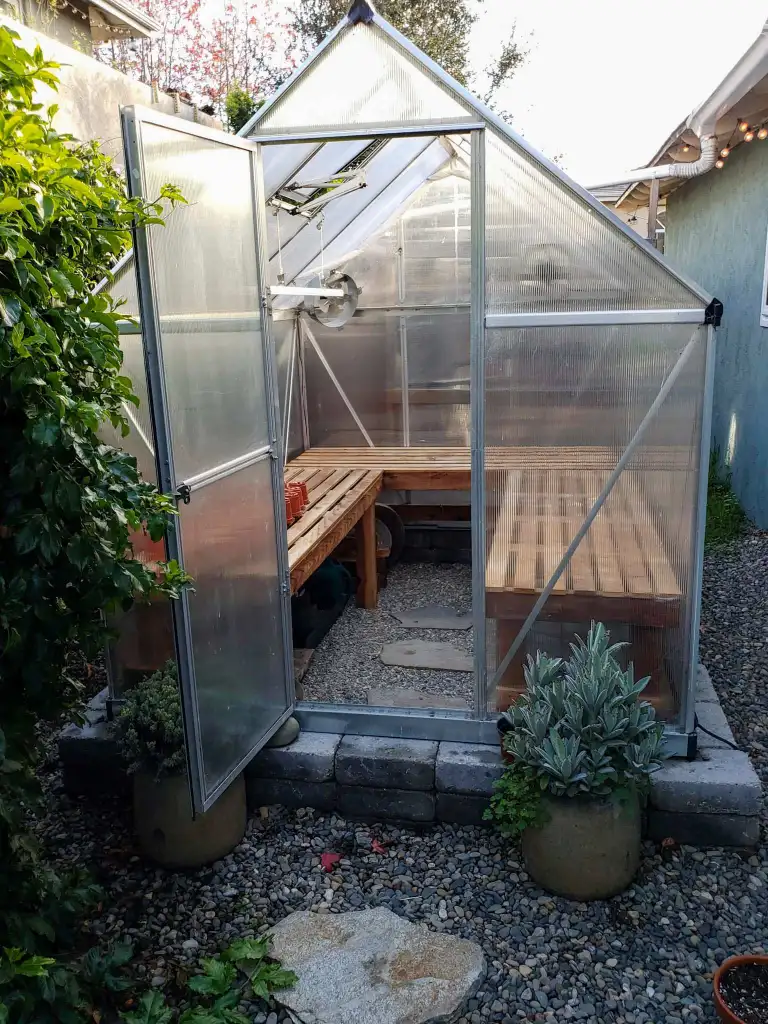
If you live up north and want to keep a backyard garden going 365 days a year, you probably already have a greenhouse. Spacious, easy to build, and affordable, a greenhouse is the golden middle between outdoor beds, row covers, and indoor gardens. That said, to make it work, you will have to put every single inch to good use. Otherwise, there simply won’t be enough room! That’s when shelves come in.
Designed with one purpose in mind—to maximize the “housing space” in the greenhouse—benches and tables do, indeed, make a difference. More good news: you can always build one yourself, and it will be one of the easiest yet most rewarding DIY projects. So, ready to cut some wood? Then take a look at our low-effort, high-impact DIY plans!

The 8 DIY Greenhouse Shelves
1. Low-Effort Shelves with Concrete Legs
| Materials: | Spare wood boards, concrete blocks, paint (optional) |
| Tools: | Regular saw, bleach, work gloves, paint brush (optional) |
| Complexity: | Easy |
Greenhouse shelves don’t have to be expensive or hard to build. These low-effort shelves with concrete legs are a great example of that. All you’ll need to complete this plan is some wood boards you can find in the garage and a set of concrete blocks. Or use some stones instead if you don’t have any concrete available at the moment. But make sure the ground is level; otherwise, the blocks won’t be steady. To make the wood last longer, cover it with at least one layer of paint.
As for the instruments, a regular saw (like a handsaw) and some bleach to clean the walls and the wood boards will be enough. Put some work gloves on, cut the lumber to fit the size of the glasshouse, and that’s it!
2. Multi-Layered Growing Bench
| Materials: | Wood boards (2x4s, 1x4s, 1x2s, 1x6x8s), hardware fabric (galvanized), a set of screws, locking casters |
| Tools: | Miter saw, hammer, nail gun, staple gun, tin snips, protective gloves, measuring tape |
| Complexity: | Moderate |
Do you feel like one-story shelves aren’t going to “cut it” for your garden? Then this multi-layered growing bench will be a better DIY project to work on. Essentially, it’s a wooden table with three tears. Again, we’ll be using wood boards here, but each “level” will be covered with galvanized hardware fabric. This is done to let sunlight through. The fabric will also make watering easier. To attach it to the wood, use a staple gun.
If the fabric is proving to be hard to bend, a hammer will help fix that; next, cut it with tin snips. The wood boards can be secured with a set of screws or nails. Also, don’t forget to order four locking casters for the optional potting bench. Cut the wood with a miter saw, push the screws in with an electric drill, and use a measuring tape to get the proportions right. This DIY plan will take 5–6 hours to complete.
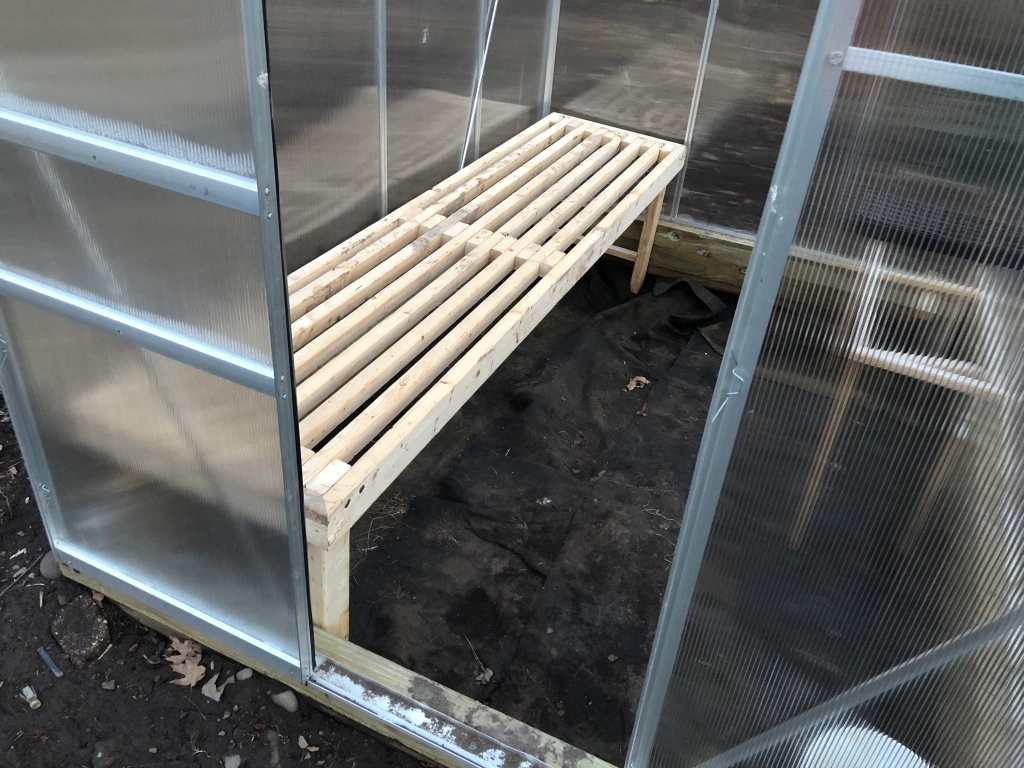
3. Cheap, Quick-To-Build Greenhouse Bench
| Materials: | Wood (2x4s), construction screws, lag screws |
| Tools: | Miter saw, screwdriver/drill, measuring tape, three-sided squares |
| Complexity: | Easy/Moderate |
Technically, this cheap, quick-to-build greenhouse bench only has one surface/level, but once you build it, adding a second layer shouldn’t take long. The one thing that makes this plan stand out is how little time it takes to put the bench together (1–2 hours). You will, of course, have to cut the wood (2×4 boards will be perfect) and use screws to join the separate planks.
We do recommend keeping a construction square handy, though. It will help with the measurements. To give the bench a finished look, cut the boards at a 45-degree angle. The legs should be thick enough to hold the weight. To secure them, use four lag screws (for each leg). To make them even more secure, add a stretcher (no need to use brackets, just regular screws).
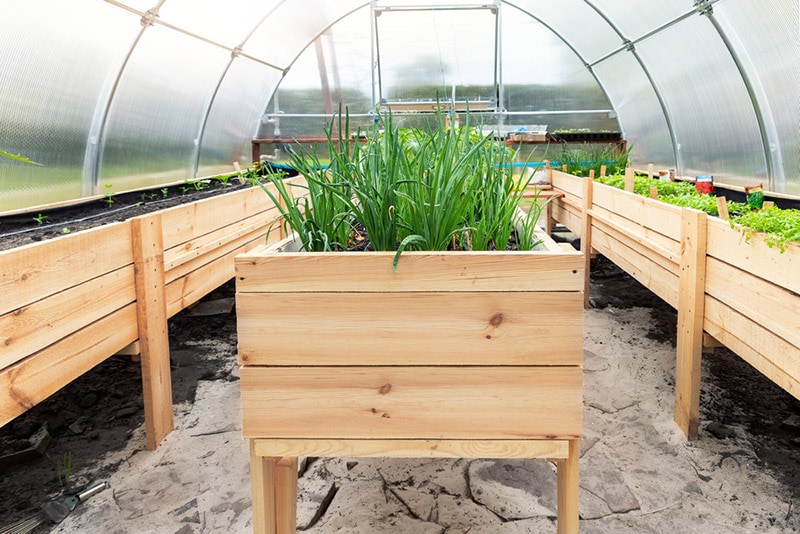
4. U-Shaped Greenhouse Bench/Table
| Materials: | Redwood lumber/cedar (4x4s, 2x4s), finishing boards, deck or wood screws (2.5–3”), finishing screws (1.25–1.5”), sealer/wood oil (optional) |
| Tools: | Miter/circular saw, hammer, power drill, measuring tape, marker/pencil, construction square, paintbrush |
| Complexity: | Moderate |
If you have lots of plants and flowers to shelter during the cold days, a U-shaped greenhouse bench/table will fit your needs perfectly. You can use any wood scraps you find, but for extra durability, go with cedar or redwood and add some wood sealer or oil to make the bench extra strong. To attach the wood boards, use wood/deck screws; the slats will work best with finishing screws.
Start by making a sketch and building the bench on a level surface (like a table). Double-check everything to make sure the boards aren’t too long and will fit inside the greenhouse. Once the frame and the legs are in place, add supports both for the legs and the benchtop. The slats come in last. And remember: you’ll need three tables to form a u-shaped bench!
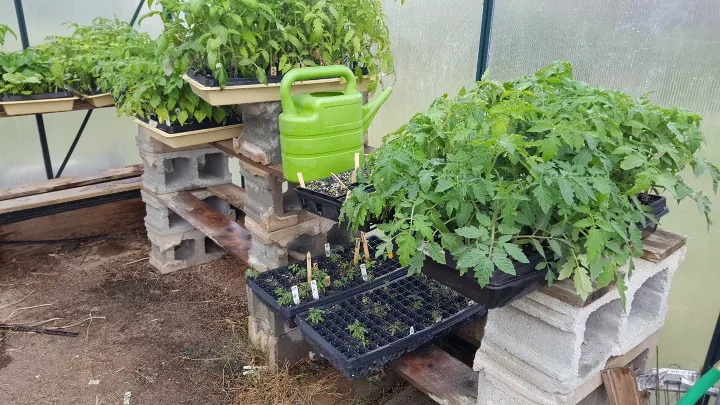
5. Removable, Heavy-Duty Staging
| Materials: | Timber (pallets), shelf battens, a set of screws, metal brackets, protective paint |
| Tools: | Electric drill/screwdriver, work gloves, paintbrush |
| Complexity: | Easy |
To maximize the growing area for your veggies, fruits, and flowers, try building removable, heavy-duty staging for steady growth. Got some pallets collecting dust in the shed? Good, use them to make the boards. You will have to invest in a pack of screws and metal brackets, along with shelf batons, but that won’t cost much. The list of required tools includes a pair of work gloves and an electric drill, nothing more.
The wood will benefit greatly from a layer of protective paint, though. If you’re ready to pay a bit extra for that, paint the wood before you put the shelves together. Also, lay the timber on the ground to see how everything looks. Now, the biggest selling point of this bench is the design. You can lift some of the shelves when needed to make more room for the bottom shelves.
6. Three-Tier Pallet Greenhouse Shelf
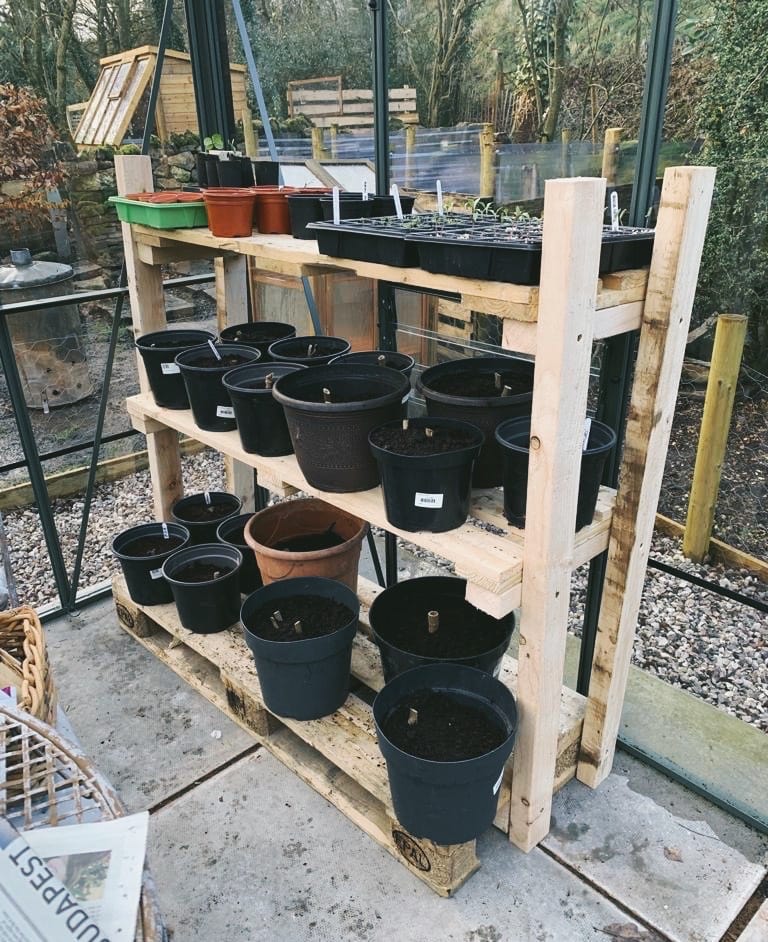
| Materials: | Fence posts, pallets, batons |
| Tools: | Handsaw, cordless drill, spirit level |
| Complexity: | Easy |
Just like most DIY plans on the list, this three-tier pallet greenhouse shelf is cheap and easy to build. To build it, grab a handsaw to cut the wood, a drill for the batons, and a level tool for proper measurements. While the staging isn’t very big, the fact that it has three levels makes it a worthy project. Now, most pallets have five slats, but for this shelf, three will be enough.
So, begin by cutting the extra two out. Use these slats as the foundation for the shelves (one on each side). Later, when you move on to the legs, attach them to these supports, not the actual shelves. The staging might be a bit rough on the edges, but as a low-cost aid around the greenhouse, it will get the job done.
7. Four-Foot-Tall DIY Shelf
| Materials: | Lumber (2x2s, 2x3s, 18 1/2”), pocket screws, nails |
| Tools: | Drill, small hammer, square tool, level |
| Complexity: | Easy/Moderate |
Moving on from the idea of multiple layers, let’s try and build a single four-foot-tall DIY shelf. Depending on what kinds of plants you’ve got in the greenhouse, the extra inches will be more important than the extra shelves. Some pocket screws, nails, and a drill with a hammer to attach the lumber: that’s it for the toolset. A square tool and level will come in handy as well, of course.
The approach is the same as with any other plant holder, only this time around, the legs for the upper shelf are much taller. You’re free to regulate the height to your liking. But do leave some headroom so that the plants can grow. Or, if you’re not happy with this design, go ahead and add another shelf. Thanks to the flexibility of the original concept, that will only take an hour.
8. Portable, Painted Greenhouse Shelf

| Materials: | Wood boards, 2” wood screws, wood glue, exterior paint, sealer |
| Tools: | Power drill, paint sprayer, drop cloth |
| Complexity: | Advanced |
Just like the name suggests, the portable, painted greenhouse shelf can be easily moved in and around the greenhouse. The plan doesn’t include any wheels for transportation, but that’s only a minor con. Besides, the materials and tools needed to get this done are affordable and widely available. We’re talking about wood boards (a lot of those), some cheap wood screws, and an electric drill (a screwdriver will also do).
Painting the shelves is not mandatory, but it will make this outdoor plant stand more durable and, not to mention, look better. The whole thing will cost you $20–$30 and make your gardening chores so much more enjoyable.

How Many Shelves Does the Average Greenhouse Need?
For an amateur gardener, a single shelf will be enough to get started. But if you’re a seasoned planter, even a set of three-story benches might not suffice. This comes down to how many plants you have and whether you’re planning on moving them into an indoor garden or not. The number of shelves will also be dictated by the size of the greenhouse. Some are pretty small and have little to no room for maneuvering.
Others are quite tall and spacious. Industrial-sized greenhouses are 8–10 feet wide but can be as big as 20 feet. As for hobby greenhouses, they usually come in at 6×4 or 6×8 feet. So, if you’re already hard at work with one of the DIY projects from the list, take a moment to measure the size of the glasshouse to figure out exactly how many shelves it can accommodate.
What’s the Best Material for a Greenhouse Bench?
Pine and birch are widely available and easy to work with. But, to make the shelves last for many years, opt for something a bit more expensive. Cedar, for example, is praised for its high resistance to moisture, rot, UV rays, and bugs. The same goes for redwood. So, if you live in a hot and humid area and are having a hard time keeping every single pest in the yard away, these woods will be a great investment.
The list also includes walnut, maple, and mahogany. As an alternative, you can go with treated wood. Or use protective paint: a single layer of sealant will cost less than cedar. Metal shelving is yet another option. However, you’ll only have use for it if the plant containers are big and heavy. Lastly, PVC is cheaper than wood or steel, but it’s not very sturdy. That leaves us with premium wood as the best choice for greenhouse benches and shelves.
How Much Do Shelves Cost to Build?
This depends on the material quality and whether you’ll be paying for the wood or not. If you already have some pallets stacked in the garage and a screw set to hold them together, that project will cost next to nothing. Don’t have an electric drill or a miter saw? Well, why not rent it at a local home improvement store or ask a neighbor to lend it for a couple of hours? The best thing about DIY projects is that you won’t be paying a contract for the job.
Can’t find any spare wood to use? Then take a short ride around the neighborhood. Chances are some construction sites, stores, or schools will have lots of leftover wood that they’ll gladly hand over. This way, the whole thing will only cost $20–$50, which is a great price for a set of shelves/benches for the greenhouse. In contrast, commercial shelves will set you back $100 or even more.

In Conclusion
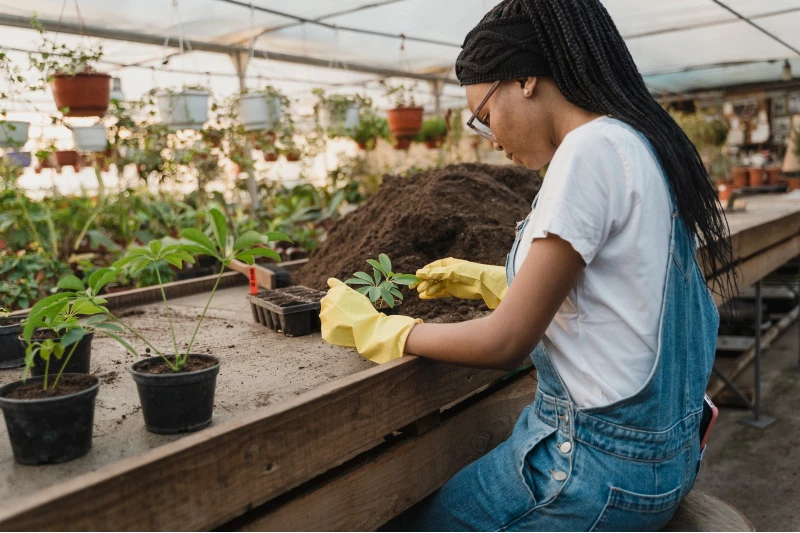
Gardening can be a lot of work, especially if you have to constantly relocate the plants when the seasons change. But that won’t be a problem anymore if you build a full-fledged greenhouse. It will stay warm during the cold winter days, shielding the seed/crops/seedlings from the frost. In the summertime, the greenhouse will protect the plants from scorching sun rays.
So, as long as you build enough shelves and place them “strategically”, you won’t have to worry about the weather. Today, we checked out eight top-of-the-line DIY plans for building shelves, benches, and tables. Some of them take a bit more time, effort, and sleight of hand but they’re all worth your attention!
- Related Read: 8 DIY Raised Bed Greenhouse Covers You Can Build Today
Featured Image Credit: Gorloff-KV, Shutterstock
Contents
