
A crisp edge between lawn and garden adds sharpness and a complete look to tidy landscaping. You’ll have countless ways to add personal flair to your garden edge, from concrete pavers to repurposed glass ornaments, but wood is one of the surest places to start.
The organic grain and earthy brown tones of wood are natural complements to landscape greenery, and its raw neutrality blends perfectly with floral displays of any color. Get inspired for your backyard creation by checking out these DIY wood garden edging plans you can make today.

The 16 DIY Wood Garden Edging Plans
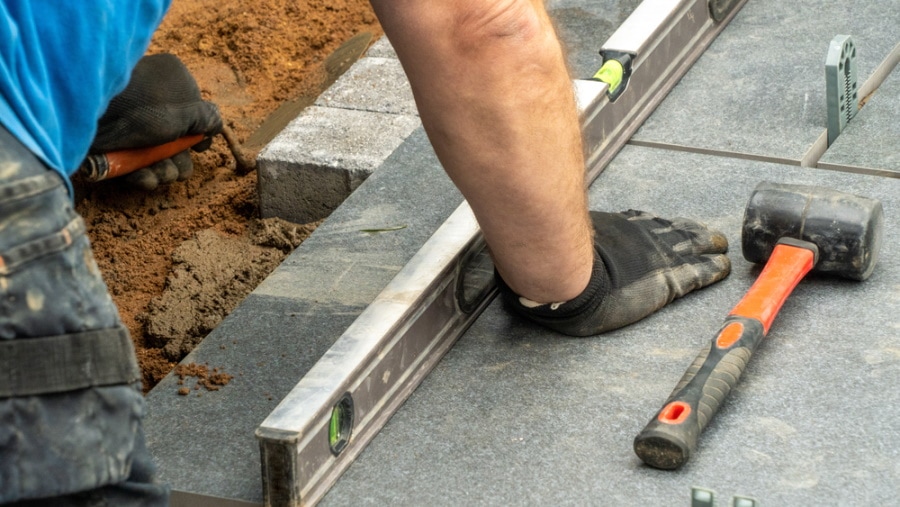
1. Sleeper Garden Edge by Luxury Wood

| Tools and Materials: | Circular saw, Drill, Square, Level, Oak sleepers, Stainless steel screws, Oak dowels (optional) |
| Difficulty: | Intermediate |
Sleepers, or railroad ties, are some of the most common materials for wood garden edging. They’re long, sturdy, and the perfect thickness, so you’ll see them pop up in a variety of configurations.
In this tutorial, you get a written description and a detailed video of the steps to create a sleeper garden edge. Sleepers lie on one another like bricks, fixed in place with heavy-duty screws or rods. The most challenging aspect is the foundation build, which involves using a concrete pour to anchor the sleepers. Keep it level, and the result is a clean, professional-looking garden wall.
2. Simple Garden Bed Edging by DIY Joy
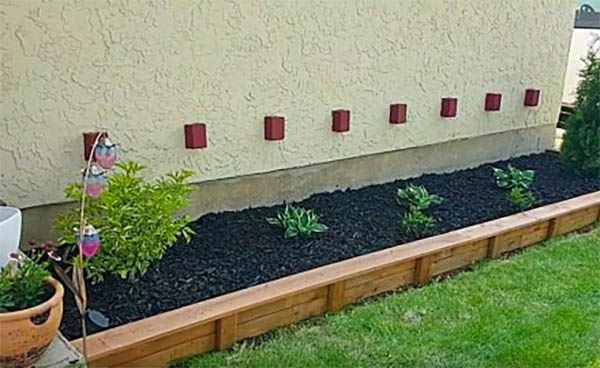
| Tools and Materials: | Miter saw, Drill, 4×4 wood pieces, 2×4 wood pieces, Wood decking, Screws, Pea gravel |
| Difficulty: | Intermediate |
One of the more attractive wood edging plans is also one of the easiest to install. With 4×4 wood pieces as a base, this simple garden bed edging adds wood decking pieces to provide your garden with texture, symmetry, and class. You get a low-rising board-and-batten feature and an appealing overhang for a finished look.
3. Repurposed Pallet Edging by The Shed and Beyond
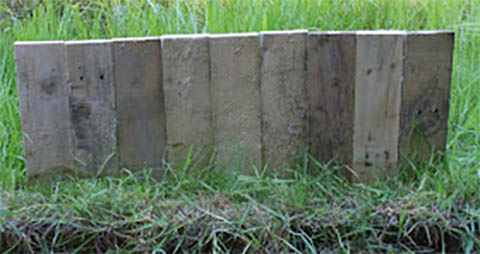
| Tools and Materials: | Pallet, Saw, Strimmer or metal garden wire, Stapler |
| Difficulty: | Easy |
There’s nothing to it with this super easy pallet edging plan. You only need to draw triangles at the ends of cut-down pallet slats to form flat, wooden stakes. Binding them together with wire, you create an even run of tight posts making a flat garden wall. You then pound them into the ground with a mallet, and that’s all there is to it! It’s a loose, imperfect approach to garden edging that’s full of fun and character.
4. Angled Sleeper Garden Edge by Mitre10NewZealand
| Tools and Materials: | Circular saw, Drill, Chisels, Square, Railroad sleepers, Screws, Concrete |
| Difficulty: | Advanced |
An overlapping joint in this sleeper garden edge demands finesse, and thus the difficulty gets bumped up a notch. The results, though, are well worth it, and the video does a thorough walkthrough of how to get a proper look. A bit of edgework and sanding finishes off the overall cleanliness of the dynamic lines and weighty materials.
5. Railroad Tie Garden Edging by Garden DIY
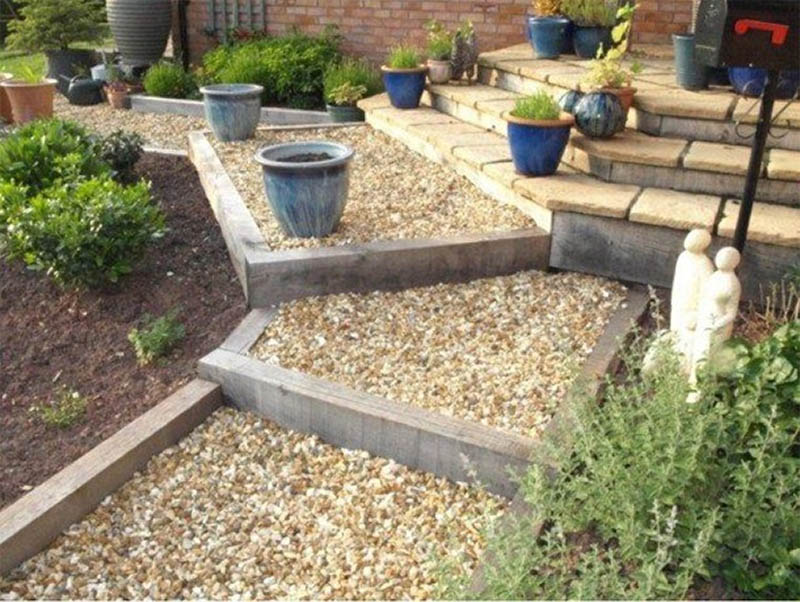
| Tools and Materials: | Saw, Drill, Level, Sleepers, Landscaping screws, Concrete, Sandpaper |
| Difficulty: | Intermediate |
Sleepers show up again in this railroad tie garden edging plan. The instructions are a little vague, but there are some crucial tips in selecting materials. Plus, you get an added look at creating steps with your edging, which can make a difference when you want to enhance a walkway.
6. Log Garden Border by Hometalk
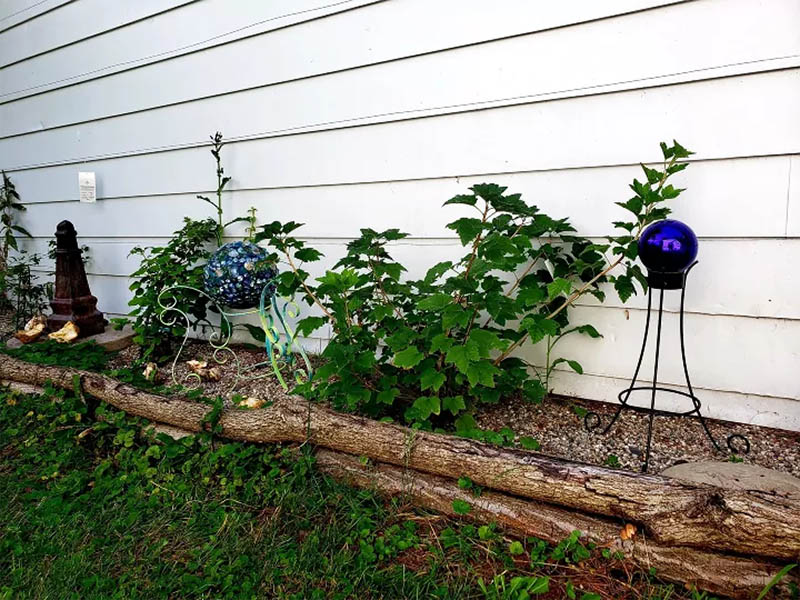
| Tools and Materials: | Saw, Drill, Thin logs (natural tree branches), Wood stakes, Screws, Metal wire, Eye screws, Pea gravel |
| Difficulty: | Easy |
The log garden border in this plan is attractive and uncomplicated. The trick is finding suitable wood pieces that are sufficiently long, wide, and straight to make a uniform wall. If you have many trees at your disposal, it may only take a chainsaw, some wooden stakes, and a drill to complete this live garden edge.
7. Pallet Wood Garden Edging by UpcycledStuff
| Tools and Materials: | Saw, Drill, Knife, Pallets, Soda bottles, Metal rods |
| Difficulty: | Intermediate |
The pallet wood garden edge in this plan is an upcycling opportunity for an eco-friendly DIYer. Reclaimed pallets and reimagined plastic bottles create a quaint yet stout border to hold your garden bed back. The materials are cheap, and it only takes a few minutes and some imagination to put together this rural-feeling feature.
8. Branch Garden Edge by Remodeling Expense

| Tools and Materials: | Saw, Drill, Branches, 2x4s, String |
| Difficulty: | Intermediate |
When windy fall weather supplies you with downed limbs scattered across the yard, make lemonade out of lemons by whipping up this branch-lined garden edge. It’s easy to make any height you want, and the large, equidistant supporting posts add neatness and magic to this whimsical design.
9. Pallet Garden Fence by A Thousand Words

| Tools and Materials: | Saw, Pallets, Paint |
| Difficulty: | Easy |
Even if you’re sick of reclaimed pallet ideas for garden edges, you have to acknowledge the clever approach in this repurposed pallet fence tutorial. Instead of ripping apart planks and cutting them down, these plans take advantage of the original pallet construction to make the setup quick and easy. Finish it off with a coat of paint, and you’ve got a prim, proper, and plumb border for your beds.
10. Log Roll Garden Edging by ForestGarden
| Tools and Materials: | Drill, Wood screws, Level, Mallet, Log roll |
| Difficulty: | Easy |
The combination of simplicity and appeal makes a log roll border one of the best wooden garden edge plans. Fitting it to unique garden shapes is easy due to the flexible prefab roll of finished half-logs. Pin it in place with some tamped-down stakes and screws to complete nearly any garden border in an hour or less.
11. Scrap Wood Edging by 7fingers
| Tools and Materials: | Wood scrap pieces, table saw, level, sledge hammer |
| Difficulty: | Easy |
Purchasing edging materials can be quite expensive. Fortunately, there’s a cost-effective solution to this problem. You can make edging for your garden using scrap wood pieces. Not only is it an eco-friendly option, but it’s also a great way to repurpose unused wood lying around in your garage or backyard. With a little creativity, you can easily cut and shape the pieces of wood to create a unique and attractive border for your garden. This DIY solution is an excellent way to enhance the beauty of your garden while saving money.
12. Pillared Garden Edging by JessedoesDIY
| Tools and Materials: | Circular saw, wood glue, electric drill, pencil, rafter square |
| Difficulty: | Intermediate |
Creating a defined edge for your garden not only enhances its appearance but also helps to keep your plants contained and protected. One affordable and easy way to achieve this is by using 2x4s and other pieces of wood. It’s not hard to create, but your measuring can make or break your edging. This edging is about 1-foot high which is perfect for preventing flooding and certain pest issues. To begin, measure the perimeter of your garden and purchase the necessary amount of wood. Cut the wood into equal lengths (per side) and secure them together in a straight line using nails or screws (in this project, wood glue was used). Make sure to measure the corners twice. You can also create a more decorative look by alternating the heights of the wood pieces or using different colors (or types) of wood.
13. High Edging With Long Pieces With Step by NoviceGardener
| Tools and Materials: | Circular saw, pencil, rafter square, level, drill, wood screws, hammer |
| Difficulty: | High |
If you’re looking for an easy and cost-effective way to add some definition and style to your garden, consider making a 3-foot wood edging, like the one in this video. This simple DIY project can be completed in just a few hours, and the end result is a beautiful and functional addition to your outdoor space. To get started, you’ll need some basic woodworking tools and several pieces of treated lumber. You can customize your wood edging by choosing the type of wood you want to use and adding decorative touches like carved designs or painted accents. The cool thing about this particular edging is that it has a step and an inward section that can be used for sitting or stepping up into the garden.
14. Multi-leveled Edging from Timber Pieces by YourNewHouse
| Tools and Materials: | 16-inch wood blocks, chainsaw, hammer, drill, wood nails, tape measure, garden shovel, |
| Difficulty: | Intermediate to High |
One of the most popular materials for garden edging is rounded timber wood posts. As mentioned in the video, you can use them to create a sturdy and durable garden edging (that’s curved or straight) that’ll last for years to come. The first step is to measure your garden and determine the length of the edging required. Then, cut the timber wood posts to size and dig a trench along the perimeter of your garden. Finally, install the posts into the trench, ensuring that they are level (or multi-leveled like in this project) and secure. With a little effort and creativity, you can easily create a beautiful garden edging using 12-inch timber wood posts.
15. Log Roll Edging by Wickes
| Tools and Materials: | Log rolls, wooden 4×4, trowel, hammer, wood screws/nails, mallet, wooden pegs |
| Difficulty: | Intermediate to High |
Here’s another similar design using short timber logs. And they’re one of the most popular ways to create garden edging. Log rolls are made from timber and are perfect for creating a natural look. These rolls are halved, making them perfect for all types of edging designs and patterns. They’re also durable and can withstand harsh weather conditions, making them an ideal choice for outdoor use. For this simple edging, you’ll need to also create a trench, set up a wood post (using a cut 4×4), then simply install your logs. With a little creativity, log rolls can be used to create stunning garden edging that will enhance the overall beauty of your garden.
16. Large Space Edging by GardenLawncareGuy
| Tools and Materials: | Builder’s line, wooden planks, electric saw, drill, shovel, pencil, rafters square |
| Difficulty: | Intermediate |
If you have a large garden area, a wooden garden edging can be an excellent option to keep things organized. Once you have the measurements of your garden space, you can use a builder’s line to create an outline for your trench. Note that it’s recommended to choose pressure-treated wood that is resistant to rot and insects. After cutting the wood to size, you can install it along the edge of the garden using stakes or pegs. By following these steps, you can create a beautiful and functional wooden garden edging for your large garden area.

Final Thoughts
Every garden needs an edge, and wood is one of the most convenient and fun materials to use. You can feel proud of any creation, and when you apply your creativity to repurpose unused pieces, it becomes all the more satisfying to bring your landscaping to life with an elegant border. Try out any of these DIY wood garden edges to give your garden the defining feature it’s been missing.
You Might Also Be Interested In:
- 16 DIY Fairy Garden Plans You Can Make Today (with Pictures)
- 10 DIY Cedar Raised Garden Beds Plans You Can Make Today (with Pictures)
- 18 DIY Garden Fence Plans You Can Make Today (with Pictures)
- 6 DIY Garden Arbor Plans You Can Make Today (with Pictures)
Featured Image Credit: WD Stock Photos, Shutterstock
Contents
