
Tilling and grouting are two interesting processes behind the work that is bathroom remodeling. Once you decide to add new tiles to your bathroom, especially if you are a proud DIYer, you are probably looking for some basic information to get you started. Grouting is easy, but the most important thing to remember is that grouting needs to be done at the right time. Grouting too soon after gluing the tiles can mess up your entire project, leaving you with more damage. That is why it is recommended to wait between 24 and 48 hours to grout after letting the tiles sit.
To learn the correct and simplest way to grout your tiles and why it is crucial to wait enough before doing so, read the article below.

Why You Should Install Tiles in Your Home
Some rooms in your home have to endure a lot of heat and humidity that accumulates over time. Rooms like bathrooms and kitchens are perfect environments for moisture and potential mold development, so installing tiles is a durable and long-lasting solution that will reduce any risk of damage. Tiles are a much more sustainable solution than hardwood floors since they do not absorb as much water. Most people turn to installing tiles in their bathrooms or kitchen to maintain a clean and safe environment that will last a long time.
How Long To Let Tile Set Before Grouting
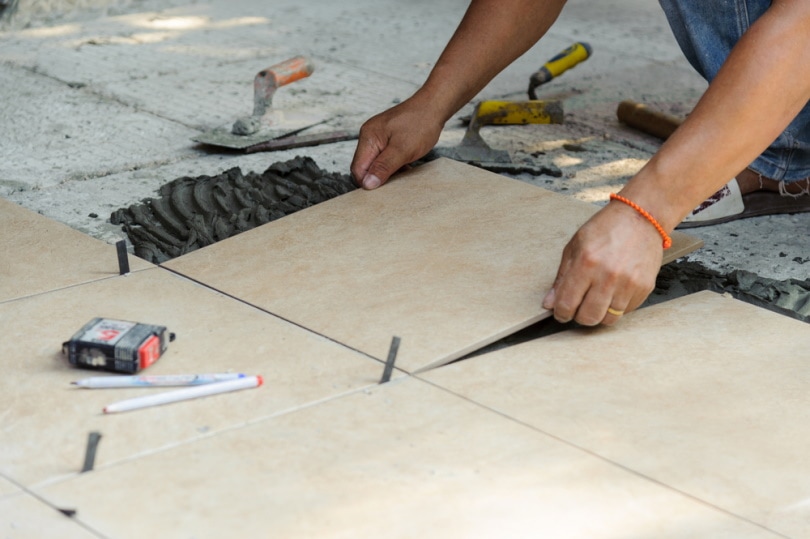
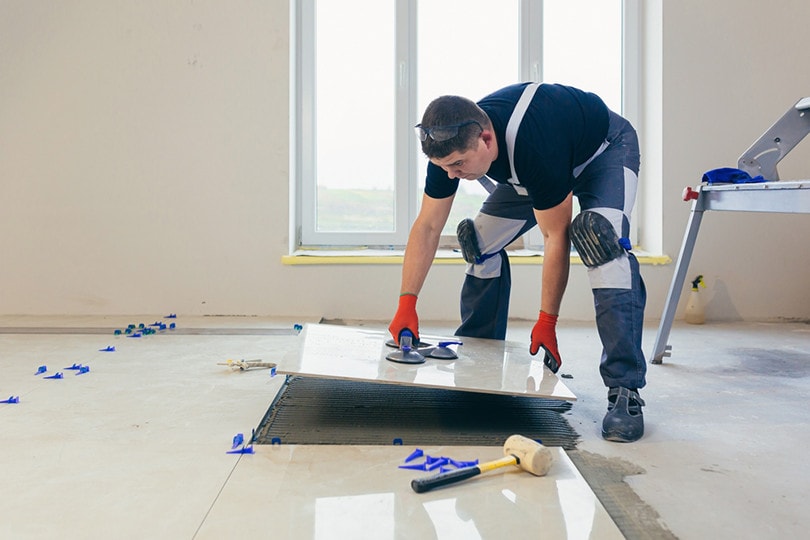
Once you have glued your tiles to the surface, you are probably wondering how long you have to wait for the adhesive to dry before proceeding to the next step, grouting. In most cases—depending on the adhesive you used—grouting should be done between 24 and 48 hours after tiling. The adhesives used to glue the tiles are mostly sand, cement, and water-retaining agents. Once you add the adhesive, it is essential to let it sit before making any changes or disturbances, which includes walking over the unfinished tiles.
How long it takes for them to dry will mostly depend on the thickness of the adhesive layer, the temperature, and the room’s moisture. It is crucial to wait enough before grouting so you don’t disturb the tiles and seal the adhesive that is not dry enough, creating further problems.
The 4 Steps on How To Grout After Tiling
Grouting is an essential step in tiling your bathroom, and it needs to be done by a skilled and careful hand. This process will leave you with flawless and durable tiles, so careful grouting must be done. If this step fails to be done correctly, it can potentially ruin all your hard work. Below you can find some basics for properly grouting tiles, which will be especially helpful if you’ve never done this project before.
1. Clean the Tiles and Seams
Before beginning to grout the tiles, making the surface nice and clean is vital. With a damp sponge, clean the surface several times to get all the dust and particles out of the seams. Remove any chips or leftover cement from gluing the tiles, but do it gently, so you don’t damage them.

2. Mix the Grouting Mixture
The mixture you will use to make the grout will come in a powdered form and needs to be mixed with water. On the back of the bag or container, you can read the instructions that will tell you how much water to mix with the grout to achieve a perfect mixture. After mixing, let the grout sit for about 10 minutes, so all the chemicals can blend properly. It is essential to be patient to avoid ending up with a weaker solution that will be prone to cracks.
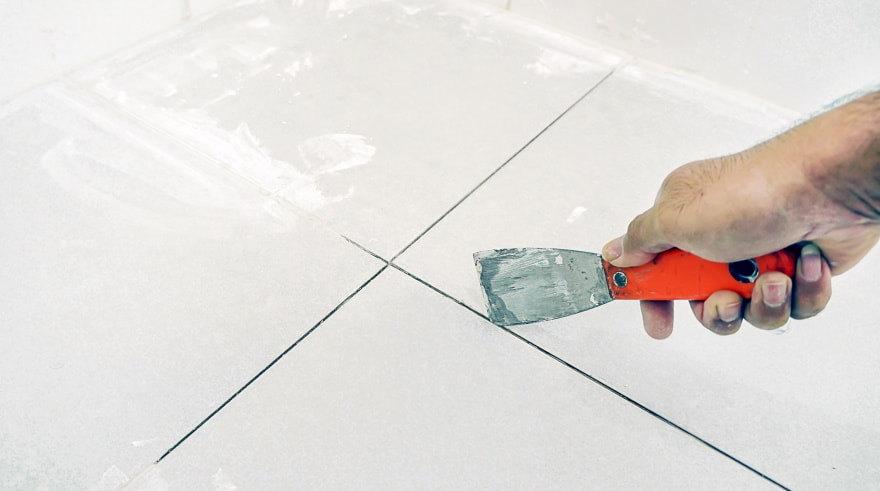
3. Grout the Tiles
The next step is when you can finally begin grouting your tiles. You will work with the grout using a plastering float, and in this step, it is crucial to keep the float at a 45-degree angle. It is advisable to work the corners first and proceed to finish the rest of the surface. After finishing the entire surface, remove the excess grout using the float.
4. Clean Out the Surface
Using a damp sponge, you can proceed to clean out the entire surface. This step is fairly easy; all you need to remember is to keep the sponge constantly moving in any possible direction except horizontally on the grout line. Gently moving the sponge at a 90° angle would be best, cleaning out the tiles only and leaving the grout lines filled.
The Risks of Grouting Too Soon
If you grout the tiles way before they have enough time to dry and stick firmly to the surface, you will cause much bigger problems. You can damage and disturb the integrity of the adhesive underneath the tiles, causing the tiles to become loose, chip, or even fall off the wall. If your tiles become loose while you proceed to grout too soon and they continue to dry up in that condition, water can seep behind the tiles in the future and cause mold to develop.
Do’s and Don’ts When Grouting
While all the basics are covered above, there are some tips and tricks you can follow to truly master the art of grouting.
- Before grouting, apply a sealer on porous tiles to avoid the mixture becoming too difficult to remove.
- Avoid scrubbing the tiles hard after grouting, as that will only spread the mixture around.
- Use gentle and soft motions with a damp sponge to remove any excess grout.
- Don’t apply too much grout to the tiles.
- Ensure the grout is dry before removing any excess grout from the tiles.
- Always let the tiles set for at least 24 hours, although sometimes it is advisable to wait as much as 72 hours before grouting.
- Clean the grout lines regularly to maintain a clean and durable surface for a long time.
- Use a utility knife to remove excess grout from corners and other hard-to-reach areas.
Final Thoughts
After reading about grouting and tiling, you will hopefully be more confident when doing your home improvement project. If you enjoy DIY projects, you will surely enjoy grouting, as it takes a detailed and patient hand to do a decent job. Remember to work slowly and give your tiles enough time to set before grouting.
Featured Image Credit: bNUTTANART KHAMLAKSANA, Shutterstock
Contents
