
Blinds are essential if you have a room that gets a lot of sunlight. It’s a good thing if you want that prompt to wake up in the morning; however, it’s another story if it’s causing glare on your computer or TV screen. If you use them every day, the chances are something will happen to them, especially if they’re corded.
Our instructions include steps to fix the most common issues you’re likely to have with blinds, whether they’re horizontal or vertical. Luckily, most repairs are simple DIY jobs.

Before You Start
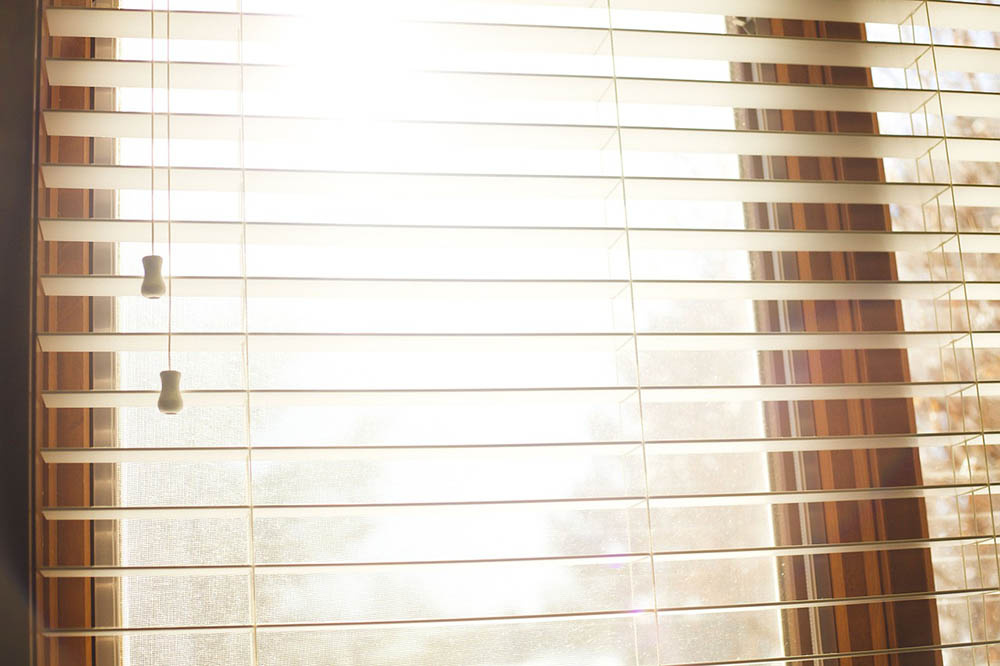
We have two suggestions before you start taking apart your blinds. First, determine what the problem is. The pull cord is a frequent issue with this window treatment because it gets so much use. Sometimes, it’s just a matter of it getting tangled or jammed. The repair is a quick one if that’s the case. However, it’s essential not to pull on the cord if it’s stuck. It’s liable to break if it’s frayed.
The tilt mechanism is another common trouble spot. You’ll see blinds with either another cord or a wand. This repair often involves replacing the entire piece. However, it’s not difficult to do with the right tools.
Our second suggestion is to have cleaning supplies on hand before you begin. We understand that blinds aren’t the easiest things to wash. However, they can hold a lot of dirt and dust, especially if they are in the kitchen. Grease acts like glue on them. You’ll make your job much easier if you take the time to clean the blinds while you have them off the windows. It’s probably a good time to spray them down, too.
Supplies You May Need
Of course, what you must have depends on what you’re fixing. All jobs need the cleaning supplies we mentioned. If it’s a pull cord issue, you should also have the following:
- Scissors
- Screwdriver
- New pull cord
- Tape
- Glue gun (optional)
If the tilt mechanism is the culprit, you’ll have to get a replacement part. We suggest starting with the manufacturer to ensure that you’re getting the right one.

How to Fix Window Blinds (Pull Cord Issues)
1. Identify the Problem
Knowing the issue will determine the supplies and next steps you have to take. Find out which part is causing the problem, whether it’s the pull cord or tilt mechanism. Then follow the correct steps listed below depending on the issue.
2. Remove the Blinds from the Window Brackets
Some brackets have knobs you can twist to remove the blinds. Others will require a screwdriver to loosen them.
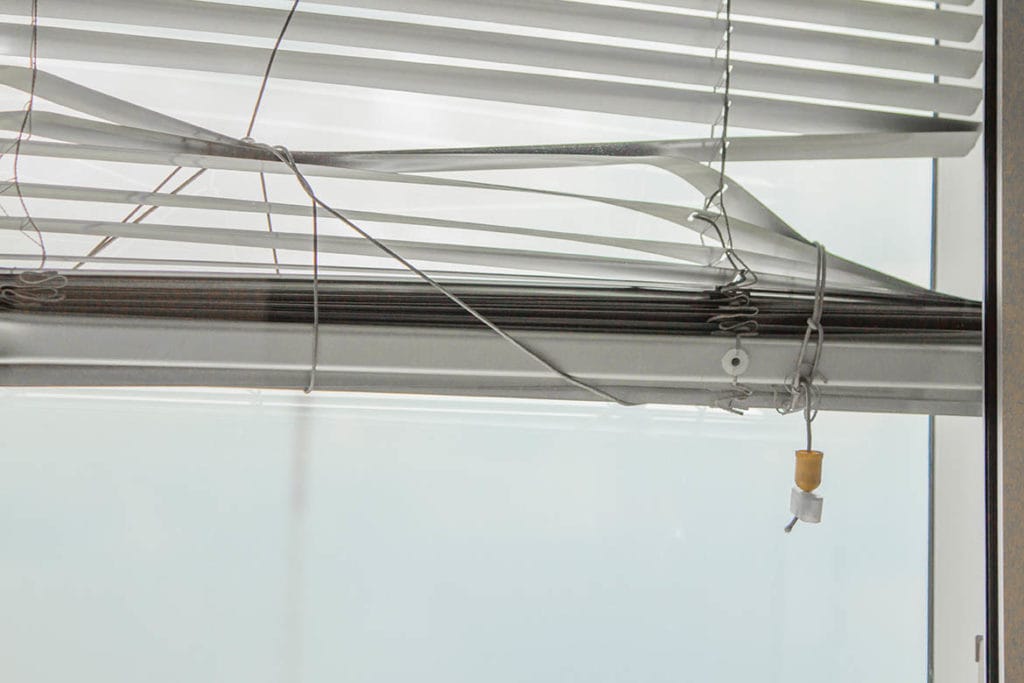
3. Examine the Pull Cord for Jams.
Sometimes, the pull cord just gets off the track or is stuck in the mechanism. You may be able to work it loose without having to replace it. However, if it appears damaged in any way, you might as well swap it out for a new one.
4. Cut the Cord at Its Weak Spot.
The easiest way to repair a bad pull cord is to splice a new one to the existing one after cutting off the damaged part.
5. Splice the New Cord to the Existing One.
You can do this step in several ways. You can tape the ends together with a stronger product, such as electrician’s tape. You could attach them with a glue gun or burn the ends so they melt together.
6. Trim the Cord to the Desired Length.
You’ll probably have some extra cord, depending on where you spliced the two. It’s okay to err on the side of caution and leave a bit extra if it doesn’t get in the way. You should also use the same method to prevent fraying as you did with splicing them.
Window Blind Tilt Mechanism Issues (8 Steps)
1. Identify the Problem
Knowing the issue will determine the supplies and next steps you have to take. Find out which part is causing the problem, whether it’s the pull cord or tilt mechanism. Then follow the correct steps listed below depending on the issue.
2. Remove the Blinds from the Window Brackets
Some brackets have knobs you can twist to remove the blinds. Others will require a screwdriver to loosen them.
3. Remove Either the Tassel at the End of the Pull Cord or the Wand.
Removing the working end of the mechanism is the first step to getting it out of the way. It’s too easy for it to get tangled or damaged.
4. Remove the Endcap.
This repair is simply a replacement. Unless you see an obvious jam, something is probably broken inside it. The endcaps usually will just snap off to get to the parts inside of the blind.
5. Free the Mechanism from the Rod.
You must first get the mechanism away from the rest of the tilter to replace it. Take care not to cut yourself on any sharp edges within the rail as you pull the rod back.
6. Slide the Mechanism Out of the Headrail.
Gently work the mechanism loose from the housing.
7. Install the Replacement Mechanism.
Many products make this task easy, with the new one just snapping into place. Put the endcap back on the headrails.

8. Complete the Setup.
If your blinds have a wand, reattach it to the replacement part.
After either repair, the next thing to do is to clean the slats on your blinds. After all, they’re off the window, anyway. If the size is manageable, you might consider scrubbing them down in the bathtub. Let them dry before putting them back in place.
See Also:
- 8 Window Treatment Trends – Blinds, Coverings, and More
- 3 DIY Blinds You Can Make Today (With Instructions)

Final Thoughts
Repairing window blinds isn’t tricky. However, it’s worth mentioning that you get what you pay for when it comes to this window treatment. That includes all aspects of having them, from cleaning to DIY fixes.
As much of a pain as they can sometimes be, there’s no denying how much they add to a room. They’re also a necessity many times. Our advice is to treat them gently to get the most out of your blinds.
Related Reads:
- How To Safely Dispose of Old CFL Bulbs
- How To Clean A Bathroom Sink Drain (Quick & Easy)
- How to Unclog Your Kitchen Sink Drain (Quick & Easy)
Featured Image Credit: kunmom, Shutterstock
Contents
