
If you frequently find yourself digging through your box of old and new hats but keep losing your favorite ones in that messy pile, we’ve got an ideal solution. Creating a “hat wall” is a perfect storage technique for hats, providing you with both convenience and style.
If you’re looking for some tips for hanging your hats on a wall, grab your favorite hats for the season, and let’s get into the projects.

How to Hang Hats On a Wall
1. Find an Ideal Place to Hang Your Hats
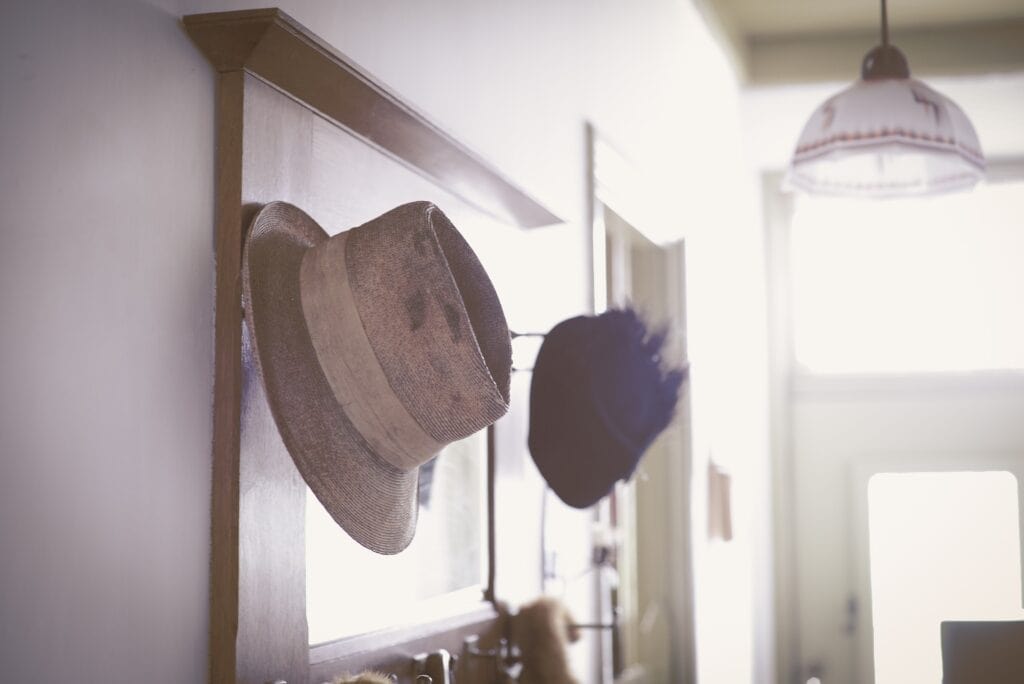
The greatest part about this DIY project is that it can go in any room and on any wall. It isn’t excluded from the living room area and can even look amazing in the bedroom or the hallway. This decorative idea will create a more dynamic and fun space with a chic and eccentric aesthetic. Whichever room you choose for your innovative design will light up with charm.
The most important thing to consider is whether your hung hats will still maintain their purpose and be used daily or will they become decorative pieces only.
If you want to continue using your hats but want to display them for easier access, hang them all in the hallway.
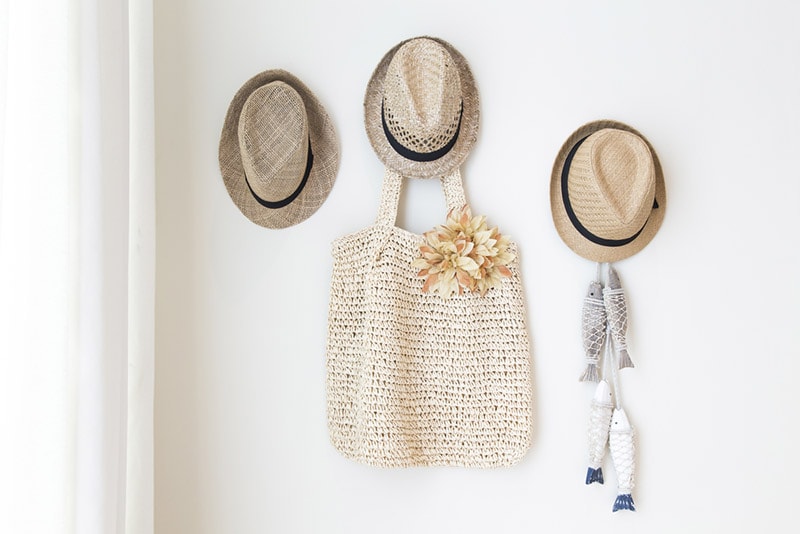
2. Style Your Hats in a Cute Arrangement
Once you pick the ideal location, it is time to create an arrangement that will suit your household. The main thing to consider here is the type of hats you will use and their main features. The color, shape, size, and material of your hats will determine their exact position. You can choose a more dynamic arrangement, where you will display your hats in a chaotic yet fun order, or you can choose a more organized and symmetric approach.
The best part is you don’t have to choose only one arrangement, as this stage is entirely customizable, and you can constantly create new arrangements as you go.
Arrange the hats on the floor first to get an idea of how your wall will appear.
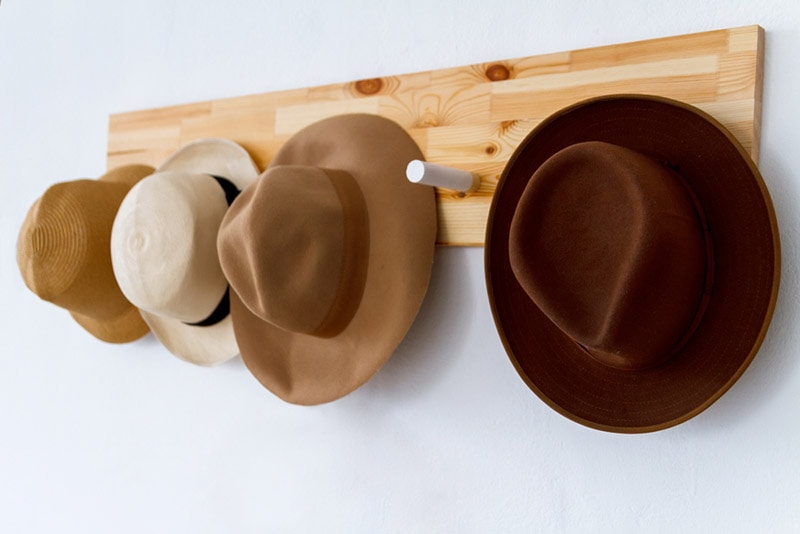
3. Install Hooks on the Walls
Once you decide on the ideal location of your hats and their perfect arrangement as a piece of art, you can move on to the most crucial part of this project. Gathering tools before you begin is always recommended, and for this particular project, you will only need a couple of hooks, a drill, some screws, and a screwdriver. Installing the hooks on the walls is a quick step, but it requires some planning ahead.
An optional step here is to measure the points to create a more organized appearance on the wall, and for this, you’ll need a tape measure, a pencil, and possibly a level. Measure the ideal points, drill the necessary holes, and screw in the hooks with the screwdriver.
Since your hats are all different sizes, your arrangement may not seem perfectly aligned. It is recommended to measure the distance with your eye for a more organic and casual appearance.
4. Hang Your Hats
After installing your hooks, the most challenging part should be over. All that is left now is to hang your hats and enjoy the view. This hanging method will allow you to have full, unobstructed access to your hats without having to untie them or dig them out of the closet. The hooks enable easy access, providing you with a sleek yet practical innovation.
Since this project is so easy to achieve, make sure to take your time and plan everything beforehand so that by the end, there is little to no adjustment needed.
In Conclusion
We hope this fun project tutorial provided you with a fantastic solution for decorating a bland space while keeping functionality. You can access and use your hats effortlessly while having them all neatly hanging on the wall. Once you’re done with this effortless project, it will become the centerpiece of any room and a real eye-catcher.
Featured Image Credit: perfectlab, Shutterstock
Contents
