
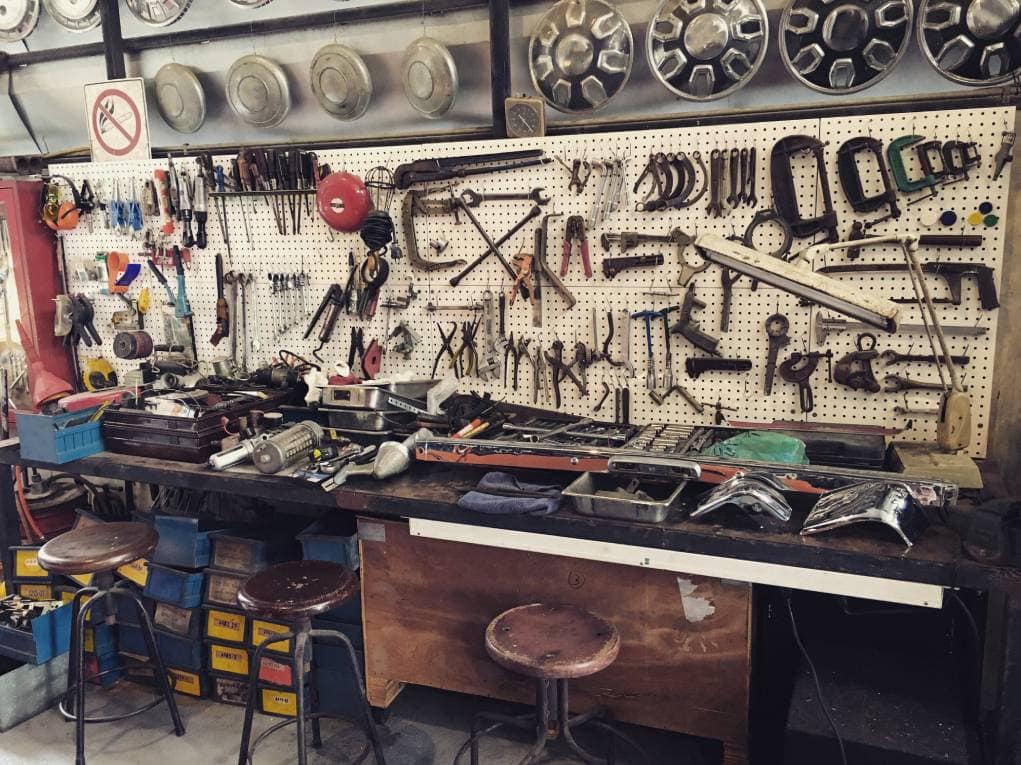
If you’re looking for a little extra storage on the wall of your garage or basement, a pegboard can be a phenomenal solution. However, before using the extra storage potential, you need to hang it up!
While there are certainly tougher DIY projects out there, that doesn’t mean you can’t mess this one up without even realizing it. That’s why we wanted to take the time to highlight some expert tips on how to hang a pegboard up right the first time.

The 9 Expert Tips for Hanging a Pegboard
1. Measure First
| Cost | Free |
| Importance Level | High |
| Ease of Completion | Easy |
The old saying is “measure twice and cut once,” and that mantra holds true if you’re hanging up a pegboard. Often, you’ll need to cut the pegboard down to size, and if you cut it too small the first time there’s no putting it back together.
The same is true for any of the mounting hardware you might need to cut to size and for finding the studs. Measure everything out first and ensure you have what you need before you get halfway through the job.
2. Have Realistic Expectations
| Cost | Free |
| Importance Level | High |
| Ease of Completion | Easy |
If you think you can hang 800 pounds worth of tools from your new pegboard, we have some sad news for you. Keep in mind that even if you do everything right and use extra support, the pegboard will still only be able to handle so much.
Keep realistic expectations for a pegboard, and if you need something that can support a little more, consider a sturdier alternative.
3. Use the Right Tools
| Cost | Moderate |
| Importance Level | Moderate |
| Ease of Completion | Easy |
If you want to do a job right, you need to use the right tools for the job. Get a measuring tape, a stud finder, and a drill in addition to all the hardware for the pegboard.
Not only will using all the right tools make the job easier, but it will dramatically increase your chances of doing a great job the first time.
4. Use Plenty of Supports
| Cost | Low |
| Importance Level | High |
| Ease of Completion | Easy |
Your peg board is only as sturdy as the weakest support. If you don’t provide plenty of support, there’s a good chance you’ll rip everything right out of the wall when you go to hang stuff up.
A few extra supports might be a little more work, but it will keep you from having to start everything back over when you pull the pegboard right off the wall.
5. Find a Stud
| Cost | Free |
| Importance Level | High |
| Ease of Completion | Easy |
While this is technically only a step you need to follow if you plan on hanging heavier things up, we recommend finding a stud for every pegboard. The reason for this is pretty simple. If you put the screws right into the drywall, there’s not much holding it up.
The weakest point is now the drywall, and there’s a good chance you’ll pull the screw right out of the wall if you put too much weight on the pegboard. A stud is a much sturdier mounting point, and it will dramatically increase the amount of weight you can hang from the pegboard.
Even if that’s not something you’re interested in now, it opens up the possibility if you ever want to hang something heavier up down the road.
6. Get High-Quality Hooks
| Cost | Moderate |
| Importance Level | Moderate |
| Ease of Completion | Easy |
If you’re hanging things up from your pegboard (and who isn’t?) you don’t want low-quality hooks pulling right out. Not only will this make whatever you’re hanging up fall, but it can also damage the pegboard.
A few high-quality hooks won’t cost much, but they will ensure your pegboard works the way you want it to. Higher-quality hooks also improve the look of your pegboard, making this small investment a real win-win.
7. Leave Space Behind the Pegboard

| Cost | Low |
| Importance Level | High |
| Ease of Completion | Moderate |
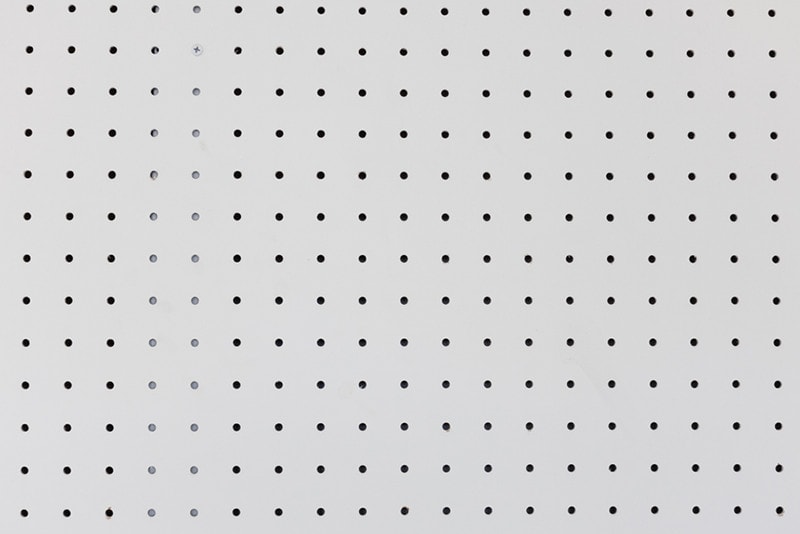
The last thing you want after hanging up a pegboard is to realize that you didn’t leave any space for the hooks. The hooks go through the pegboard, which is why you need to leave an opening on the backside.
You have a few different options to create this space, but you need this space. It might make the installation process a little more complicated, but it’s also going to give you a usable pegboard after you hang everything up.
8. Consider Furring Strips
| Cost | Moderate |
| Importance Level | Moderate |
| Ease of Completion | Easy |
You can use spaces to give your pegboard some space from the wall, but furring strips will give the pegboard an elevated finished appearance. Not only do furring strips create the space you need behind the pegboard, but they also help hide the space behind the pegboard.
The result is a board that sits off the wall a bit, but it looks like the board is sitting flush right where it should.
9. Paint the Pegboard
| Cost | Low |
| Importance Level | Low |
| Ease of Completion | Easy |
This is something you don’t need to do; simply painting the pegboard can give it a refined appearance that matches the rest of the décor. It’s also extremely easy, so if you want to elevate your pegboard a bit, there’s no reason you can’t do it.
While you can use regular interior paint, spray paint works just as well and will be a lot faster to apply. Just pick what you like and paint the pegboard before you hang it up.
 In Conclusion
If you’re thinking about hanging up a pegboard, take your time and do it right the first time. While it might cost a little bit more to get all the right tools for the job and might take a little more time to do it right, if you do, you’ll get a pegboard that can handle everything you throw at it and that lasts for years to come.
See Also:
- 30 DIY Plywood Projects You Can Build Today (with Pictures)
- 31 Essential Woodworking Tools Found in Most Workshops
Featured Image Credit: bonjour_tan, Shutterstock
Contents
