
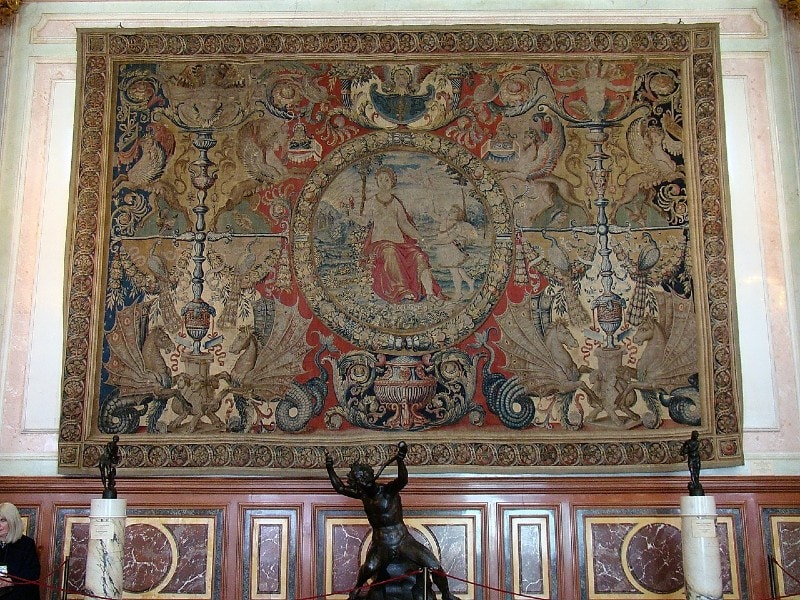
Beautiful, handcrafted tapestries are some of the best ways to add life to your walls but hanging them can be tricky if you’re not sure what you’re doing. Whether you have a small, light tapestry or a huge hand-woven antique, we’ve compiled a list of the best methods you can use to hang them up. Let’s jump into those methods below with more details.

The 6 Tips for Hanging a Tapestry
1. Velcro
A classic household staple comes to the rescue once again. Before hanging your tapestry, stick two to four Velcro strips onto the wall, measuring beforehand to make sure that you’re placing them level. Now, add matching Velcro strips onto the back of the tapestry, carefully measuring to ensure you placed them in the same spot.
Used correctly, Velcro can be a great way to hang lighter tapestries without damaging the walls.
2. Hammer and Nails
The original method of hanging things up is still useful in this situation. Take a regular hammer and some nails and precisely measure where you want to hang the tapestry. Using a stepladder and perhaps a helper, hold the tapestry in place and tap nails into the top corners of the tapestry, making sure to drive them deeply. This method damages the wall and the tapestry, but it’s quick and easy.
3. Tapestry Rod
A strategically placed curtain rod would also do the trick, but tapestry rods are usually designed to hold heavier tapestries for display without damaging them. Many tapestries come with pockets for rods built-in, but others do not.
If you have some sewing talent, you can sew your own rod pockets in a few moments. This is among the more durable options, but it requires mounting a rod on the wall, which leaves holes behind.
4. Frame It as Art
This works best for smaller tapestries that can fit in traditional picture frames, but it could work for larger ones if you have corresponding frames.
To prepare your tapestry for framing, first wash and dry it, then iron it carefully. Dab a small amount of wall adhesive to the back of the tapestry as you place it in the frame. A bit on each corner will keep it from bunching up in the frame or when it gets moved.
5. Create a Canopy
Craft a canopy illusion by hanging your tapestries from the ceiling. This effect works best with sitting areas and beds and only requires basic wall adhesive mounts. Affix these to the tapestry along its four corners, then press the edge onto the ceiling.
6. Adhesive Backed Strips
This is the best method of hanging tapestries, with adhesive-backed strips able to hold most small and medium-sized tapestries on walls. They may struggle with a large tapestry, though.
Always check the weight limit on the packaging of your adhesive strips. They typically range from 5–7 pounds, with heavy-duty wall mounts harder to come by. Apply these to the four corners of your tapestry and carefully remove them when you want to take them off the wall.
Conclusion
Tapestries can be used as beautiful wall art, but it can be hard to choose which installation method is best for your home. Renters will love the adhesive-backed strips that don’t damage the walls while securely holding the tapestry up. If you don’t mind knocking a few holes in the wall, you can simply take a hammer and some nails to nail the tapestry up. Use what you have at hand to see what will work best for you and your home.
Featured Image Credit: takazart, Pixabay
Contents
