

After you purchase an IKEA kitchen, you might dread the installation process. IKEA does its best to make installing its kitchen cabinets as easy as possible, but that doesn’t mean that the prospect isn’t daunting. Installing IKEA kitchen cabinets can be an easy process if you take your time, stay organized, and pay attention to the small details. This can be accomplished with some simple steps, clutch tips, and expert tricks.
Here is how you can install IKEA kitchen cabinets with 11 tips, tricks, and steps to help you make it to the finish line.

Preparation
In many cases, people are installing an IKEA kitchen after working with their kitchen design staff. If you worked with IKEA’s designers, you should get a full delivery of all of your cabinets, plus your design and relevant instructions. Make sure you have all of those things on hand, as well as the necessary tools, before getting started.
This project will take two or more people and at least one day of work. Depending on how complex and large your kitchen is, you might need more time to get the job done. More complex kitchens might also take more experience or patience to effectively see the job through.
What You Will Need:
- Two or more people
- Pencil or marker
- Stud finder
- Drill
- Screwdriver
- Hammer
- Clamps
- Measuring tape
- Level
- Plans and instructions
| Complexity | Intermediate–Advanced |
| Time | 1–2 days |
The 11 Tips on How to Install Ikea Kitchen Cabinets
1. Organize Your Project
Taking time to organize your project before you start can save you a ton of time and frustration going forward. You should keep your cabinets in their boxes at first. Organize them and arrange them by type and size. Make sure the boxes are clearly marked and labeled and your workspace is clear and clean. Make sure you have all of your plans and tools on hand, then make a plan. Decide where you are going to start and the order that you want to tackle the cabinets.
2. Locate Studs
Next, you want to take your time to locate all of the studs in the kitchen where you are going to be installing your cabinets. IKEA cabinets are installed via a very simple rail system, but the rails need to be firmly secured into solid studs. Use your stud finder to locate the studs along the whole length of the walls where you will be installing your cabinets.
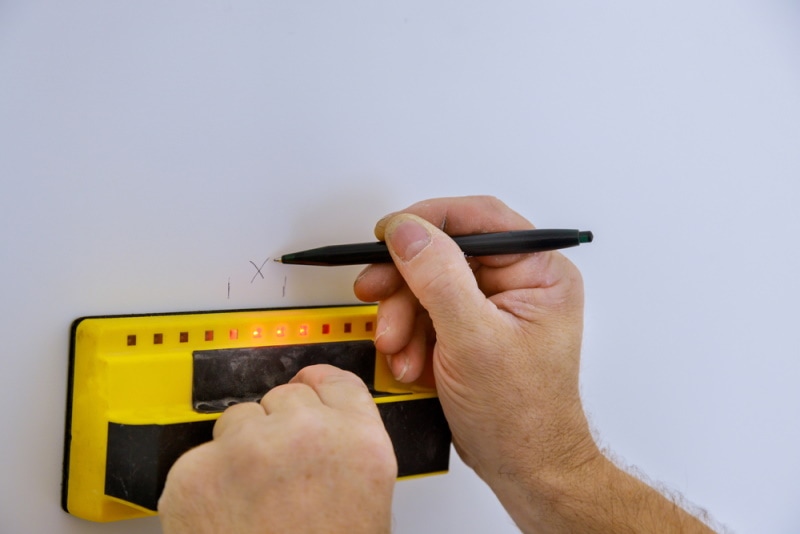
3. Mark Studs
As you are locating the studs, have another person mark the location of each stud with a marker. It is a good idea to mark the upper and lower part of the stud if you are installing upper and lower cabinets. Make at least two marks per stud that are clearly visible and easy to reference.
4. Mark Cabinet Locations
Now, you should take time to mark out the locations of your cabinets on the walls where they will be installed. Referencing your plans, walk around the kitchen and mark out each cabinet location. Some people like to roughly draw the size and shape of the cabinet, while other people simply write the product code or description in the general location. This will help to keep you organized as the job progresses. This is a great tip to keep you from losing your place and helps prevent you from installing a cabinet in the wrong position.
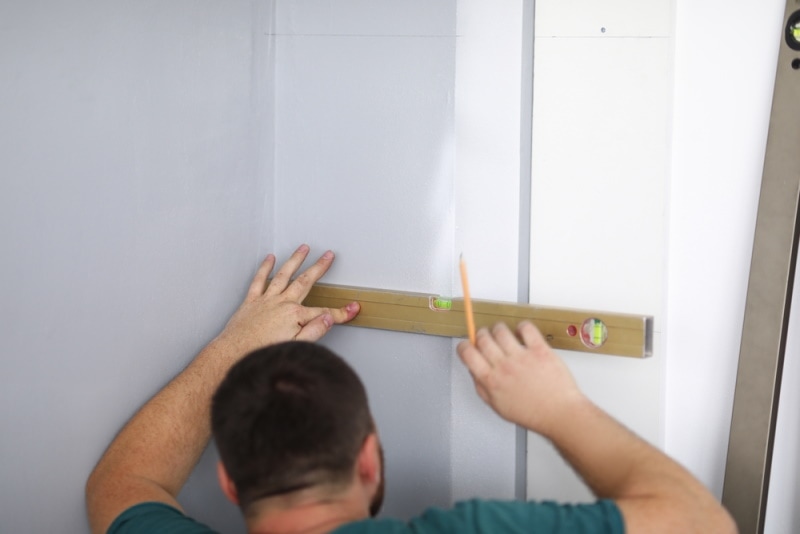
5. Secure Rail
IKEA cabinets are all installed with a rail. Depending on your kitchen design, you might have a couple of long rails or multiple short rails. Whatever the case, now is the time to secure rails to the wall. You want to make sure each rail is anchored to as many studs as possible. Use your second person to help make sure that each rail is level and straight. Use a level to guarantee that your rail is perfect. If your rail is not level, your cabinets will not be level.
6. Go Slow and Tackle the Job One Cabinet at a Time
Now that the rails are up, it is time to start putting your cabinets up. You do not have to rush this part. Go slow. Take your time. Make sure everything is square and level. Install your cabinets one at a time, taking care of each individual one. A good kitchen can last you years, so taking your time during this stage will pay dividends going forward.
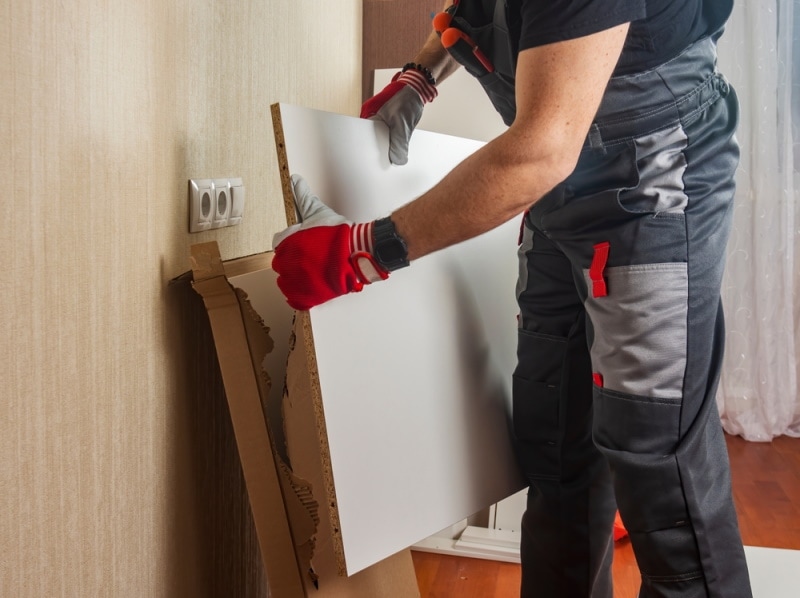
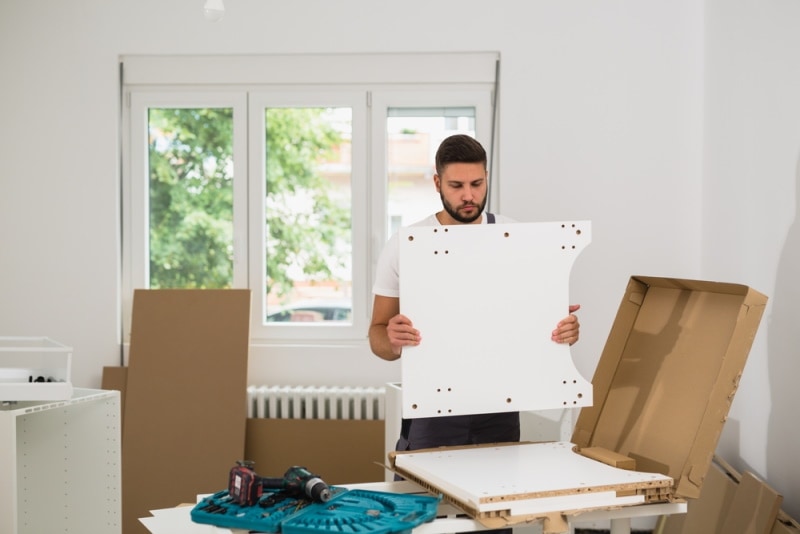
7. Build Cabinets (If Necessary)
Sometimes, your cabinets will already be built. Other times, you will need to assemble each cabinet at home. If you need to assemble your cabinets, take the time to do so now. Follow the instructions and try to keep your cabinets organized as before. Set aside each completed cabinet as you finish them. Some people choose to build their cabinets and then immediately put them up, but that is a personal preference.
8. Cut Out Utility Holes (If Necessary)
Some kitchen cabinet designs will require openings for utilities. Water lines, gas lines, and electrical might be a part of your plan. Sometimes you can order special cabinets with utility holes already cut, but that is not always the case. After you build your cabinets, identify which ones might need to have utility holes cut. You can use a jigsaw or a Sawzall to cut out the holes to fit your utility pipes if necessary.
9. Attach Cabinets to Rail
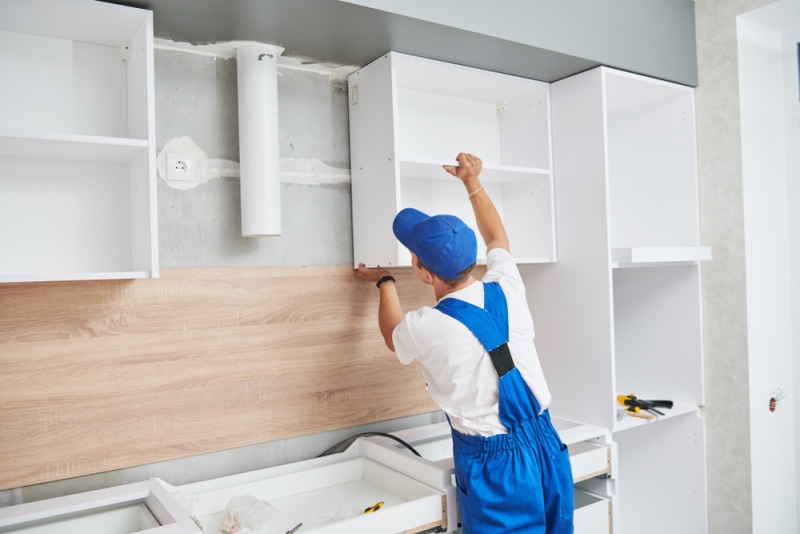
It is finally time to start putting your cabinets up on the walls. IKEA cabinets are installed with an ingenious rail system. Simply lift the cabinets onto the rail (with two people) and lock them into place using the plastic clamps. You should start with the upper cabinets first and install the corner cabinet. By installing the upper cabinets first, you are free to move around under them without the base cabinets in the way.
After you have installed the upper cabinets, install your base cabinets. Start from the far corner and work your way down. Do not secure cabinets together yet until you can check the alignment of your cabinets after they are all up in their intended positions.
- Related Read: When Was Ikea Founded?
10. Secure Cabinets Together with Clamps
After the cabinets are all up in their positions, you can start securing them together. Use your clamps to firmly clamp adjoining cabinets together. This ensures there will be no gaps or unsightly spaces. Once the cabinets are clamped together, you can secure them to one another using the provided screws. You do not need to purchase a ton of clamps. You can use a pair of clamps to do each cabinet one at a time.
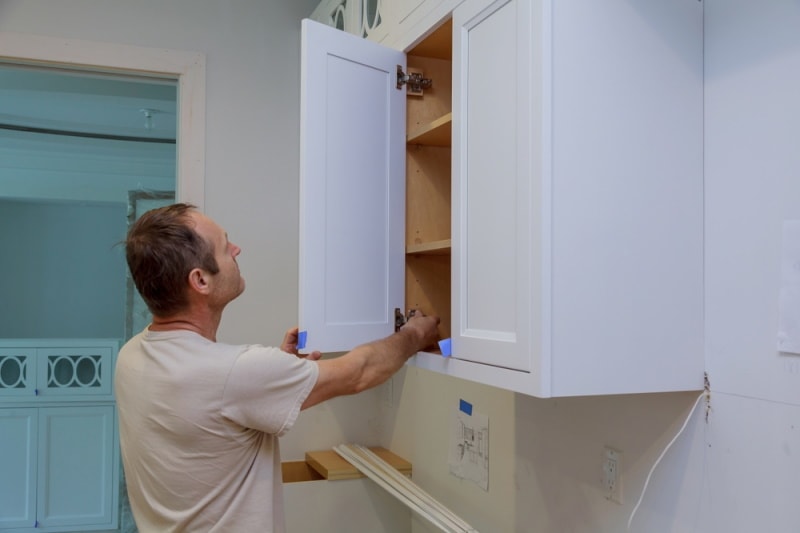
11. Check the Positioning and Install Fillers
Sometimes your cabinets will have slight gaps or alignment issues. After everything is up, take a step back and make sure that all the cabinets are properly aligned. You might need to use shims to try and get the position exactly right. You might also need to secure some screws or make minute adjustments to the angle of the cabinets.
This is also the time to install any filler pieces you might have ordered. Some cabinet designs will include filler pieces to hide the gap between the cabinet and the wall. Toe kicks, shoe molding, crown, and other trim are also installed now.
Conclusion
These tips and tricks will help you install your IKEA cabinets without a hitch. Planning and organizing will help you here more than it does in other projects. Staying organized, staying patient, and taking your time will ensure that your cabinets go up smoothly. If you follow these tips, almost anyone can install an IKEA kitchen all on their own.
Featured Image Credit: New Africa, Shutterstock
Contents
