How to Install Stone Landscape Edging: 5 Simple Steps
-
Visnja Radosavljevic
- Last updated:

Stone edging is a great way to outline your garden, patio, and other landscape elements and add interesting detail to enhance your outdoor space. Although it might look complicated, it’s pretty easy to install stone landscape edging, and you can do it yourself by following a few simple steps.
Check out the steps below and begin your journey to installing a fantastic stone landscape edging.
Why Should I Install Stone Landscape Edging?
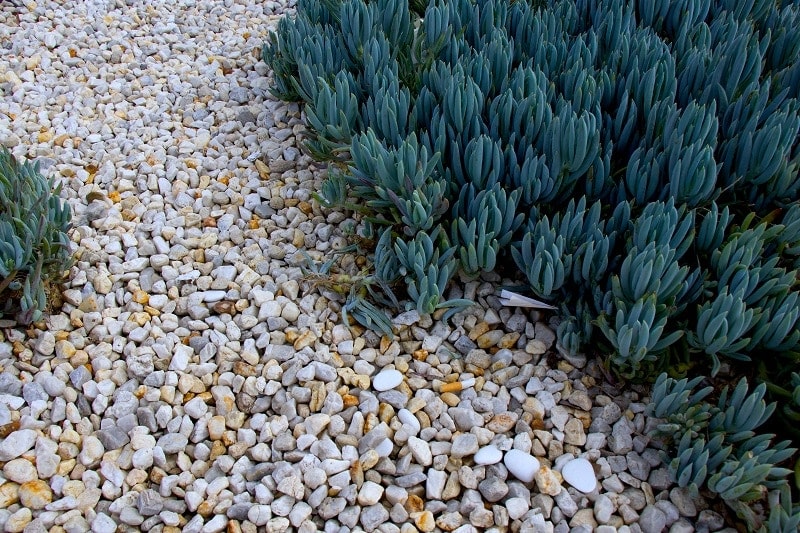
A stone landscape edging will make your garden more beautiful while adding curb appeal and enhancing the practicality of your landscape. With such edging, there will be less grass you need to mow, your plants will remain in one place, and your garden will stand out. Also, the edging can help you define a specific area of your landscape and make it the garden’s focal point.
Another great thing about stone edging is that it will keep your kids, guests, and pets away from your plants so that you don’t have to worry about someone ruining your garden.
Tools and Supplies
Before we begin explaining the process, we want to mention all the tools and supplies you’ll need to finish the project.
- Stones
- Sand
- Garden hose or rope
- Measuring tape
- Shovel
- Tamper
- Mallet
Find a brick and stone specialist in your area, and get free, no-commitment estimates for your project.Consult a landscaping expert

The 5 Simple Steps on How to Install Stone Landscape Edging
1. Choose the Stone and Measure
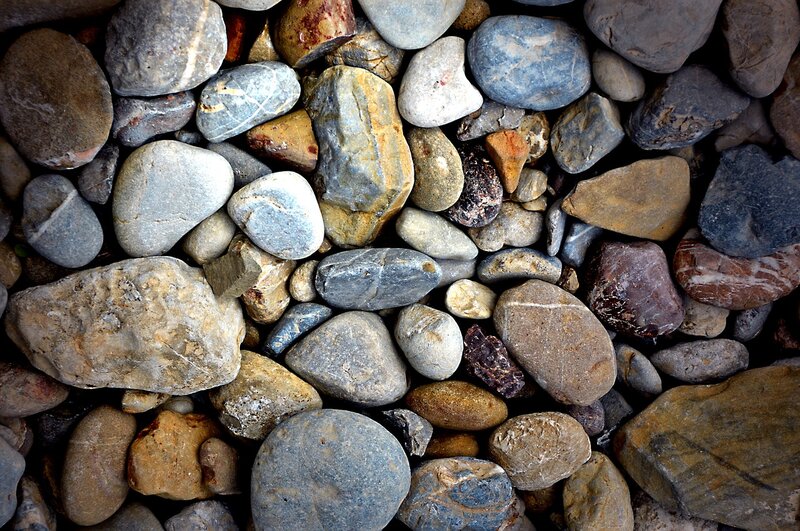
To install a stone landscape edging, you’ll need to choose stone that will complement your garden and fit the current aesthetics. Other than the appearance, choose a practical and easy stone to work with. You can collect actual stone you find or make a paver border.
The options are limitless, so check out interesting designs to get an idea of how you’d like your garden to look. Before making a purchase, measure the area and consider the size of the stone to ease the installation process.

2. Prep the Edging Area
You will need to prep the edging area, so begin with marking the perimeter of where you’d like to place the edging. You can use your garden hose or a rope to visualize the space where the edging will be set. Once you’re satisfied with the shape, trace it out using spray paint.
Before you apply spray paint to the desired area, ensure which side of the edge you’re going to mark so that you can line up the correct side when installing the edging.
3. Dig a Trench, Tamp the Area, and Apply Sand
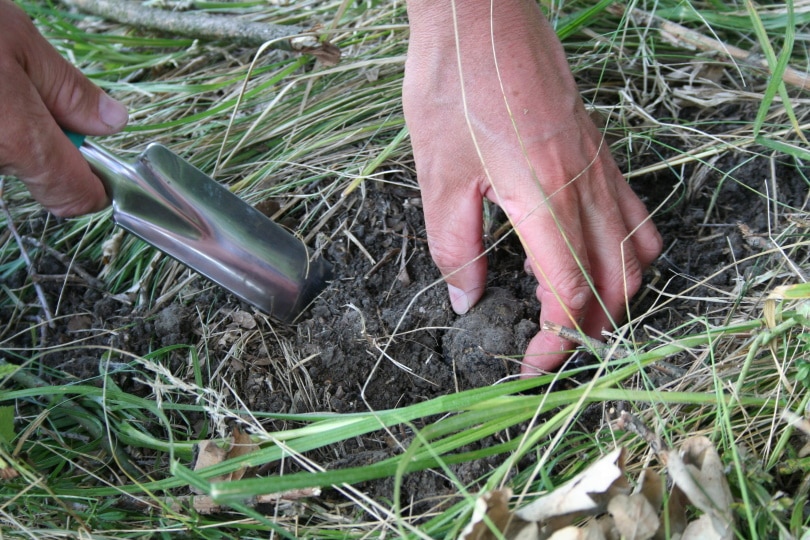
Use a shovel to dig out a trench which should be around 4 to 6 inches in width and about 3 to 4 inches in depth. The trench can be even a bit deeper depending on the size of your stones. The important part is to reach the wet soil under the dry levels to get a more natural look and for the edging to set better.
Once the trench is set, we advise tamping the area so that it’s easier for you to apply the stones later. When you’re making an edging with stone or similar materials, you need to apply sand to the base of the trench to help hold everything in place.

4. Place the Stones
After you have dug out the trench, you can start placing the edging stones. Using a level will be necessary for this step to make sure everything is straight and properly leveled. Set everything in place by using a mallet to additionally level any stones that may be out of order. After leveling everything correctly, you can set the edging stones in place by adding sand in the space between them, providing you with additional support.
5. Clean the Area
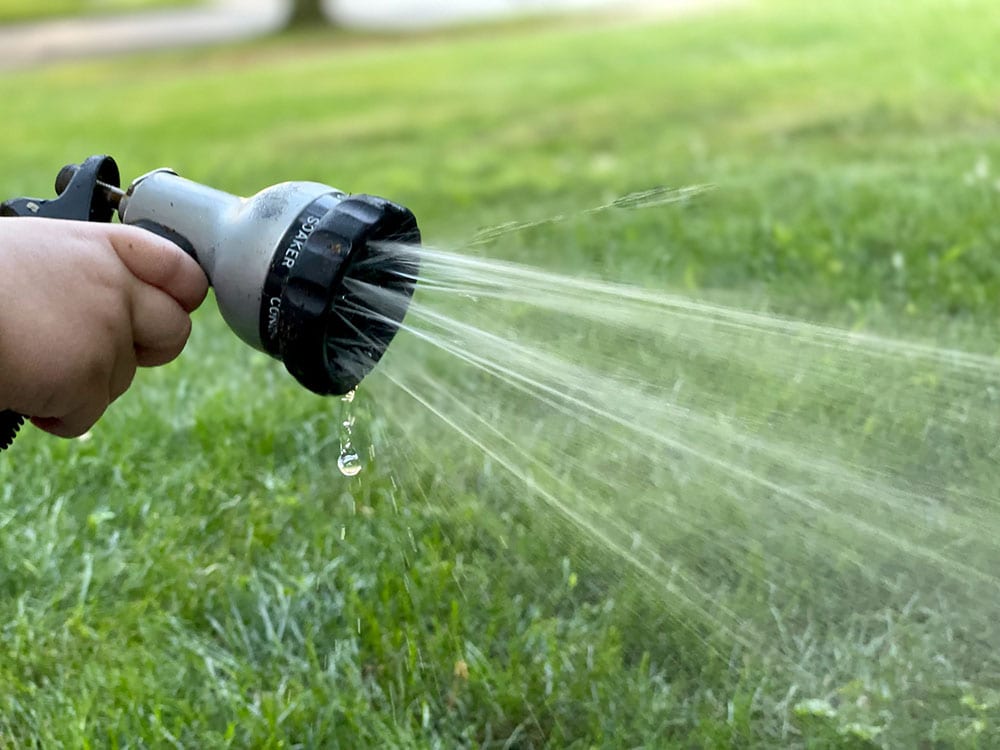
Last, but not least, you’ll need to clean the area to allow your new stone landscape edging to shine. You can use your garden hose to wash the edging under low pressure and remove excess dirt.

Final thoughts
All you need is patience and imagination to turn your landscape into a stunning piece of art. By following the steps throughout this article, you’ll be able to create a fantastic stone landscape edging that will be functional while adding aesthetic appeal to your outdoor area.
Featured Image Credit: Mitchell Luo, Unsplash
Contents

