
Painting your bathroom is one of those jobs that’s easy to underestimate. The smaller area might seem easier to tackle than a living room or bedroom, but projects like painting can become awkward and frustrating in tight spaces. Plus, there’s no shortage of corners, nooks, and crannies to watch for as you strive for a flawless finish.
As tricky as it can be, painting your bathroom can be fulfilling as well. A fresh coat can revitalize a bathroom and even add layers of protection to the walls. With the proper technique, you can also make it quick and straightforward. Here’s how to paint a bathroom in seven easy steps!

Before You Start
The secrets to successfully painting your bathroom have little to do with the paint application. Instead, you determine most of the experience with how you prepare.
Preparation starts with buying the right tools, and when it comes to painting a bathroom, it’s always better to buy the best equipment you can afford. With high-quality paint and brushes, you’re not buying a more expensive setup but rather a painless painting experience and a cleaner, more durable finished product.
Tools You’ll Need
- 2–3” angled sash brush
- 9” paint roller
- Paint tray and liner
- 2” wide painter’s tape
- Clear paintable caulk
- Bathroom paint
- Rubber gloves
- Drop cloth
Preparation: Remove Anything You Don’t Want to Paint
You’ll waste more tape and make work for yourself if you don’t take time to remove everything you can in the bathroom. You won’t need to fiddle with any pipes coming from the walls and sinks stuck in place, but you can probably remove more than you realize.
- Shower curtain and rod
- Towel bar and toilet paper holder
- Wall hung mirror or cabinet
- Outlet and light switch covers
- Exhaust vent grilles
To make life easier, you can remove the door by popping the pins out of the hinges and setting it aside. If you feel confident in taking it out, you can also remove the toilet. It makes an enormous difference in getting fantastic results, and it’s surprisingly easy to do.
Turn the water line going to the toilet off and flush the toilet to remove as much water as possible. Lay a towel around the toilet to catch any spilled water. Use pliers to disconnect the water line running to it. Uncap and unscrew the holders from either side of the base to detach the toilet from the floor before carefully pulling it off.
If you don’t feel comfortable removing the toilet, at least take the top off the tank to give you a little more room. At the same time, you should pull any cover plates away from the wall for anything you can’t remove, such as showerheads and light fixtures. You’ll still need to put painter’s tape around these fixtures, but that will let you paint the wall behind the plate for a more seamless look.

How to Paint a Bathroom in 7 Steps
Step 1: Prep the Ceiling and Wall
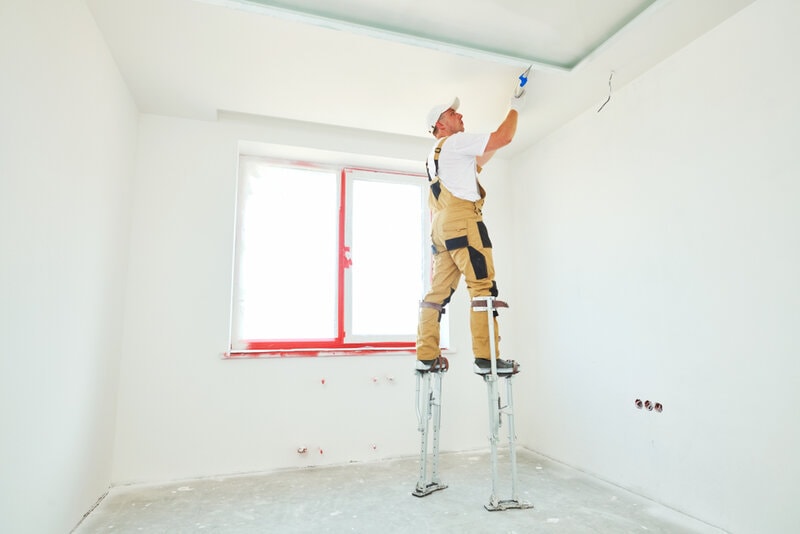
If you’re painting the ceiling, start there before painting the walls. Gravity will cause tiny paint drops to hit the wall, so painting the ceiling first will save you tons of aggravation.
Prep the ceilings and walls at the same time. Use medium-grit sandpaper to smooth bumps or imperfections along the surfaces. Fix any nail pops and add screws to loose drywall. Finish by filling holes or dents in the ceiling and walls with spackle or joint compound.
After your mud has dried, sand it smooth with a medium-grit sanding sponge or sandpaper. Wipe dust, soap scum, and grime from the walls with a clean cloth. Your walls and ceiling need to be completely clean and dry. Vacuum the floor and lay a drop cloth down before you start painting the ceiling.
Step 2: Prime and Paint the Ceiling
When painting over old ceiling paint, you won’t need to tape off any wall corners because you’ll paint over them again when you paint your walls.
Use your brush to paint the corners where the ceiling meets the wall. Smooth the paint out to avoid clumping or dripping on the wall. Roll on a coat of ceiling paint, getting as close to the wall as possible without touching it. You want to cover the lines you did with your paintbrush for a consistent texture.
Let the first coat dry for 1–2 hours. Then, apply the second coat to fill any gaps and finish the ceiling.
Note: If your ceiling or wall drywall is brand new, you need to apply a coat of primer before you paint. You may also need to prime if the old paint you are covering is high-gloss, deeply stained, or a much lighter/darker color than the new paint.
Step 3: Tape the Ceiling, Baseboards, Cabinets, and Fixtures
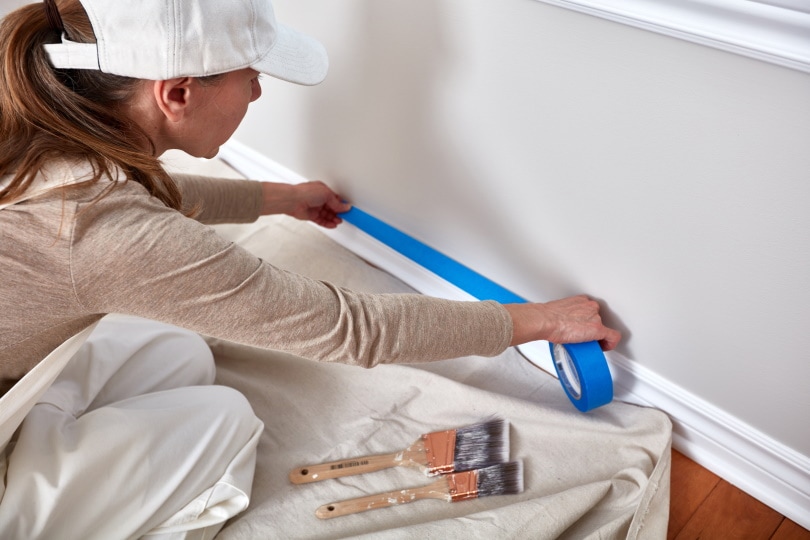
After the ceiling dries, you can tape off any fixtures or features that touch the walls. Run tape around the sink, door, and window trim, cabinets, baseboard, and ceiling (if it’s a different color). Put some over your outlets, light switches, and faucets to prevent paint from dripping into hard-to-clean areas.
You do not need to tape if you choose to use a cut-in technique, where you carefully freehand the paint along the line. Tape is generally easier for novices, allowing you to make mistakes with little consequence.
Step 4: Apply Clear Caulk to the Tape Line
To achieve the smoothest possible line when you pull your tape off, apply a bead of clear acrylic latex caulk to the edge of the painter’s tape where it meets the wall. Don’t cut too much off the tip of the caulk. The bead should be as small as possible.
With gloves on, smooth the caulk down the line along the edge with your pinky finger. Take note of the dry time of your caulk because it is crucial to pull the tape BEFORE it dries, which is generally between 30–60 minutes. Only tape off and caulk the area that you can reasonably paint in that period so you can pull your tape off in time.
Note: Make sure you buy a paintable caulk. It’s okay if your caulk has some silicone in it, but you don’t want to use a 100% silicone caulk. Although it’s excellent for moisture resistance, it also doesn’t hold paint well. Use a paintable acrylic latex caulk instead to get the best results.
Step 5: Apply the First Coat of Paint
Use your angled brush to paint along the taped edge of the wall. Paint a few inches up the wall from the edge. You will smooth over these brush strokes with your roller, but it will ensure a fuller look to your paint coats.
Although you need to apply two coats of paint to the wall, you can often get away with only one coat of paint for the edges.
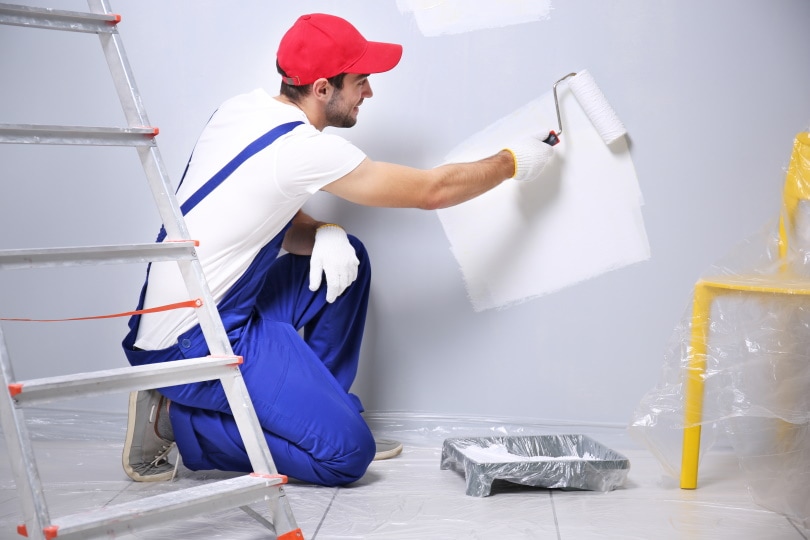
Once you have painted your edges, use your 9-inch roller to apply the first coat of paint. Again, try to get as close to the tape line as possible to cover the brush strokes.
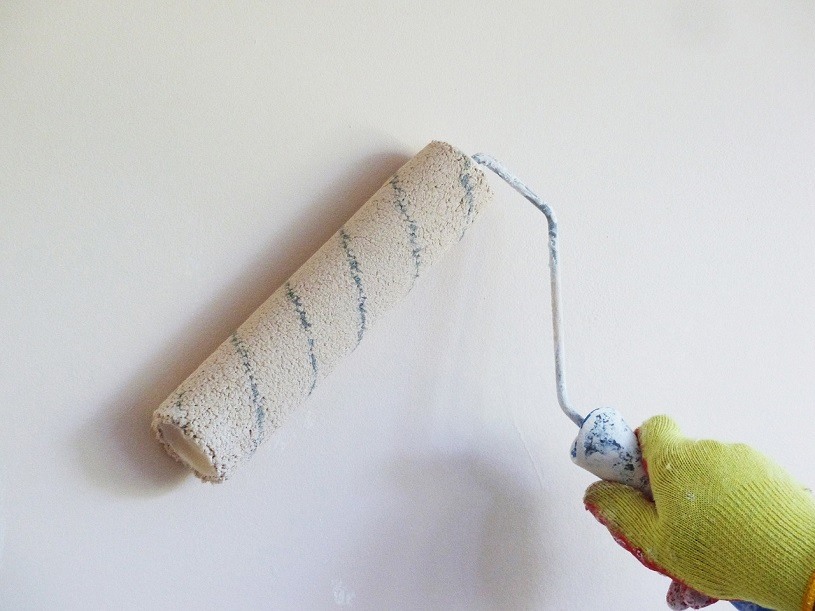
Note: Buy high-quality rollers for a lint-free application. If you are worried about lint on your roller, use packing or duct tape to remove it before rolling on your paint. Lay a length of tape on a surface and run the paint roller up and down on it to remove stray fibers.
Step 6: Remove the Tape
As soon as you finish painting your first coat, check your edges to see if you need to touch up and add more paint to cover the old color. Once it looks good, slowly remove the tape in one continuous motion to prevent flecks from shooting off.
It’s crucial to pull the tape off before the paint or caulk dries. If you let it dry, the paint will pull up as you remove the tape, creating an imperfect line.
Let the paint dry for 1–2 hours before applying the second coat. Open the window and door or turn on the bathroom fan to circulate air and speed up the drying time.
Step 7: Apply the Second Coat of Paint
After the first coat of paint dries, you can roll on your second coat. Be careful around the edges since there is no tape to protect anything touching the wall.
Give the paint another 1–2 hours to dry and start putting everything back in place.
What Kind of Paint Should You Use for a Bathroom?
Paint will often have a label saying if it’s bathroom or kitchen paint. You can’t use every kind of paint in bathrooms because of the high moisture levels and potential for mildew damage. In general, high-gloss or semi-gloss options provide the best seal against water.
Newer matte paints are now available for use in the bathroom. Although water streaks often show on it, matte paint is better at hiding imperfections than glossy paint. If you want to use matte paint, make sure it is specifically suited for the bathroom.
What’s the Best Color for a Bathroom?
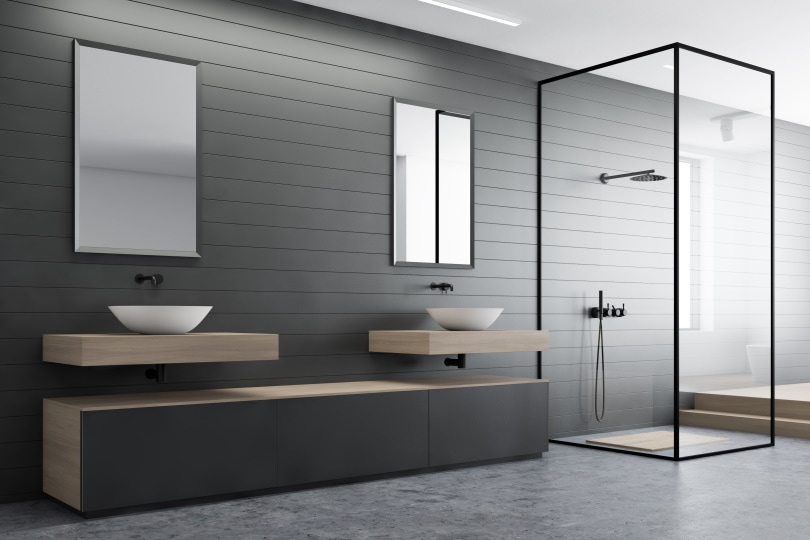
Because bathrooms are often small and closed off, lighter colors tend to make them look nicer. White or light colors make corners disappear and reflect light to make bathrooms look brighter and more spacious. You can add to the effect by painting the ceiling and the walls the same color. That will facilitate the painting process as well.

Final Thoughts
Refreshing a bathroom with new paint is an excellent project to completely change the look and mood of the space. Although it’s smaller, the environment makes preparation more critical here than in other rooms. It’s crucial to remove any dirt and gunk from your walls and ensure they are 100% dry before starting. And when it comes to paint and supplies, this is one area where paying a little extra for quality can go a long way.
There’s a lot to consider when getting your bathroom ready, but that doesn’t mean it can’t be an enjoyable, fulfilling, and even simple process. Follow these seven steps to paint a bathroom, and you’ll have picture-perfect results every time!
Featured Image Credit: ImageFlow, Shutterstock
Contents
