
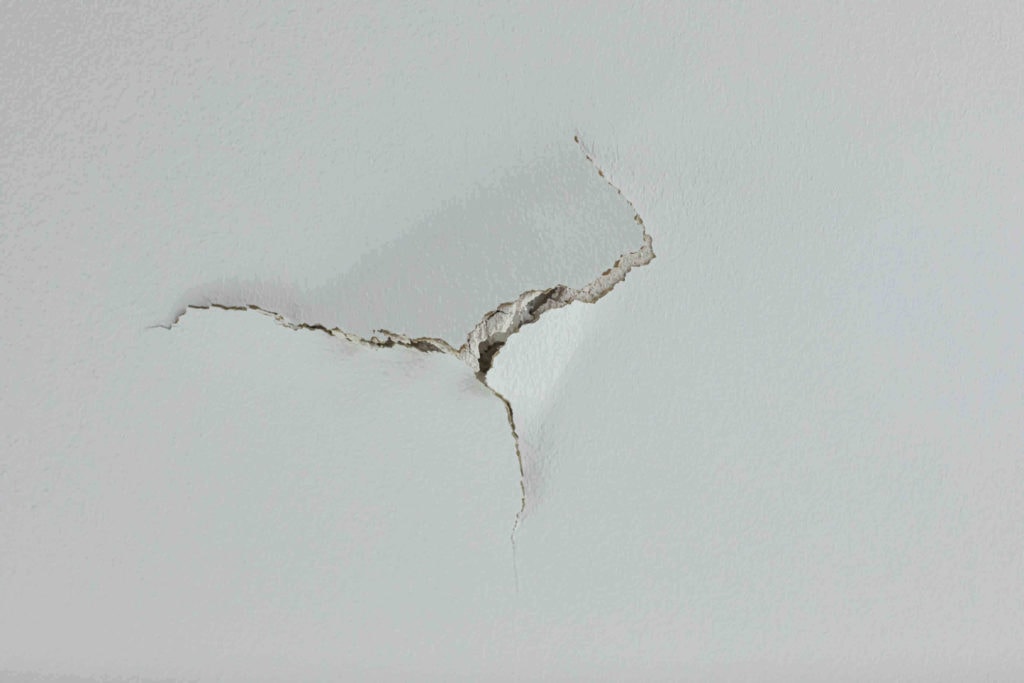
Nail pops are repairs that you’ll have to deal with eventually, especially if the house is relatively new. And the signs are clear. One day everything looks normal, and the next day, there’s a protrusion of paint in your ceiling. When that happens, you’ll have to look for someone who dabbles in home repairs or fix them on your own.
Now, we don’t know about you, but we prefer dealing with our problems on our own. By that we mean, when those nails pop out, we look for an efficient and effective way to pop them right back in. Sadly though, it’s not as simple as we make it sound. That’s why we decided to draft this article piece for you guys.

Tools Needed
Technically, this is the first step. We say that because making sure you have all the right tools is imperative. It guarantees the successful completion of the project, in addition to safety. And now that that’s out of the way, let’s start by listing down all the tools we need:
We already know most of you probably don’t have half of the items on this list, and you’ll be tempted to improvise. Our advice to you is don’t do it.
Do not use a makeshift tool, or one that’s not in a first-class condition. Such decisions are the kind of decisions that earn you a trip to the hospital, with a missing thumb or toe. If you can’t find the right tools, just leave the work to the pros.

Fixing Nail Pops in the Ceiling in 4 Steps
1. Remove the area that’s raised.
To access the nail, you’ll first have to scrape off the entire section of the ceiling that’s protruding. How big of an area you scrape off will depend on the severity of the situation. If the nail head is already visible, you’ll definitely be scraping a larger area.
At some point you’ll think, “Why not just hammer the nail back in?”
And you’re right. Hammering the nail back in will certainly solve your problem a lot quicker. However, after a couple of weeks, you’ll find yourself dealing with that same problem.
So no, let’s not take that easy route. It’s a complete waste of time if you think about it.
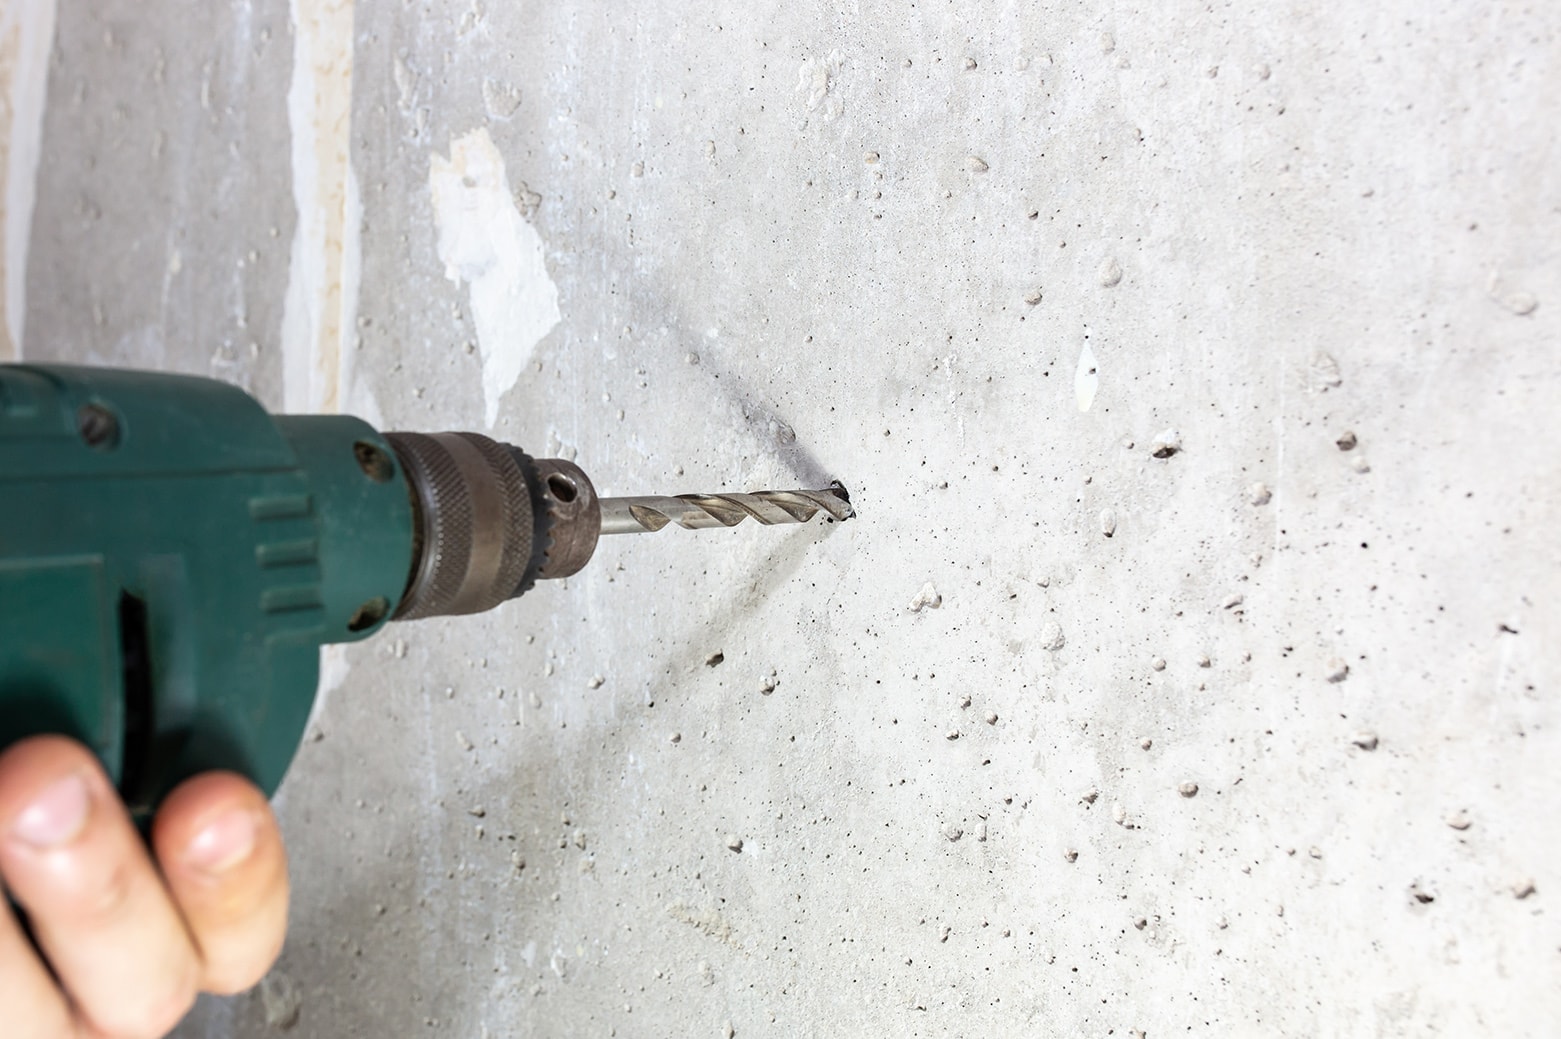
2. Drill screws around that area.
Locate the ceiling joist, and drill two screws in there. For the process to be effective, you must make sure the screws are in close proximity to the popped nail. One of the screws should go approximately an inch above the nail, and the other one an inch below.
Nail pops are just a cosmetic issue, but you can never be too sure about these things. That’s why we need the screws to securely attach the ceiling to its joists. The ultimate goal is to ensure no other movement pops out the nail.
In case you haven’t figured it out yet, the length of the screws that you’re planning to use will obviously play a key role here. If they are not 1.25 inches long, you’ll have to grab your car keys, and run to the store.
0.75 inches have to go into the joist, and a couple of inches left on the surface. That’s not going to be possible if the screws are exactly 0.75 inches long or shorter.
3. Hammer in the nail.
Don’t just hammer it in—bury it. Make sure that the silver head cannot be seen, even if someone tries to use a magnifying glass. Use the nail punch, if you have to. Just make sure everything goes in, never to be seen again.
Side note:
A nail punch is sometimes referred to as a nail set, and its sole function is to ensure the nail’s head goes below the wood’s surface. Using it is simple. All you must do is place its tip on the nail’s head and hit the opposite end using a hammer. But be careful, or else you’ll inadvertently hit your hand.
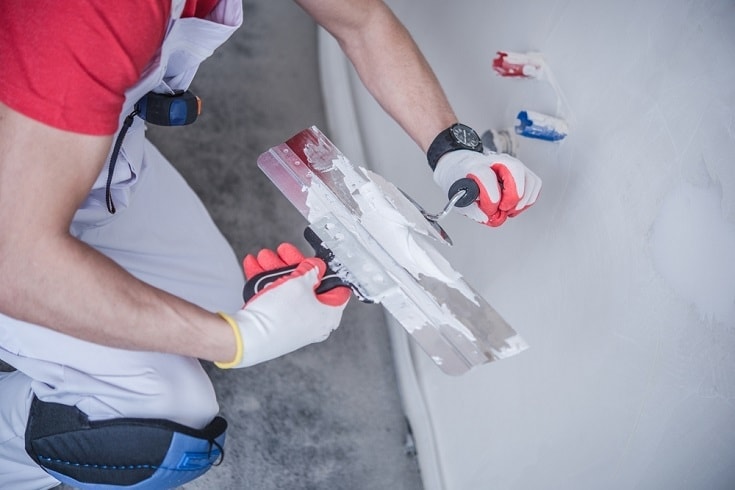
4. Patch the scraped-off area.
We don’t want to walk around the house with holes in the ceiling staring at us. So the next and final step is to patch all those areas that you scraped off, and to ensure it all looks smooth and even. That’s what the patching compound and the putty knife are for.
Apply the first coat and allow it to dry. Depending on the product’s brand and quality, that could take as little as 45 minutes or more than 12 hours. If you went for the worst quality, it could even be more than 24 hours.
Once it’s dry, apply a second coat, and wait for it to dry again. Later on, you’ll have to sand over the spot before applying paint.

Frequently Asked Questions
What usually causes nail pops in a ceiling?
If at all you’re wondering whether your house has started showing signs of structural or foundation issues, the answer is no. It’s not. Nail pops are completely normal, and they are often caused by a drop in the moisture level found in the lumber holding the ceiling together.
Lumber is usually stored in warehouses, and it’s during that period that they get to absorb moisture from the atmosphere. They’ll hold onto that moisture for quite some time, before drying up and shrinking back to their original form. That shrinking process is what causes the studs to start twisting. And as they do, the effects are felt by the nails found in close proximity.
Hence, the pop out.
Is humidity the only thing that causes nail pops?
No, it’s not. Nail pops can be caused by ordinary vibrations, including sound waves. Just think about it this way; any type of force that’s strong enough to make the studs in your ceiling move, will be strong enough to cause nail pops. However, humidity has been known to be the primary cause, seeing as it always makes wood naturally expand and contract.
Is fixing nail pops costly?
Fixing a cosmetic issue has never been as costly as fixing a broken appliance. It’s not even remotely close, to be honest. You can either do it on your own, or reach out to a professional who’ll most likely charge you less than 100 bucks. And because this type of repair doesn’t consume too much time, they’ll be out of your hair in an hour or less — that’s depending on the magnitude of the situation.
Should we repair nail pops immediately?
Nail pops are the type of repairs that aren’t time-sensitive. Nevertheless, it’s always advisable to work on all repairs as soon as possible because you can never be too sure whether or not they’ll snowball into something costly. Something that could cost you hundreds of dollars to fix.
Is hiring a professional necessary when fixing nail pops?
No, it’s not. In fact, this is one of those DIY projects that you could work on in your spare time and enjoy the process. You must be careful though, since accidents can happen anywhere. Also, if you don’t believe in yourself or your abilities, you could always hire someone. As we said, their service costs won’t be high enough to break your bank.
Conclusion
Just like that, we’ve come to the end of today’s session. If you still haven’t put your tools away, do that. Leaving them lying around could cause an accident, and we’re trying to avoid all that.
Send us a message if you have any questions, or if you’d like to contribute in any way. Otherwise, we’ll see you in the next post.
Featured Image Credit: Ursula Page, Shutterstock
Contents
