
In the housing market, painting is one of those things that add value to a home. Properties that come with old, worn-out kitchen or bathroom features usually take longer to find interested buyers.
Applying a fresh coat of paint on all your cabinets will not only give you an edge on the competition but also help to reduce wear and tear should you decide to make that house your forever home.
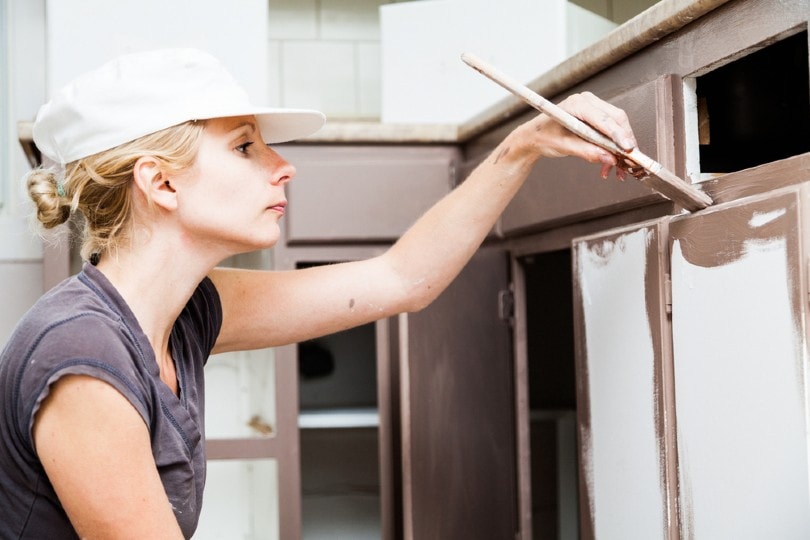
The painting process is often time-consuming and that’s why most people prefer hiring pros. But if you’re looking to save some money or are a DIY enthusiast, you should give it a shot. All you have to do is to believe in yourself, and follow the steps outlined below!

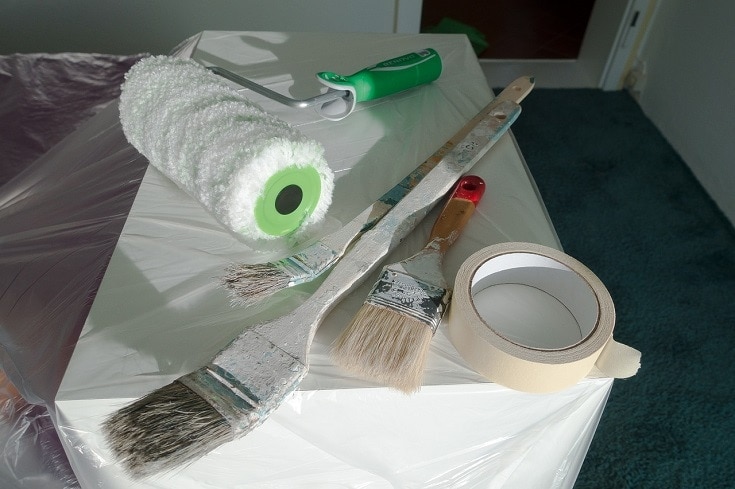
Tools & Materials
- Primer sealer
- Tape
- Paint
- Paint applicator
- Rosin paper
- Steel wool
- Plastic traps
- Tack cloth
- Vinyl spackle
- Sanding cloth
- Trisodium phosphate
- Sandpaper
- Latex caulk
- Foam sanding block
How to Paint Cabinets (8 Steps)
1. Prepare your workspace
To avoid confusion and disorganization, you have to prepare your workstation for the task ahead. So empty all those cabinets, clear the counters, and relocate all the freestanding appliances and tables to a different room.
Then use your plastic sheeting and rosin paper to cover your windows, interior doorways, flooring, and countertops—they all have to be protected from paint and dust.
If you haven’t masked off the wall surrounding the cabinets, do that as well.
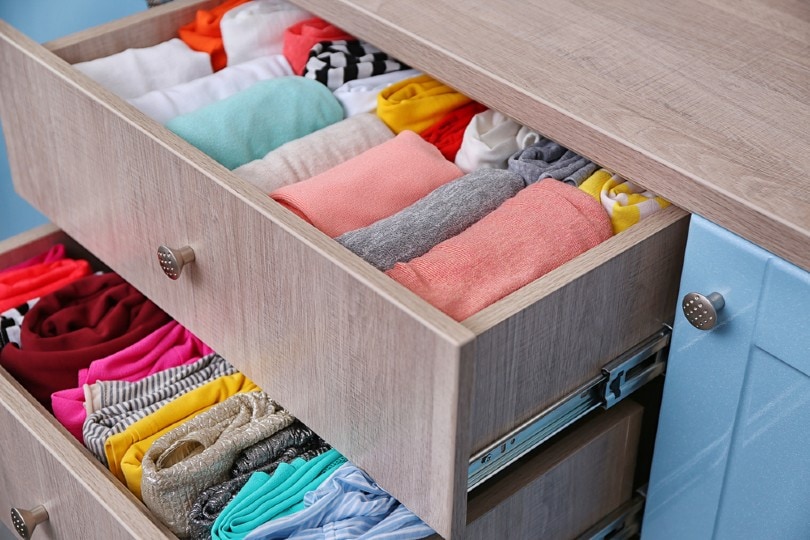
2. Unscrew the doors and remove the drawers and the shelves
Before removing any door, shelf, or drawer, make sure you’ve marked them all. We’re trying to avoid a scenario where we’re done with the painting job and it’s time to put the parts back, but we can’t seem to remember which door goes where, or understand why some shelves suddenly appear too large to fit certain spaces.
So go ahead and put different marks on every hinge location, the top corners of the doors, edges of the shelves, and on every drawer. You can try cutting small pieces of tape and numbering them, before sticking each one to the doors, shelves, or drawers’ surface.
3. Start cleaning the surfaces
You’re probably wondering why cleaning is necessary, seeing as we’re just going to cover everything up with paint? The cleaning process is critical in ensuring that we’ve gotten rid of all the grease, dirt, or oil that could impede any chance of getting that perfect finish.
We are, however, not going to use water or soap in this case. We’ll be relying on a degreaser solution and a tack cloth. Our go-to solution is usually trisodium phosphate because we love how effective it is when it comes to cleaning grease and oil off of different surfaces.
4. Work on the cabinet boxes
We’ve already cleaned all the detached doors, drawers, and shelves, and now’s the time to prepare the boxes—the box is what’s left of the cabinet after removing those different parts.
But first, reach for your safety gear, and put it on. Then open all your doors and windows to ensure there’s enough air circulating in the room. This safety precaution is meant to help you avoid any issues that could compromise your respiratory system.
Start scrubbing your cabinet boxes using an abrasive pad or steel wool. You should first dip it in a liquid deglosser, if you haven’t already. Be careful not to drip a lot of it on the floor. We’re here to repair cabinets, and not damage other home features!
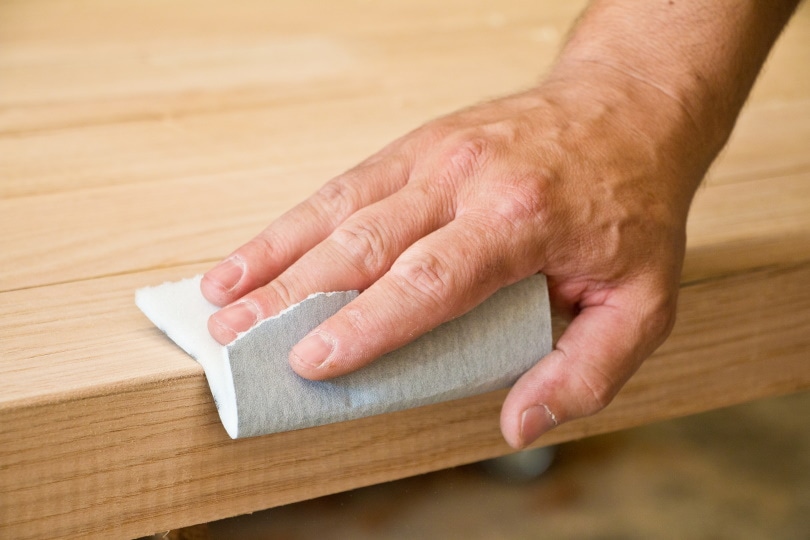
We forgot to tell you to scuff the surfaces of your drawers, shelves, and doors using a foam sanding block. But don’t go too hard on them—it should be a light sanding as it’s only meant to make it easier for the primer to adhere to the surface.
Don’t move on without vacuuming those boxes. You have to be 100% certain that no dust particles are left behind. In fact, if we were you, we would also rub them all down right after vacuuming, just in case. The tack cloth will be useful for that.
5. Apply primer
The type of primer that you’ll ultimately need to use will depend on how stained your cabinets are. The stain-blocking primer will only be useful if the boxes are heavily stained. It’s the type of primer that has been designed to seal knots and all the other surface defects that could allow the topcoats to bleed through. It also dries off a lot quicker in comparison to other primers.
In our experience, more often than not, the stain-blocker isn’t necessary. What we usually use is the acrylic latex primer.
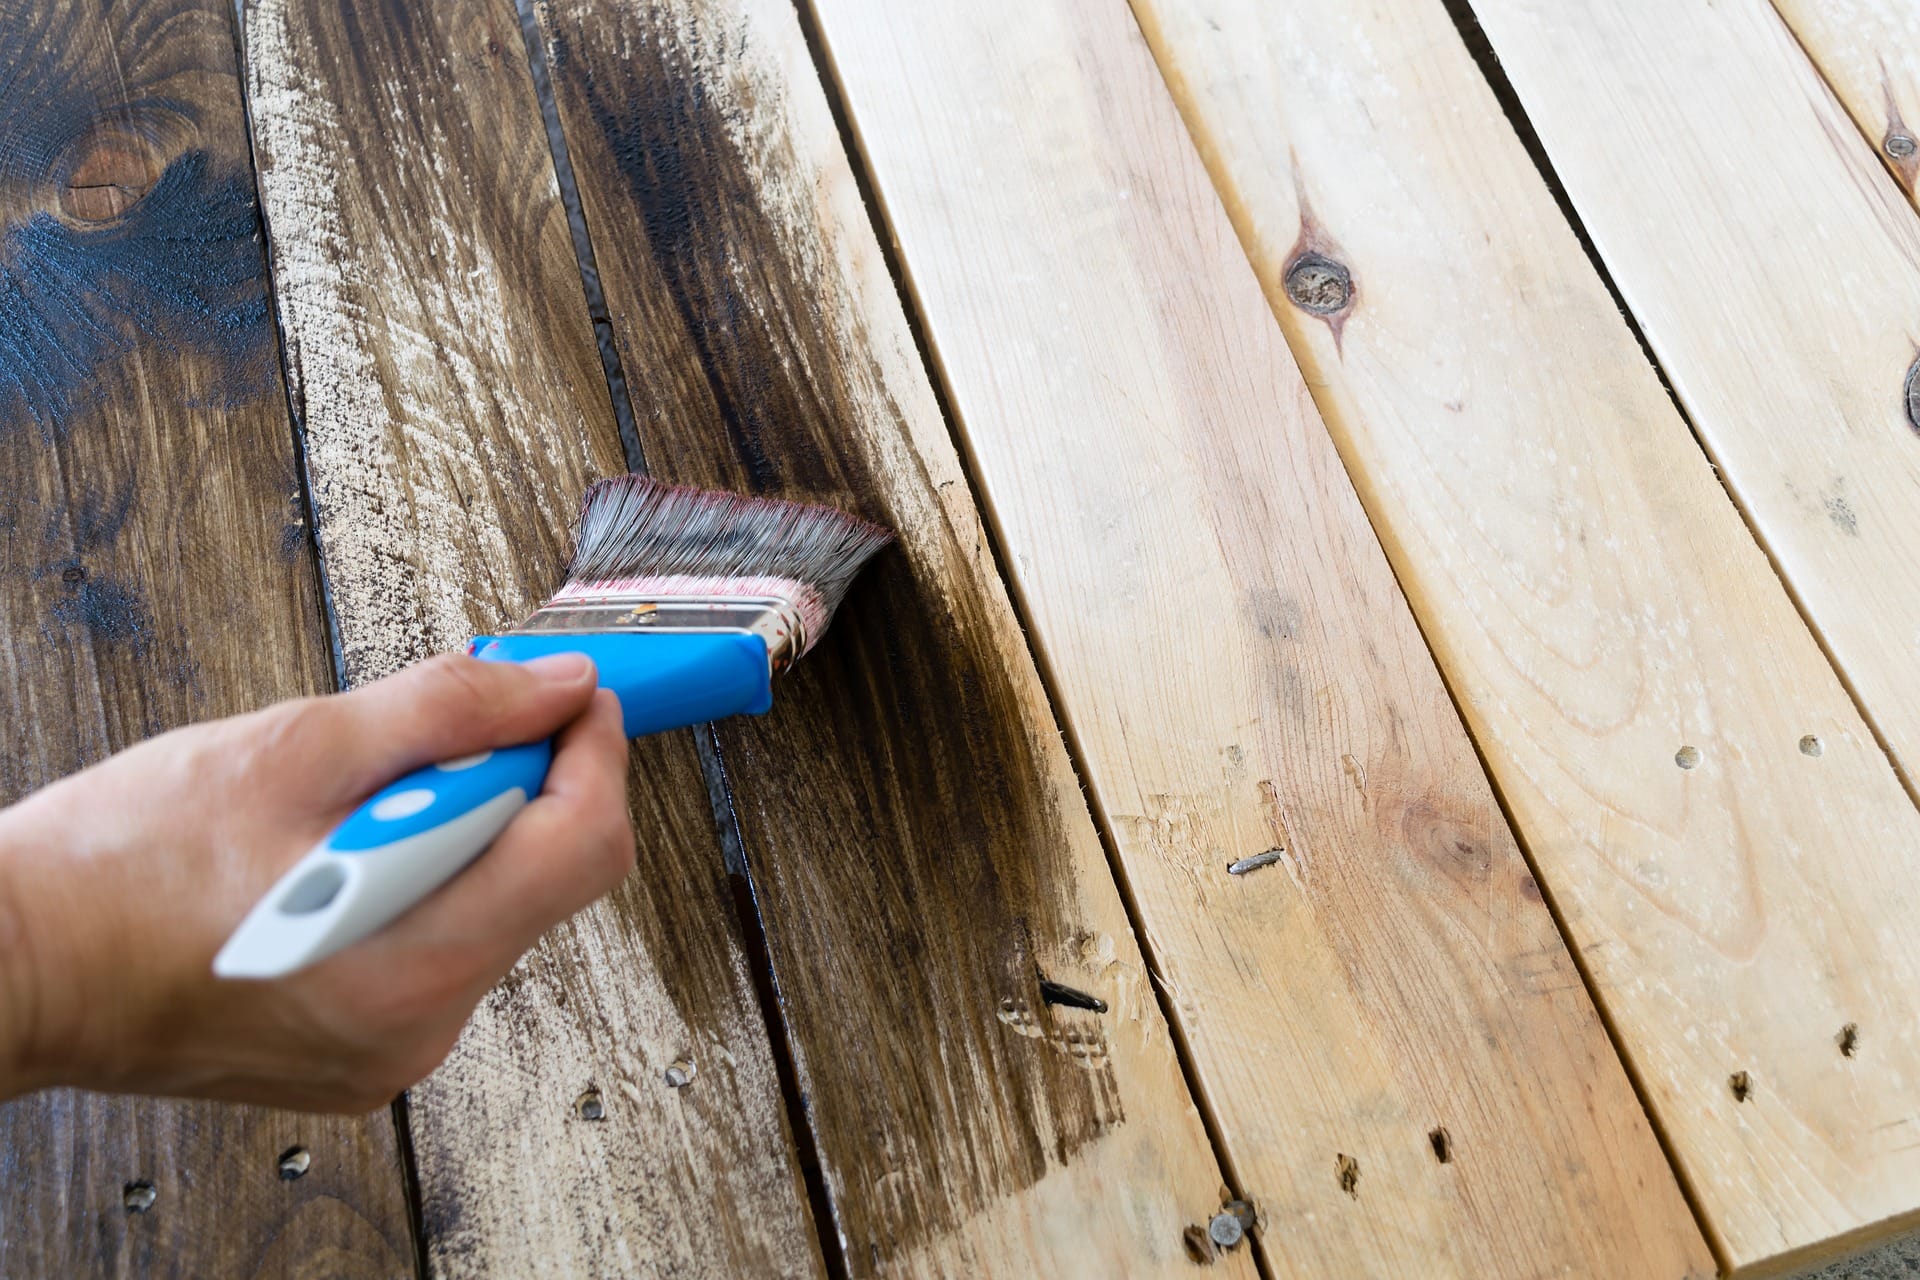
Now that that’s out of the way, it’s time to start applying the primer. Pour a little of it into your tray (we’re assuming you already cleaned your tray) and then load up your brush together with the roller.
The brush will help you get to those hard-to-reach spots on your door, drawer, shelf, and cabinet’s surface, while the roller works on the flat surfaces—but there’s a way you’re supposed to apply your coats.
When you’re working on the cabinet boxes, you need to start at the top and brush across the grain. When you’re done, you’ll be required to “tip-off.” Meaning, you’ll have to pass your brush over that wet finish, and in the same direction as your cabinet’s grain.
Once you’ve done that, give the primer time to dry and while it does, you’ll be washing your roller and brush.
6. Sanding, caulking, and filling the surfaces
Only move on to this next step if you’re completely certain that the primer is dry on all surfaces. That includes the shelves, drawers, doors, and more importantly, cabinet boxes. If they are, take your 22-grit paper, and start sanding until they are all glass-smooth.
Assuming you’ve spotted an open seam, fill it up with latex caulk. The dings, scratches, and dents should be dealt with using the vinyl spackle. Because we want all those flat surfaces to be smooth, use your putty knife to smoothen it.
Give it a couple of minutes to dry up, and then start sanding again until you’re satisfied with the results. Vacuum one last time, then wipe them all using your tack cloth.
7. Apply a fresh coat of paint
First off, here’s a pro tip: If you’re thinking of covering a darker finish with a lighter shade, you’ll need to apply at least three coats. And every one of those coats will require a new brush.
But if we’re applying a shade similar to the one that the cabinet previously had, you could get the job done with a single application—on condition that the paint you’re using is of good quality, of course.
At this point, you should know the drill. Pour some of that paint into the tray, load up both the roller and brush, and start painting the box, drawers, shelves, and doors. The brush will take care of those edges and hard-to-reach spots, while the roller covers the flat, smooth surfaces.
Do us a favor and use the mini-roller to work on the cabinet’s interior surfaces. The way that roller has been designed will help you create that orange-peel texture that typically distinguishes the interior areas from the exterior.
While you’re waiting for the first coat to dry, cover your roller and brush using a plastic bag. This will ensure they don’t harden and make the process difficult during the second or third application.
You’re always advised to lightly sand the different cabinet parts between coats, just to make sure no bumps are felt once the job’s done. Apply the second coat, and then give it an hour or so to dry.
There’s no need to add another layer if you feel like you already have a perfect, consistent finish. Only add it if it’s absolutely necessary.
8. Put the pieces back together
We are done with the hard part and now comes the easy part—putting back all the drawers, shelves, and doors. Let’s start with the drawers and shelves because they don’t have screws that need fastening.
Do you remember those marks we had you place on those pieces of tape? We hope you remembered to paint under them and not over. Use those to figure out where the drawers and shelves are supposed to be.
Look for your screws and your screwdriver and reattach the doors. This shouldn’t be a problem, seeing as you already know their original positions.

Wrapping Up
Not many people will agree with us when we say painting a cabinet contributes to the overall value of a home. That’s okay, because we do respect everybody’s opinion. But you also have to remember that we’ve been players in this industry long enough to know what’s good for your property.
We hope this step-by-step guide has helped you paint your cabinets like a pro!
Featured Image Credit: Benoit Daoust, Shutterstock
Contents
