How to Paint Car Rims in 5 Easy Steps
-
- Last updated:

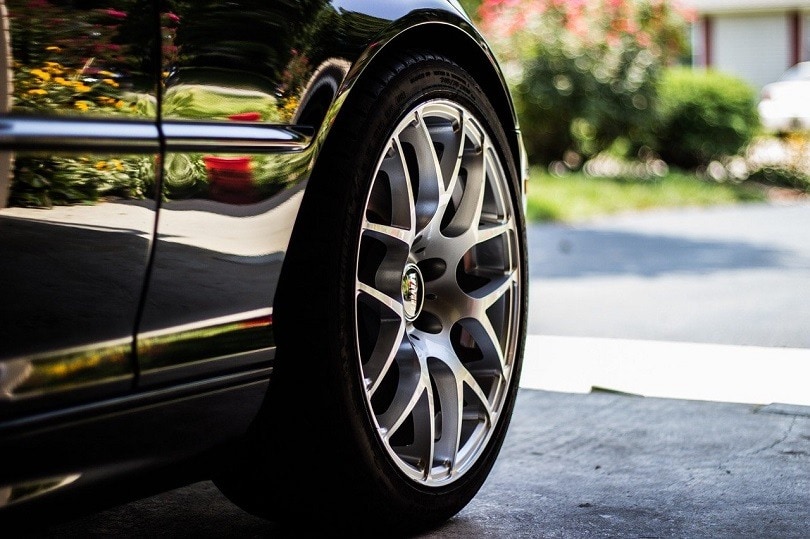
The wheels can make or break your vehicle. On the one hand, a nice set of wheels can transform a junker into a respectable ride. On the other hand, damaged and rusted wheels can cause an otherwise clean car look like a mess.
So that your vehicle looks its best, it’s a good idea to learn how to paint car rims. Painting the rims can help to transform your vehicle and keep it looking modern, clean, and attractive.
Below, you will learn how prep the car rims and how to paint them in five steps. This article walks you through everything you need and what you need to do to get a professional finish.

What You’ll Need
Just like any other project, you’ll need to gather some supplies before painting the rims. If you don’t have the proper supplies, the job might be impossible, or it may come out less than attractive. Here is what you will need to successfully paint your car rims:
- Wheel cleaner
- Wire brush
- Extra-fine and super-fine grit sandpaper
- Steel wool
- Rubbing alcohol
- Painter’s tape
- Plastic or newspaper for covering tire
- Drop cloth
- Clean rags
- Paint respirator mask
- Automotive wheel primer
- Automotive wheel paint
- Automotive wheel clearcoat


How to Paint Car Rims in 5 Easy Steps
1. Prep the Rims
If you want your paint job to look like professionals did it, you need to prep the rims first. Slapping on a layer of paint without prepping the rims will cause the final job to look downright awful. This fact means that prepping your rims is just as important as the actual paint job. Even though this step has a few sub-steps, all of the pointers are vital for the process.
Support the Vehicle
First things first, support the vehicle so that you can remove its wheels while you are painting the rims. This prep step is more difficult to accomplish if you don’t have the right parts. Before buying your materials, it’s a good idea to know how you will support the vehicle during the painting process.
If you can’t find a way to support your vehicle, you’ll have to hire a professional to paint the rims for you instead.

Clean the Wheels
Once you confirm that you have a way to support the vehicle, you’ll need to clean the wheels. Begin by unbolting and removing them from the vehicle. Clean the rims using a degreaser on both sides. You must be diligent in cleaning the entire rim. Even one speck of dirt can ruin the paint job.
If there is any rust or damaged finish, you’ll need to remove that as well. You can scrub the affected area away using a wire brush. Sand the area using extra-fine grit sandpaper. Grab the super-fine sandpaper and scrub the affected area again. To create a blemish-free surface, rub the area with steel wool after it is thoroughly sanded.
You’ll need to wash the wheels again. Wash them using the degreaser and dry them thoroughly. After the rims are dry, apply rubbing alcohol to the surface. Paint thinner or mineral spirits will work too. Inspect the surface to make sure you didn’t miss anything.
Protect the Tires
The last thing you need to do during the prep stage is to protect the tires from getting unwanted paint. Use painter’s tape or some other similar material to protect the rubber tires. Add the tape around the wheels’ entire circumference, including under the lip of the rim. Don’t forget to cover the valve stem.
Finally, it’s time to paint your car rims. Select an area that is pollen-free and has good ventilation. Even if the area has fantastic ventilation, still put on a respirator mask to protect your lungs from the harmful toxins of the paint. You’re now ready to paint your rims!
2. Prime the Rims
So that the paint grips the rim and looks clean, apply an automotive wheel primer. Make sure that the primer you select is suitable for your rim type, whether it be steel, aluminum, or magnesium. Spray a light coat of the primer on the rims. Make sure you get between the wheel spokes. Repeat this two more times but allow the primer to dry in between each layer.
3. Paint the Rims
Once the third layer of primer is completely dry, you can paint the rims. It’s best to follow the directions on the spray paint can you select. The instructions on the can should tell you the ideal spray distance, application method, and needed number of coats. Allow the paint to dry before adding another layer.
To make your paint job look as professional as possible, don’t ignore the inner side of the rims. Ignoring this part of the rim will cause your paint job to look good from one angle but bad from another.

4. Add Protection
After you’re finished painting the rims, you should apply a clear coat as a protective finish. It’s a good idea to add two or three layers of this clear coat. Just like with the last two steps, make sure the clear coat dries completely before adding another layer.
5. Reinstall the Wheels
The last step for painting your car rims is putting the wheel back on the vehicle. Remove any protective materials that are around the rubber tires and bolt the wheels onto your vehicle again. Be cautious when you’re using a bolt or wrench so that you don’t ruin the new finish.


How Long Does It Take to Paint Rims?
To get a professional and clean-looking paint job, expect to spend a minimum of three to four hours painting your rims. This may take more time if you go particularly slow or make sure all the detail work is perfect. Allot an appropriate amount of time on your hands so you can finish the paint job correctly.
Final Thoughts
Painting your vehicle’s rims is not difficult, but it certainly isn’t something you should do on a whim. You’ll need to get all the appropriate materials and have enough time to complete the task. Don’t forget about detailing and take your time to get the most attractive finish.
Featured Image Credit: Free-Photos, Pixabay
Contents

