
Whether you’re refinishing an older dresser or trying to match a dresser to the rest of the décor in the room, one of the easiest ways to accomplish your goal is to repaint it. There are a few specific steps that you will need to follow to get the job done, but with this guide, it won’t be complicated as you might think.
We walk you through everything that you need to know to paint a dresser and answer a few questions that you might have about the process along the way!
What You’ll Need

The last thing that you want is to get halfway through the job only to realize that you’re missing something. So, here is everything that you need to get the job done right:
- Screwdriver
- Sandpaper
- Sander
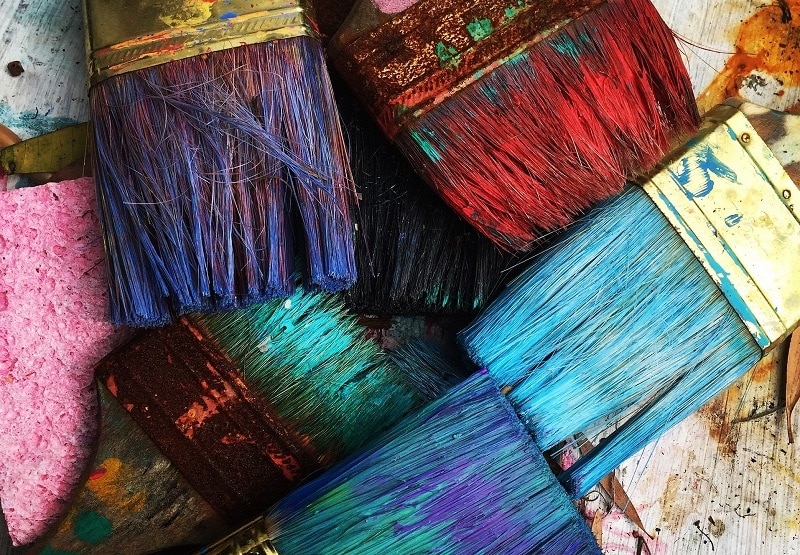
- Paintbrushes
- Foam roller
- Rag
- Painter’s tape
- Drop cloth
Preparing Your Workspace
Even the simplest task can become a massive headache if you’re not in the right workspace. To start, put the dresser over a drop cloth. This will help contain the mess during the painting and sanding process.
You also need to position your dresser in a location where you have access to every area of the dresser. This often means pulling it away from a wall. Finally, since it’s easier to pull the drawers out of the dresser, it’s best to have space to put them too, so you’re not working on top of yourself.
The 6 Easy Steps to Paint Your Dresser
1. Prep the Dresser
Before you get started with painting, you need to prepare the dresser. First, remove everything from all the drawers, and take out all the hardware. We also recommend removing the drawers from the dresser entirely to make the next steps easier.
Next, use your painter’s tape to mark off any areas that you don’t want to paint. You want to do this task now so you don’t accidentally sand over these areas. If you’re painting the dresser multiple colors, you might also need to apply painter’s tape later.
2. Sand the Dresser
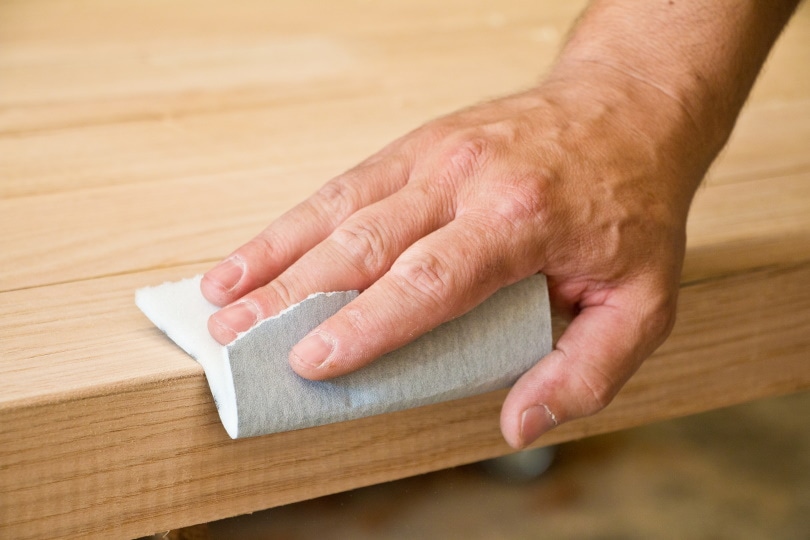
It can be tempting to just start throwing a fresh coat of paint on the dresser at this point, but if you do, you won’t get the results that you’re looking for, or they won’t last that long.
You need to sand down all the surfaces that you plan on painting. We recommend using 240-grit sandpaper for the best results.
3. Clean the Dresser
Once you finish sanding down the dresser, you need to clean everything before painting. Use a wet rag to wipe down all the surfaces, and pay special attention to any areas that have extra residue.
Before you start painting, dry everything. This will prevent any water from mixing into the paint, and it’ll remove any dust from the sanding process.
4. Paint the Dresser

Now you can start painting! When picking out paint for the dresser, look for furniture-specific paint. This will completely eliminate the need for priming and give you better-looking results!
If you’re using multiple colors, use painter’s tape to mark off specific areas, and do one color at a time. Use a paint roller to paint larger surfaces and a fine paintbrush to paint finer details.
Apply one coat, and give it at least 24-hours to dry. Reevaluate the dresser afterward, and apply a second coat if you need to.
5. Apply a Finish
After you finish painting the dresser, it’s time to seal everything. Applying a sealing finish will help protect the new paint and typically provides a waterproof coating. While this isn’t a huge deal, if the dresser does happen to get wet, it’ll be protected. Give the finish 24 hours to dry before moving on to the next step.
6. Reattach/Replace the Hardware

The last thing that you need to do is either replace or reinstall the previous hardware and put all the drawers back into place! It’s up to you if you want to replace the hardware, but if it’s starting to show signs of wear, doing so will go a long way toward giving you the final appearance that you want.
Frequently Asked Questions
It’s only natural to have a few questions when painting a dresser, so we took the time to address the most frequently asked ones here.
Do You Need to Use Primer?
No, not if you use the correct paint. If you use furniture-specific paint, there’s no need to use a primer, and you’ll still get the results that you’re looking for. If you use regular paint, you’ll need to prime, and you may not get the final appearance that you want.
Do You Finish the Inside of Drawers?
While you don’t have to, we highly recommend it. When you take the time to finish the inside of the drawers, it helps with moisture control and makes a nicer final product. You’re already going through all the hard work to get the dresser in great condition, so you might as well go the extra mile and get the best possible result.
Can You Paint a Dresser Without Sanding?
While it depends on the condition of the dresser and the previous paint, it’s almost always beneficial to sand the surfaces before painting. This ensures that you get smooth and even results throughout the entire piece.
The last thing you want to do is go through all the hard work of repainting the dresser and then be unhappy with the results.
Final Thoughts
While it takes a bit of elbow grease, few things are as satisfying as completing a DIY job. You can get that feeling when repainting a dresser. Hopefully, after reading through this guide, you have all the knowledge that you need to get it done.
So, what are you waiting for? Get out those tools, and get ready to start your next project as soon as possible!
- See Also: 8 Types of Floor Sanders (With Pictures)
Featured Image Credit: Pexels, Pixabay
Contents
