
Maintaining a healthy gutter is important to ensure a damage-free home. Gutters that are old, outdated, or damaged can cause further damage to your backyard, roof, and the outside and interior walls of your home. Water not adequately drained away from the house can seep into the walls and quickly cause water damage. On the other hand, soil that is continuously exposed to large quantities of water can quickly lead to erosion. This is why replacing the gutters as soon as you notice any signs of damage is crucial.
In the article below, you can find six steps to replace a gutter, even if you are a beginner at home renovation projects. Anyone with the basic knowledge and necessary tools can tackle this project fairly easily.

Before You Begin
Before beginning any installations or replacements, it is vital to measure the area and the length of the gutters that need replacing. If any damage occurs to your gutters, inspecting them and assessing the damage will be the first step. If the damage is significant, you may need to replace the gutters immediately.
Once you gather the tools and materials and create a plan, you can begin with the replacement. Below you can find a tutorial on replacing a gutter in a few easy steps.

What You’ll Need
Materials
- Gutter
- Hanging straps
- Downspouts
- Elbows
- End caps
- Hex head screws
- Medium length rivets
- Gutter sealant
Tools
- Cordless drill
- Tin snips
- Hacksaw
- Level
- Ladder
- Crimper
- Pop rivet gun
- Hex head driver
The 6 Steps for Replacing a Gutter
1. Acquire all the materials
For this project, you must purchase the correct length for the gutter, including the attachment brackets and downspouts. Make sure to inspect the fascia boards for any signs of rot or decay. Consider replacing the fascia and using a stronger and more durable material because you need a healthy fascia board to hold your entire gutter in place.
2. Position the gutters and create marks using a chalk line
For the gutter to function correctly, it needs to have the perfect angle to redirect the water toward the drainage holes. Those gutters that are longer than 35 feet need to have a slope from the center toward each end. They should start at the same height, tilt toward the edges, and end at the same point. However, the short gutters slope from one end to the other, starting at the highest point and ending at the lowest.
Choose the starting and ending points, beginning at the highest point, and create a slope by moving down half an inch every 10 feet. Mark the points with a chalk line and use a level to get it even.
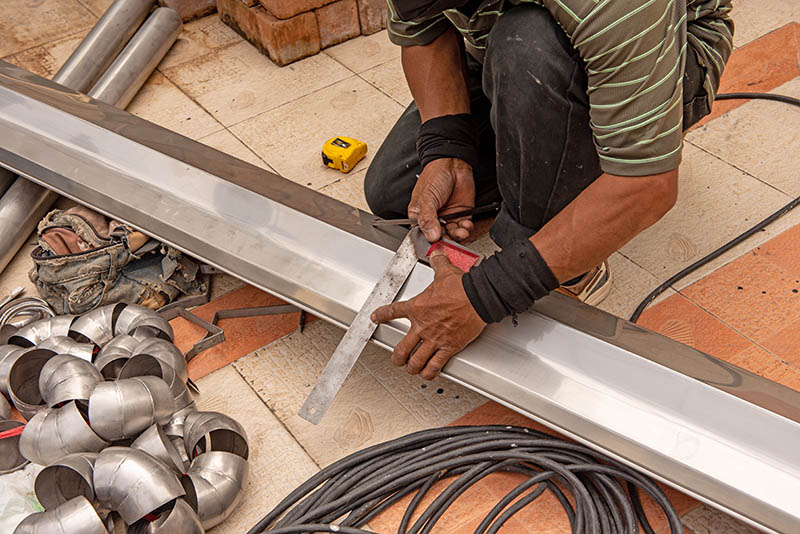
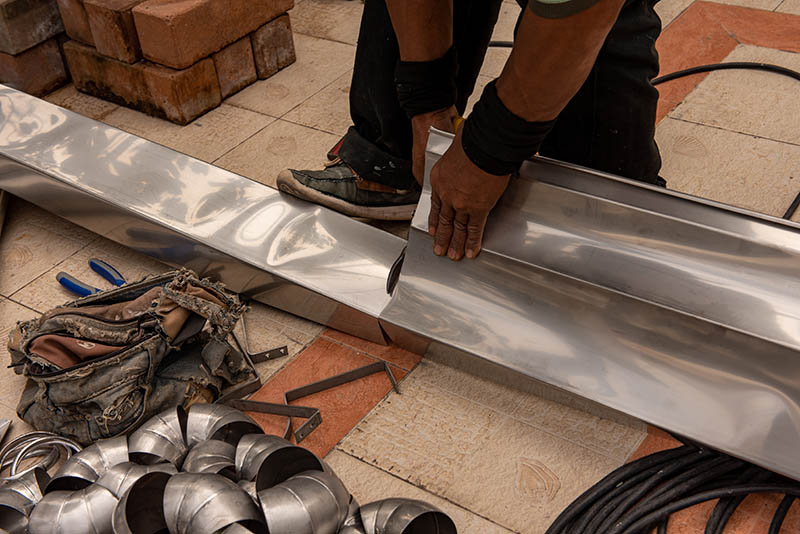
3. Sizing and cutting the gutters
Cutting the gutters to their required length will be easy, and you can do that using a hacksaw or tin snips. Be careful when cutting those connected parts because you may need to create a 45° angle between them.
4. Attach the gutter brackets
Search for the rafter tail by locating the signature nailheads; they are usually spaced every 16 inches. After marking the correct locations, drill pilot holes along every other rafter tail, making the replacement of brackets much easier.
5. Install downspouts and end caps

Mark and cut holes in the gutter for the downspout openings using a jigsaw. Attach the downspout connector and end caps using gutter silicone sealant and metal screws.
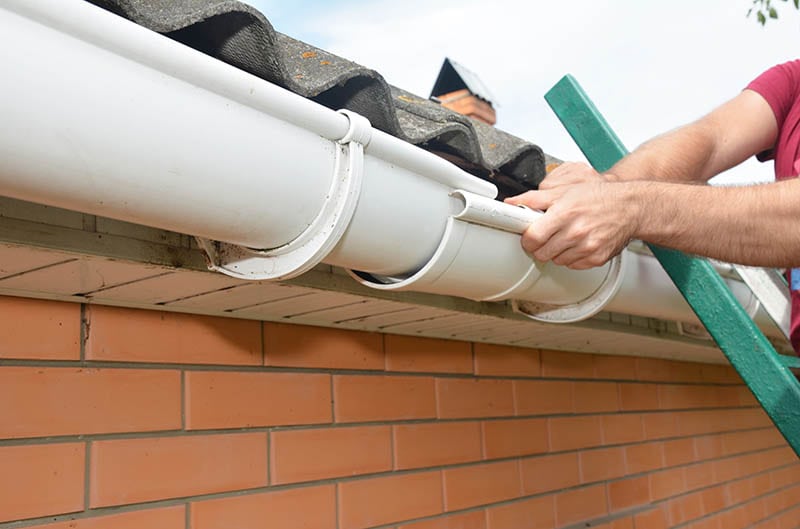
6. Mount the gutters
Tilt the gutters upward until the back end fits into place. The gutters should be able to snap into place quickly and be snug in their position without moving or swaying. Every 18 to 24 inches, install a bracket that will hold everything in its place. A stainless steel lag screw penetrates the face board at least 2 inches. Under each gutter corner, wrap a thin aluminum strip to prevent the water from leaking through small openings and cracks.
With the downspout connector, attach the downspout to the gutter. To secure everything in place, use a gutter sealant on all joints and connections, and let it dry overnight.

Conclusion
Maintaining a healthy gutter system is required for your house to stay safe and risk-free. Following this DIY tutorial will provide you with a brand-new gutter installation in just a few easy steps. This article shows a simple technique for replacing a gutter that you can finish in a day or less. You will enjoy all the rainy days with a new and improved gutter without worrying about any leaks or cracks.
Featured Image Credit: Radovan1, Shutterstock
Contents
