10 DIY Live Edge Wood Projects You Can Make Today (with Pictures)
-
Shea Cummings
- Last updated:
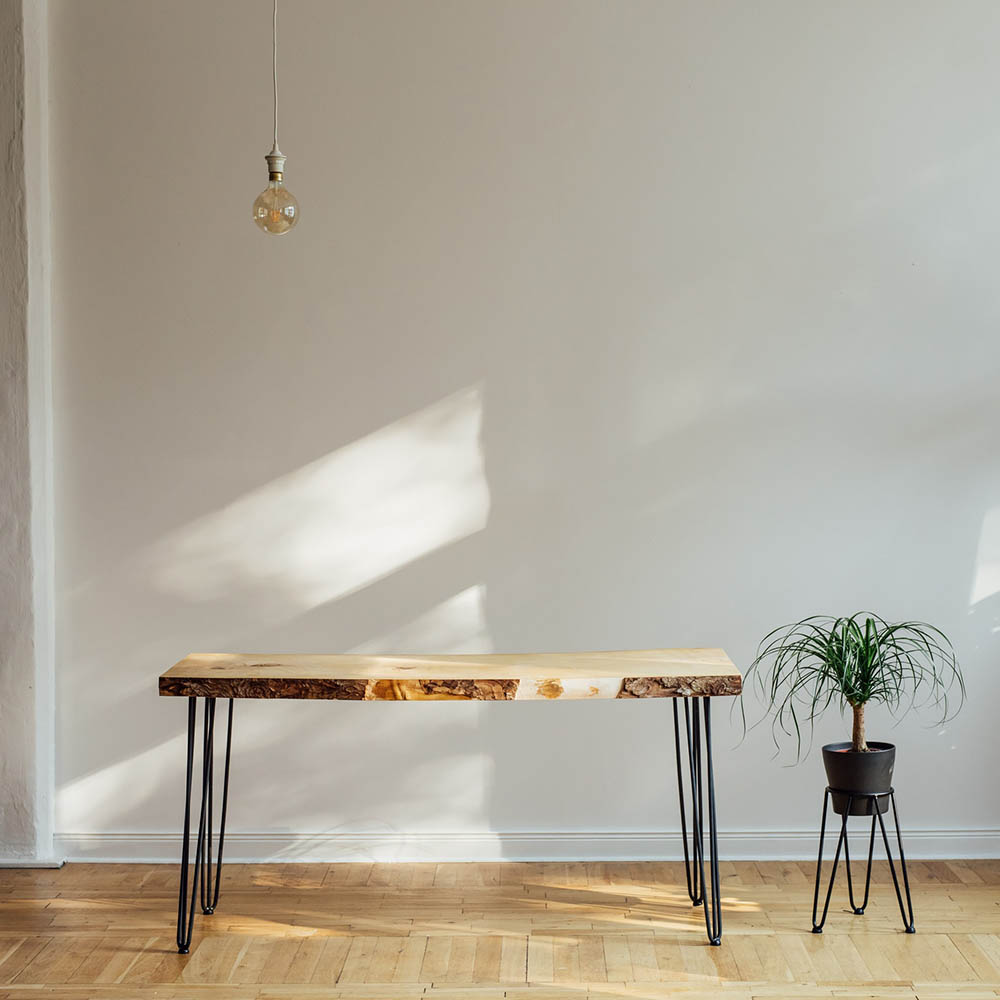
If you’ve ever looked at one of those woodworking magazines, you’ll have seen a live edge shelf or live edge table, and probably even a live edge heard board with a wooden bed. These projects are absolutely gorgeous, and did you know that many of them are totally doable for the average DIYer? You don’t always need super fancy or expensive tools—many of these projects can be completed on a modest budget with tools that many experienced DIYers will have kicking around the shop.
We’ve compiled a list of ten DIY live edge wood projects for you to do. And we’ve rated them by difficulty level to give you a quick indicator if it’s a project you want to attempt or not.
The Top 10 DIY Live Edge Wood Projects
1. DIY Live Edge Shelf
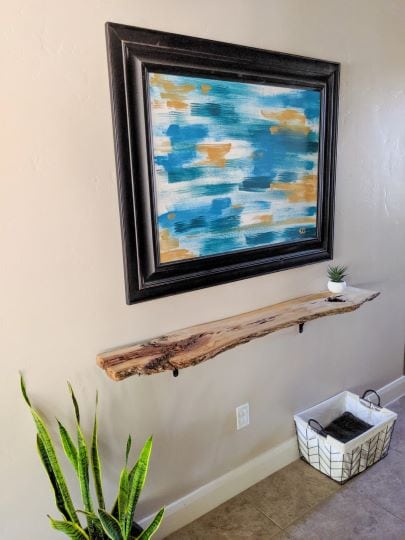
| Materials: | Wood slab of choice, polyurethane spray, steel ‘L’ brackets, |
| Tools: | Orbital sander, sandpaper (various grits), screws, drill, measuring tape |
| Difficulty: | Easy |
This simple DIY live edge shelf will add character to any room. With a small time investment, you will have a new shelf to put up that will rival any custom-made one for a fraction of the cost. DIY Lighthouse provides these simple plans that even a beginner DIY woodworker can follow.
As long as you can purchase a piece of wood with one straight edge or purchase it from someone who can make the straight cut for you, you will be able to create this project without any tools more advanced than an orbital sander.
2. DIY Wood Slice Table
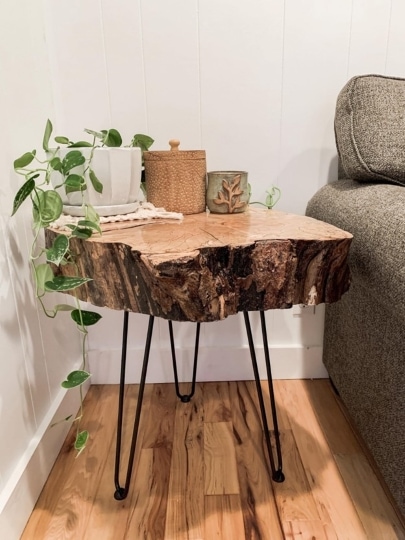
| Materials: | Wood slice of choice, three hairpin legs, polyurethane |
| Tools: | Drill, screws, orbital sander, sandpaper (various grits), paintbrush |
| Difficulty: | Easy |
This DIY wood slice table is the perfect rustic accent for a living room or even as a bedside table. The finished product looks so darn good; you might wonder how it could be such an easy project. The fact that there is no cutting involved puts this very high on the “easy list.”
The hardest thing you will run into is finding the right size of the wood slice. You need to find the diameter and thickness you want, which can be difficult. One possible way is to find a local woodworker. They may have cut-off pieces of live wood that will be the right size. You may be able to score a good deal this way. At the very least, they might be able to point you in the right direction if they can’t help you.
3. Live Edge Floating Shelves
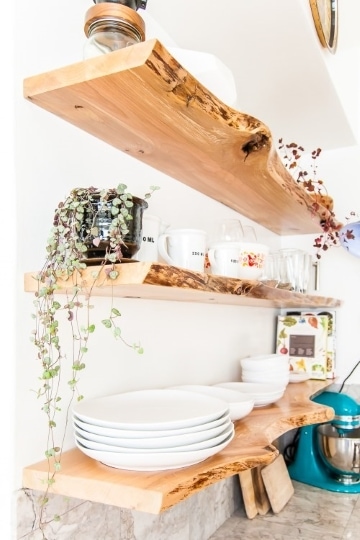
| Materials: | Pre-finished live edge wood of choice, floating shelf brackets |
| Tools: | Screws, drill, measuring tape, four-foot level |
| Difficulty: | Easy |
These live edge floating shelves are easy because you will not need to invest very much time as you are purchasing pre-finished live edge boards. If you are up for a more advanced task, you can supplement this guide by finding unfinished boards. There are many easy guides available for basic live edge finishing.
The trickiest part about this project is mounting the floating shelf brackets. With this type of bracket, there usually isn’t much room for error. Instead of that old adage, “measure twice, cut once,” the key here is “measure twice, drill once.”
4. Live Edge Desk With Metal Legs

| Materials: | Live edge slab of choice, epoxy, metal legs, polyurethane |
| Tools: | Orbital sander, sandpaper (various grits), paintbrush, drill, screws |
| Difficulty: | Moderate |
This live edge desk is another project on the list that relies on picking the right size of live edge slab, to begin with. If you find that a piece that is close, just like with our DIY live edge shelf above, sometimes the seller can make the cuts for you.
Some extra steps are taken when working with a live edge slab for a desk. You need to fill the holes and cracks with epoxy. This does two things: it adds to the overall strength of the wood and gives a perfectly smooth surface when finished, which is what you want when building a desk.
5. DIY Live Edge Driftwood Shelf
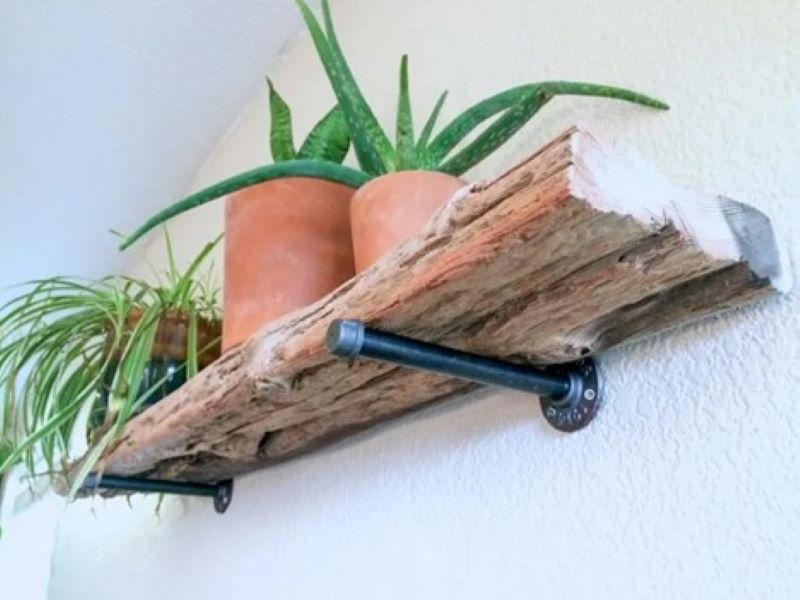
| Materials: | Driftwood of choice, bleach, polyurethane spray, black pipe fittings |
| Tools: | Circular saw, drill, screws, sandpaper |
| Difficulty: | Easy |
The best thing about this DIY live edge driftwood shelf is that the wood is 100% free and supplied by the ocean! You will need a few other basic tools, but those are just pesky details. Overall this is a straightforward DIY project. It is also inexpensive and super unique looking.
One thing that stands out is having to treat your driftwood with a bleach solution. This type of treatment is not the norm, but you don’t want strange creatures growing on your shelf once you’ve put it up. Plus, the microbes that could be on the wood are potentially dangerous as well.
6. DIY Live Edge Coffee Table With Hairpin Legs
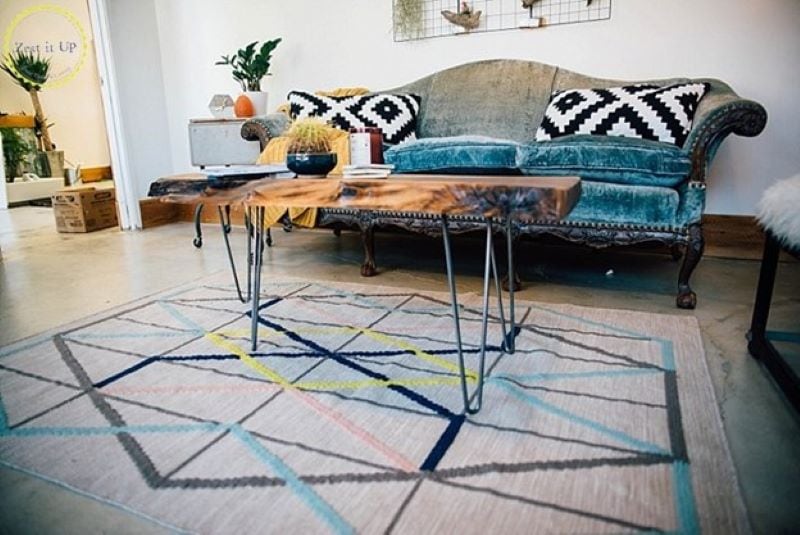
| Materials: | Live edge slab of choice, metal legs, polyurethane |
| Tools: | Orbital sander, drill, screws, paintbrush |
| Difficulty: | Moderate |
Imagine the conversation starter this beautiful DIY Live Edge Coffee Table would be in your living room. The easiest way to find a slab of wood the right size for this project is to find a large wood supplier in your area. Otherwise, the cost of shipping will make this a costly undertaking.
Once you find the perfect piece, with a little bit of elbow grease and DIY magic you’ll have a live edge coffee table that will last for many years. The neat thing about this particular project is you can easily change up the style by using different types of metal legs—there are many options to choose from.
7. DIY Live Edge Bed
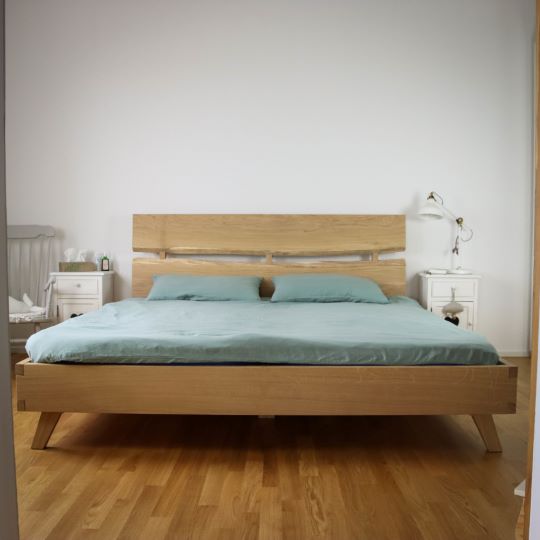
| Materials: | Live edge and wood of choice |
| Tools: | Circular saw, table saw, planer, wood glue, chisels, hammer, orbital sander |
| Difficulty: | Advanced |
This DIY live edge bed is not for the amateur DIYer. It will test your skill and tool selection, but the finished product will be a gorgeous wooden bed with a live edge headboard. Once completed, the plans are designed to finish with a bed that can be assembled and taken apart in minutes.
Perhaps, the best part about this project is that there is no metal anywhere in its construction. So, if you’re looking for a rustic DIY project to see what you’re made of, this is the one for you.
8. DIY Live Edge Headboard
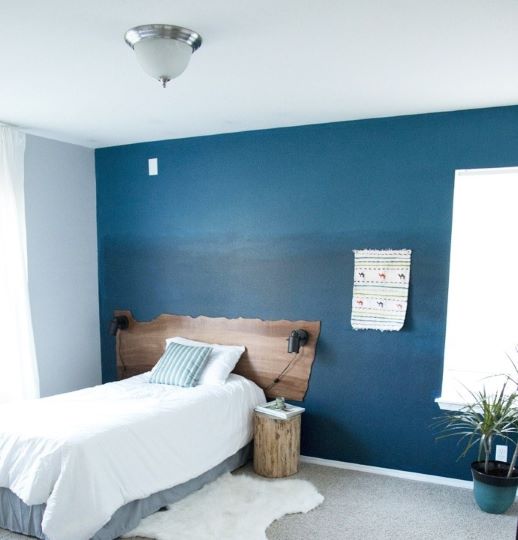
| Materials: | 4×8 sheet of plywood, stain of choice |
| Tools: | Brush, 400-grit sandpaper, orbital sander, jigsaw, screws, drill |
| Difficulty: | Easy |
Imagine a live edge headboard that doesn’t need a “live edge” piece of wood. These innovative DIY plans use a piece of plywood to create the appearance of a live edge. If you’re looking for a simple project to let your creative juices flow, then this one is for you.
Essentially, you will sketch and cut out a rough design, stain it to look like a live edge wood, mount it above your bed, and voila, you have a DIY live edge headboard. The best part: you will spend a fraction on the cost of materials compared to an actual live edge piece of wood!
9. Live Edge Charcuterie Board

| Materials: | Live edge slab of choice, glue, food-safe oil |
| Tools: | Jigsaw, planer, orbital sander, rags |
| Difficulty: | Advanced |
Maybe you’re not looking to make a DIY live edge headboard, table, or any other furniture. How about a live edge charcuterie board? If you have a reasonable amount of woodworking knowledge and a few specialty tools, this gorgeous charcuterie board could be the next big thing at your next dinner party.
A key factor in this project will be finding a piece of wood that is roughly the thickness you want, or there will be a lot of runs through the planer. Most woodworking supply shops will have a bin with hardwood project pieces. This bin is a great place to find the size of wood you need for a project like this one.
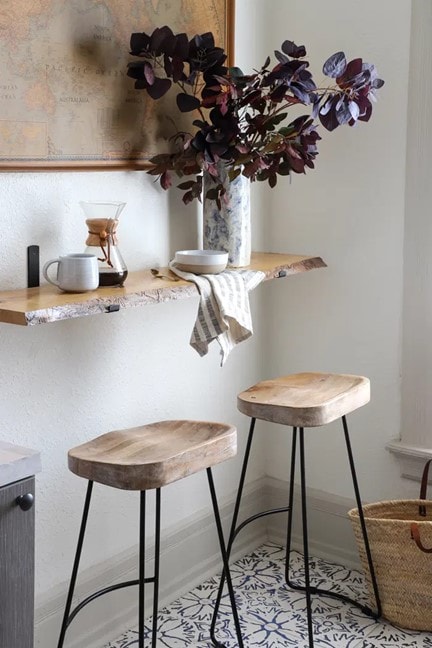
10. DIY Live Edge Breakfast Bar Floating Shelf
| Materials: | Live edge slab of choice, floating shelf hardware kit |
| Tools: | Stud finder, drill, screws, tape measure |
| Difficulty: | Easy |
This isn’t just some random DIY live edge shelf. It’s a shelf designed to eat at! This DIY live edge breakfast bar floating shelf is a genius combination of a floating shelf and a place to eat a bagel while you read the paper.
The great thing about this project is you’re skipping the hard work of cutting and finishing a live edge slab from scratch. It may cost a little bit more to purchase a pre-finished piece of wood, but it saves a bunch of time. If you’d rather finish the wood yourself, there are many guides on the internet to show you that, then follow the simple steps that I Spy DIY has laid out for this breakfast bar shelf.
Conclusion
Now that you have some inspiration and the plans to go with the inspiration, what work of art are you building this weekend? Maybe something on this list leaped out at you, or perhaps inspired you to find a different plan that speaks to you. Whatever the case may be, happy building!
Featured Image Credit: Natural Goods Berlin, Unsplash
Contents
