House Grail is reader-supported. When you buy via links on our site, we may earn an affiliate commission at no cost to you. Learn more.
How to Fix Laminate Flooring in 4 Simple Steps
Pete Ortiz
Last updated:
Inexpensive, durable, and easy to maintain, there are plenty of reasons to choose laminate over hardwood throughout the house. And if you’re worried about damage, it may surprise you to learn that laminate flooring can be straightforward to repair as well!
In fairness, premium flooring like hardwood has hardiness in the face of harm that laminate never will. But even though you can’t sand and finish it to a like-new look, a dent, ding, or scratch won’t always spell the end for your laminate flooring either. If you have damaged laminate, we’ll show you how to fix it in four simple steps.
How to Fix Laminate Flooring in 4 Simple Steps
A random scratch or ding can be a quick fix with putty, marker, crayon, or other filler. Take a piece of scrap flooring to your local hardware store to find a repair kit that can match the tone and the flooring’s overall look. In only a few minutes, you’ll be able to make minor blemishes disappear.
What You’ll Need
Cleaning solvent
Wood putty, repair marker, or repair kit
Putty knife
Paper towels
1. Clean the Chip with Solvent
Use a solvent to clean the chip before applying your filler. Wood filler will have difficulty holding on if loose dirt and debris are in the chip. Apply the solvent in and around the chip and blot it with a clean cloth. Let it sit for a few minutes to allow the remaining solvent to evaporate.
2. Prepare the Wood Putty
Image Credit: fukume, Shutterstock
Wood repair markers, crayons, and even many types of putty are ready to use without any preparation. If the scratch is minor, these simple fills can work even if the color match is imperfect.
Other wood repair kits require you to mix the filler before applying it. You may have to combine a few different tones until you get the proper hue to match. When working with putties, always follow the product directions, which often entail mixing the filler on a scrap piece of cardboard or in a dish until it develops the color and consistency to fill the spot.
3. Test the Repair Tool
It can be challenging to tell if a putty color matches the laminate even when you hold them next to each other. Before filling in the chip, test your filler in an inconspicuous area to see how it looks and make adjustments to the color as needed.
4. Fill the Chip or Scratch
Image Credit: Anselm Kempf, Shutterstock
Use your putty knife to fill the chip in and smooth it until it is flush with the floorboard. Some kits also provide a small brush to texturize the filler so it matches the grain.
You may need a few applications to fill the chip. Let the first layer dry for about an hour, and then add your second layer. Smooth it out with the putty knife and clean off any excess with some solvent on a rag. Allow it to dry, and carefully sand it with fine-grit sandpaper to bring it even with the floor, if necessary.
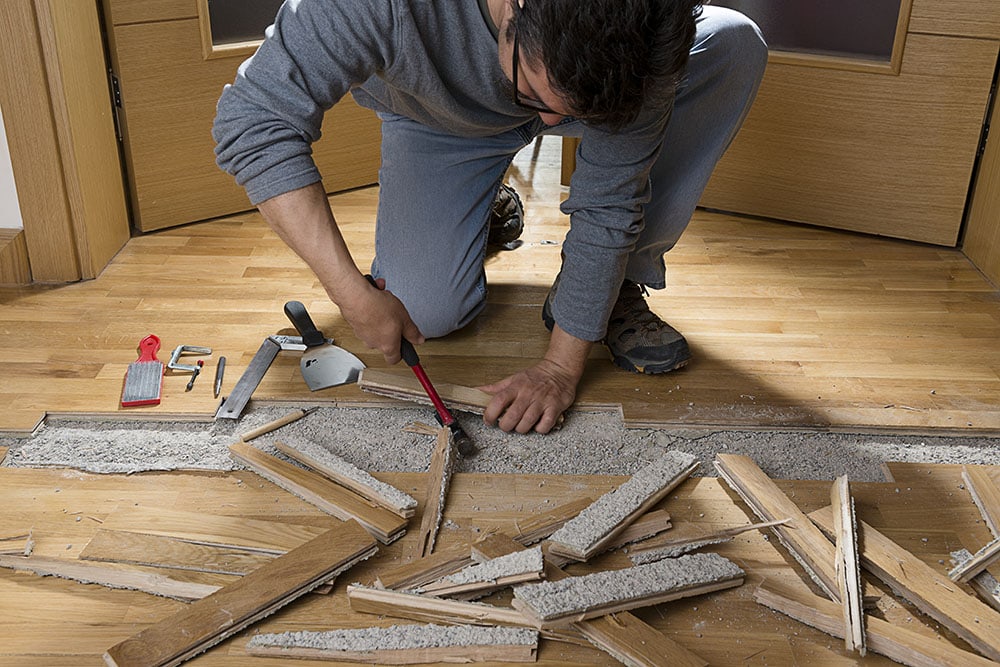
How to Replace Damaged Laminate Flooring
You can often fix minor marks from dropped knives or pet claws with wood fillers, but extensive damage is usually irreparable. For instance, there may be extreme scratching that filler can’t cover. And because it has a wood-based fiberboard core, laminate flooring is vulnerable to damage from excessive moisture penetration. Too much water can cause mold, warping, buckling, or breaking, all of which will generally require a replacement.
If you have a floating installation and the boards are not glued down or together, you can usually remove the floorboards without cutting. Take the baseboards off and begin detaching the floorboards starting from the edge next to the wall, setting them aside until you reach and replace the damaged piece. After replacing the problem spot, attach the floorboards again, fix your baseboards backs in place, and you’re good to go.
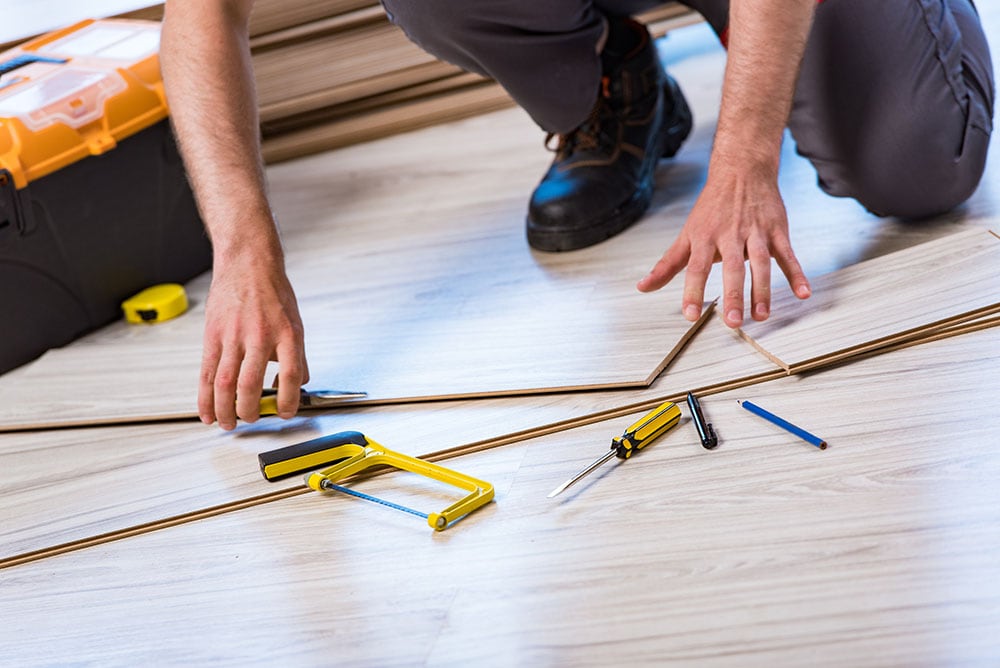
If you glued the floorboards in place or the damaged board is too far away from a wall, you’ll have to cut into the board to replace it. Follow these steps to replace a damaged laminate floorboard with a saw.
What You’ll Need
Circular saw
Pry bar
Table saw
Utility knife
Pliers
Wood glue
1. Mark the Cut Lines
To remove a laminate floorboard from the middle of the floor, you’ll need to cut into it with a circular saw. You don’t want to cut exactly along the seam. That will destroy the tongue and groove of the surrounding boards, which you’ll want to keep intact to help fix the new board in place.
Mark cut lines on the damaged floorboard on each side about 1 inch from the edge, creating a rectangle. Draw four more diagonal cut lines connecting the corners of your hand-drawn rectangle with the corners of the board. These short relief cuts will make it easier to pry the piece out.
2. Cut the Damaged Plank
Using a spare piece of flooring, set your circular saw to the floor’s depth. You want your saw to go just deep enough to cut through the whole board but not damage the subfloor underneath. Cut along the rectangular cut lines you marked and the four corner lines.
3. Pry Out Edge Pieces of the Damaged Board
Image Credit: Levent Konuk, Shutterstock
Take the center portion out of the board that you cut, leaving only the sides in place. Use a pry bar or chisel to dislodge the side pieces from the rest of the floor. Be careful removing them to prevent any damage to the surrounding floorboards.
4. Cut the Tongue and Groove of the New Board
Image Credit: visivastudio, Shutterstock
A laminate floorboard has a groove on one side and one end, as well as a tongue on one side and one end. When you try to insert a new board in between four pre-existing floorboards, you’ll find that the tongues will keep it from fitting. With a few well-placed cuts and some wood glue, you can attach the new board securely in place.
On the new board, use your table saw to cut only the bottom lip off of the groove side. Then, cut the bottom lip off of the groove end. Finally, cut the tongue off of the opposite end by scoring it several times with your utility knife and snapping it off with pliers. Leave the tongue intact on the long side.
5. Glue Down the New Board
Image Credit: Elnur, Shutterstock
With the bottom lip cut off of the groove end and side, and the tongue cut off of the other end, you can fit your board in place with ease. Before installing it, repair any damage to your underlayment that your saw may have caused.
After taping any rips in your underlayment, you can attach the new board. Run glue along the top of the tongue side and end of the pre-existing floorboards around the replacement. Then, run a line of wood glue down the length of the tongue on the new board. Finally, apply glue to the end of the new board from which you removed the tongue, where it will form a butt joint with the board next to it.
Slide the tongue side of the new plank into the groove of the corresponding floorboard. Situate the top lip of the groove end and side over the tongues of the other floorboards, pressing them down so that the glue spreads and develops a firm bond.
Let the wood glue dry, and your new floorboard will be ready for use. For a stronger hold, you can also face nail the new board on the groove side. Countersinking two nails on that side should be sufficient, and you can fill the holes in with matching wood putty.
Laminate flooring has a lot going for it, and it will only get more durable and attractive as manufacturing technology improves. It may be known for its low cost and simple installation, but with these four simple steps, you can now add “easy to fix” to laminate’s growing list of benefits. Take a look around your home for repair opportunities, and discover how fast, simple, and satisfying it can be to breathe new life into your laminate flooring!
Pete has been working in the trades since high school, where he first developed a passion for woodworking. Over the years, he has developed a keen interest in a wide variety of DIY projects around the home. Fascinated by all sort of tools, Pete loves reading and writing about all the latest gadgets and accessories that hit the market. His other interests include astronomy, hiking, and fishing.
As the founder of House Grail, Pete's primary goal is to help consumers make educated decisions about DIY projects at home, in the garage, and in the garden.