

Hardwood flooring is popular due to its beauty and resilience, but despite its hardiness, even the smallest amount of water can cause lasting harm. Whether touched by extreme flooding or prolonged bouts of humidity, wood floors will eventually display damage in unsightly warped boards, hazardous mold spots, and lifted sections.
Given the cost of flooring, the prospect of having to replace water-damaged hardwood is enough to stress anyone out.
Fortunately, drastic measures may not be necessary. You can fix many forms of water damage without replacing boards, and it may surprise you to see how easily it can heal. If you’re trying to recover from warping and discoloration on your floor without having to spend a ton of time and money on a new installation, we’ll show you how to fix water damage on your hardwood in seven simple steps.

Signs of Water Damage
Fixing water-damaged floors is a much easier chore when you catch the problem early. If left unaddressed, the absorbent cellulose of the wood will take in more moisture as it penetrates below the finished surface, making it harder to extract.
Warping and mold can eventually worsen and spread, leaving you more flooring to fix. In the worst cases, buckled floors and rotten wood will force you to replace sections, if not the entire floor.
Keep an eye out for initial signs of damage. These generally involve subtle bends in the wood as moisture imbalances above and below the floor influence its shape:
| Buckling: | Planks swell and lift away from the subfloor |
| Cupping: | Edges of a plank are higher than the center, creating a concave shape |
| Crowning: | The middle of a plank is higher than the edges |
You may notice an odor and discoloration from mold as well. Tell-tale signs of mold or mildew growth include dark spots or stains running along the edge of your floorboards.
Tools & Materials
How to Fix Water Damage on Wood Floors (7 Steps)
1. Fix the Source of the Water Damage
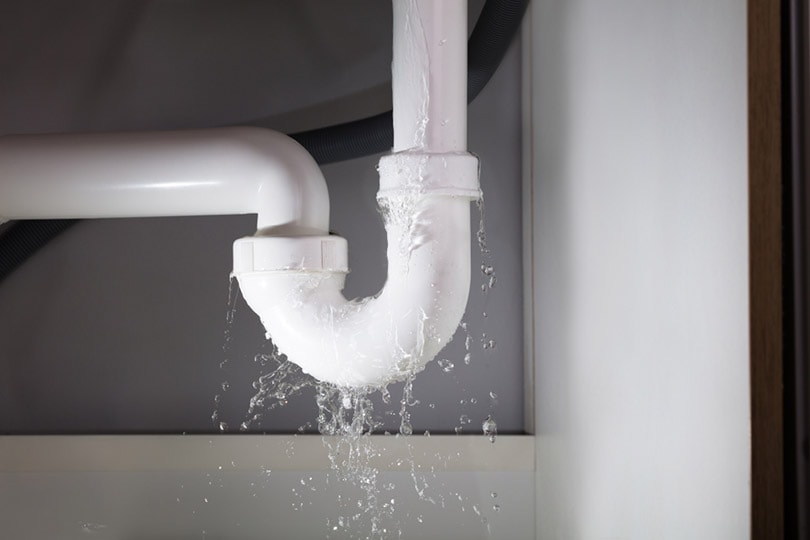
Moisture can come from several places to damage wood floors, including floods, faulty appliances, broken pipes, leaky windows and ceilings, and high humidity. Some minor spills from pet water bowls or mop buckets only need to be cleaned up once, but in many cases, you’ll need to fix the source of the water damage to prevent ongoing problems. Locate the cause of the problem and hire the appropriate expert to repair whatever’s causing the excessive moisture exposure.
2. Dry the Floor with a Mop and Shop Vac
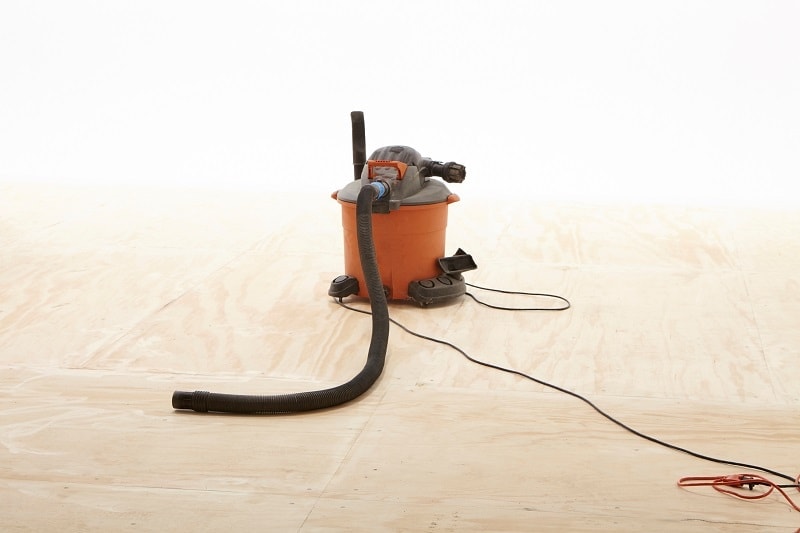
Start repairing your wood floor by mopping up any lingering water. For the best results, take the bag out of your wet/dry vac and attach a wide wet nozzle to suck the water out of the floorboards. Speed up the process by using a squeegee to guide the water toward the vacuum.

3. Clean the Floor with Detergent and Disinfectant
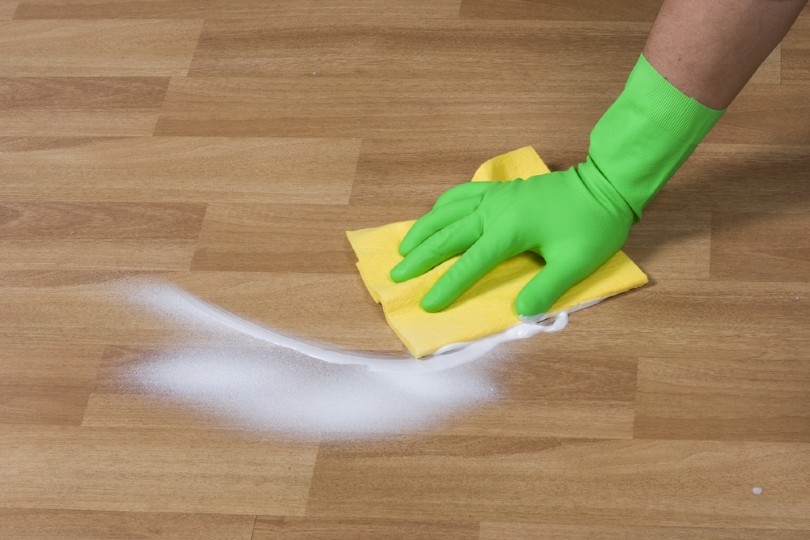
To prevent mold, you’ll need to remove the dirt and moisture that allow it to thrive. Make an effective cleaner by mixing a mild soap with a hardwood disinfectant and water in your bucket. The soap lifts and removes surface dirt and grime while the disinfectant kills any early-stage growth.
Use a stiff brush to scrub the damaged area with your cleaner, making sure to rinse frequently in your bucket.
Cleaning with TSP and Bar Keeper’s Friend
When you see mold lines along the edges of boards and minor dark spots popping up, you can use trisodium phosphate (TSP) to remove them. Mix ¼ cup TSP in a gallon of water and scrub the solution into the affected area. Then, use a damp cloth to rinse the cleaner off. Follow that with a clean towel to dry the wood.
You can also apply Bar Keeper’s Friend, a cleaning agent containing oxalic acid, as an alternative to TSP. Oxalic acid is a popular wood-bleaching product that removes stains without changing the natural look of the flooring.
If you’re using dry Bar Keeper’s Friend, you must mix it with water until it reaches a toothpaste-like consistency. Apply it to the mold and scrape it clean after sitting for 30–60 seconds. When your standard detergent isn’t cutting it, Bar Keeper’s Friend is a fantastic choice for removing deep-down mold and dark stains caused by water.
4. Dry the Floor

After cleaning, let the floor air dry. Promote good airflow and steady drying by opening windows and doors and turning on fans. If the air is more humid outside than it is inside, keep the windows and doors shut, but leave the fans running.
A dehumidifier can come in handy to remove hidden water both from under the floor as well as on top of it. Cupping is a sign of moisture below the floorboard, causing it to swell from the underside and create a concave form. Run a dehumidifier in the basement or crawlspace under the spot where you’re facing moisture damage if you have cupping.
In some cases, adequate drying can reverse the effects of moisture and restore the shape of your wood floor. It’s crucial to let the wood dry gradually, as heating it and drying it too quickly can cause it to crack.
5. Sand Minor Imperfections
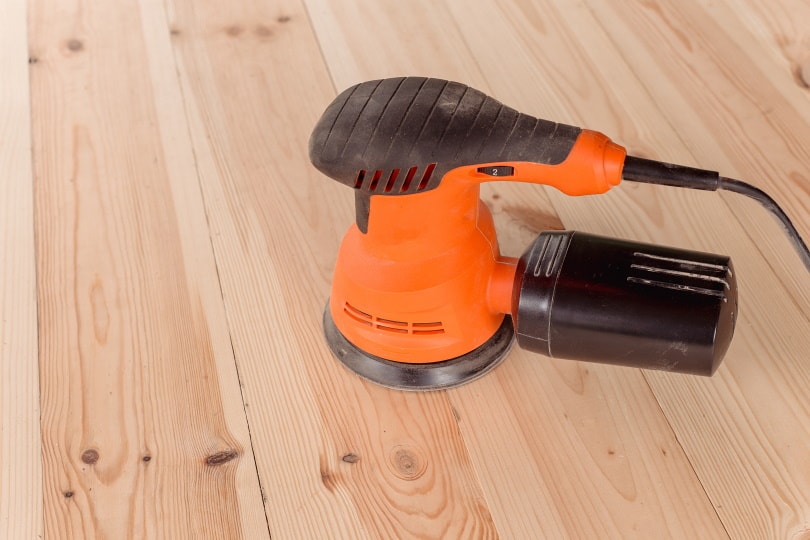
If you have solid wood floors, you have enough layers to sand out minor humps, bumps, and blemishes and retain the grain. You can handle slight cupping with an orbital sander, wearing the raised edges down until they’re flush with the rest of the floor. A sander works equally well on taking out tough set-in stains, as long as you don’t have to sand more than ¼” deep.
Engineered wood can’t take the same treatment because it only has a wood veneer. Even minimal cupping may require you to replace the piece of wood.
6. Repair and Replace Lifted Floorboards
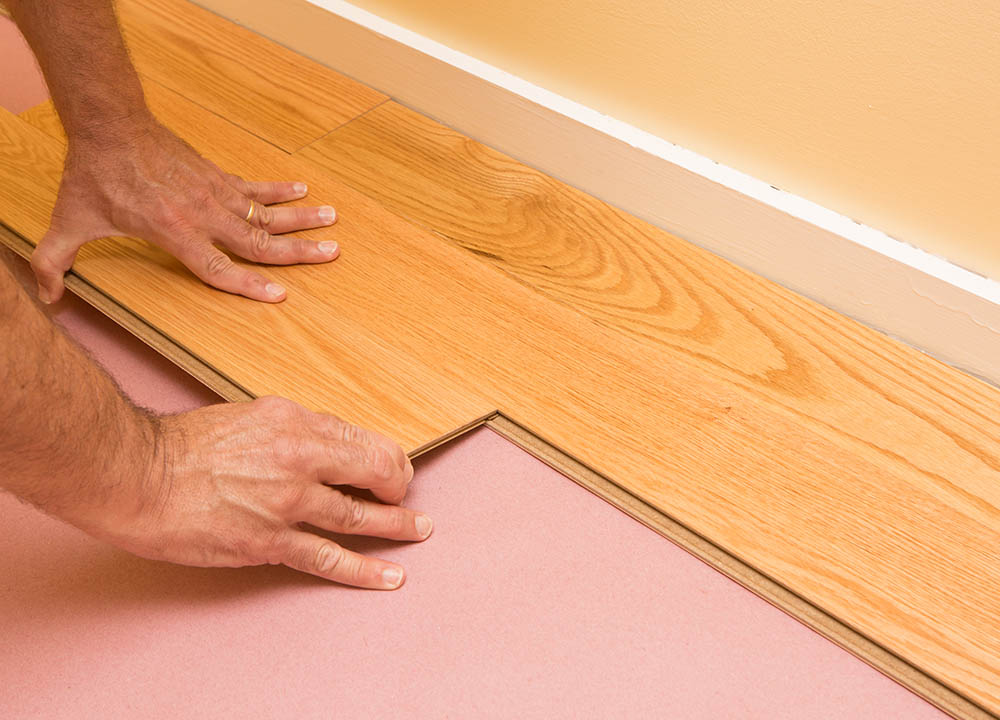
If you have a buckled floorboard, you can face nail or screw the raised edge back into place, as long as the wood is in good condition. Water-damaged boards that have extensive mold, staining, or warping will need to be replaced.
To replace a board, use a circular saw to cut the damaged floorboard in two parallel lines about ½” from the edge of the board. Pry it out with a crowbar or chisel, being careful to retain the tongue-and-groove portions of the surrounding boards.
When the old board is out, assess the underlayment and subfloor for moisture. Use a moisture meter to check the subfloor and run a dehumidifier to dry it out before installing the new floorboard.
Fit the new board into place, adhering it with wood glue. Drive a nail into both ends of the board and cover the hole with wood putty.
7. Stain Planks to Match
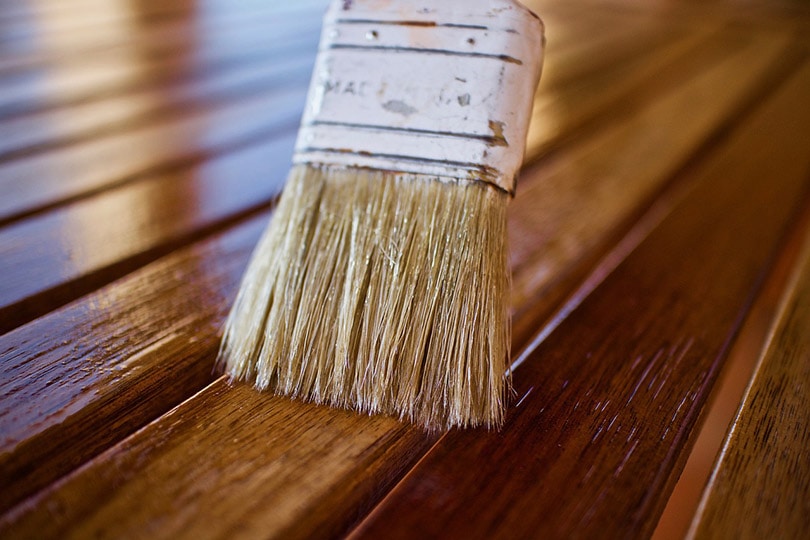
If you have pre-finished wood, you may be able to avoid a decent amount of work when you replace a water-damaged board. It’s always a good idea to hold onto spare wood pieces in case you need a repair, especially if you have flooring with a factory finish. That way, you can ensure that the pieces will always match.
If you are replacing unfinished wood, you’ll need to stain it to match the rest of the wood. That can get tricky though because wood tends to change in color over time, so applying the same stain may not yield an exact match. Whether you’re sanding down cupped edges or replacing a plank, you may need to sand and re-stain the entire floor to get a consistent finish that hides the repair.

Should I Fix or Replace Water-Damaged Flooring?
You can nail lifted boards back in place, while minor cupping or crowning may fix themselves once you dry the boards and equalize the humidity above and below them. From there, the decision to repair or replace simply depends on the state of the board.
If you can’t remove all of the mold from a piece of wood or reshape it after warping, you’ll need to replace the flooring. And even when you can fix it, recurring problems like frequent buckling could indicate deeper issues. A damaged, damp subfloor may be creating issues with the flooring above. Although the floor planks might be repairable, you might have to replace the subfloor.
The odds that you’ll have to replace the floors increase if the water is dirty.
- Clean water from pipes, faucets, or hoses
- Gray water from leaky dishwashers, refrigerators, or washing machines that contains chemicals and microbes
- Blackwater from sewage pipes or overflowing toilets with high levels of harmful contaminants
The cleaner the water, the longer the wood floor can sit in it without needing a replacement. In general, if water has been soaking into the wood for more than a few hours, you will likely need to replace it.

Conclusion
Hardwood flooring is an investment that should last for many years, but it takes a watchful eye to keep it in good condition. Although it can withstand heavy traffic, protecting it from moisture is crucial if you want to ensure long-lasting performance and an enduring character. When water damage strikes, these seven steps will give you the best chance of restoring your hardwood to a fault-free finish.
Featured Image Credit: Sompetch Khanakornpratip, Shutterstock
Contents
