

Do you want to install an exterior door in your home? A new door makes your house more functional and gives your property an instant upgrade. It also adds to the curb appeal of your entire home. The great thing is that installing a new exterior is not as hard as you think. As long as you have the right tools, you can efficiently install the exterior door on your own.
This article offers you a step-by-step guide for installing an exterior door.

The 8 Steps To Follow in Exterior Door Installation
1. Buy the Right Exterior Door
The first step involves buying the right exterior door. You have a few factors to consider in the process. Before shopping for the exterior door, take your frame and door dimensions. Choose a door that fits your house opening.
The second factor is direction. If you want to buy a pre-hung door, it comes attached to the frame and swings in a particular direction to your house. Pick one that swings in the same way as your current door. So, if your current door opens inwards and features a knob on the right side, ensure your new door fits the description too.
Thirdly, decide your door material. You have different options to choose from, including aluminum, wood, steel, and fiberglass. Your taste and preference determine the material you select. However, you need to consider other factors such as appearance, durability, strength, level of maintenance and cost. Once you choose the right exterior door and have it delivered to your home, you are ready to start the installation process.
2. Gather the Essential Tools
Gather all the tools you need to remove the old door and install the new one. Some of the most important tools you need for the process include:
- A leveler to ensure that everything stays level because it is hard to open the door if it is at an angle
- Caulk for holding the framing and insulation intact
- Nails, hammer, nail set, and screwdriver
- Ruler or tape measure for measuring the new and old frames and door
- Insulating material to prevent winter winds from whipping around your exterior door
- Wood shims to hold your door at the appropriate level if required
3. Prepare the Door Opening
Throughout the exterior door installation process, you should confirm it fits perfectly into the opening. It would be frustrating to complete the installation and discover it is smaller or bigger than the opening. Avoid this problem by taking the old door’s dimensions and applying them to the new exterior door.
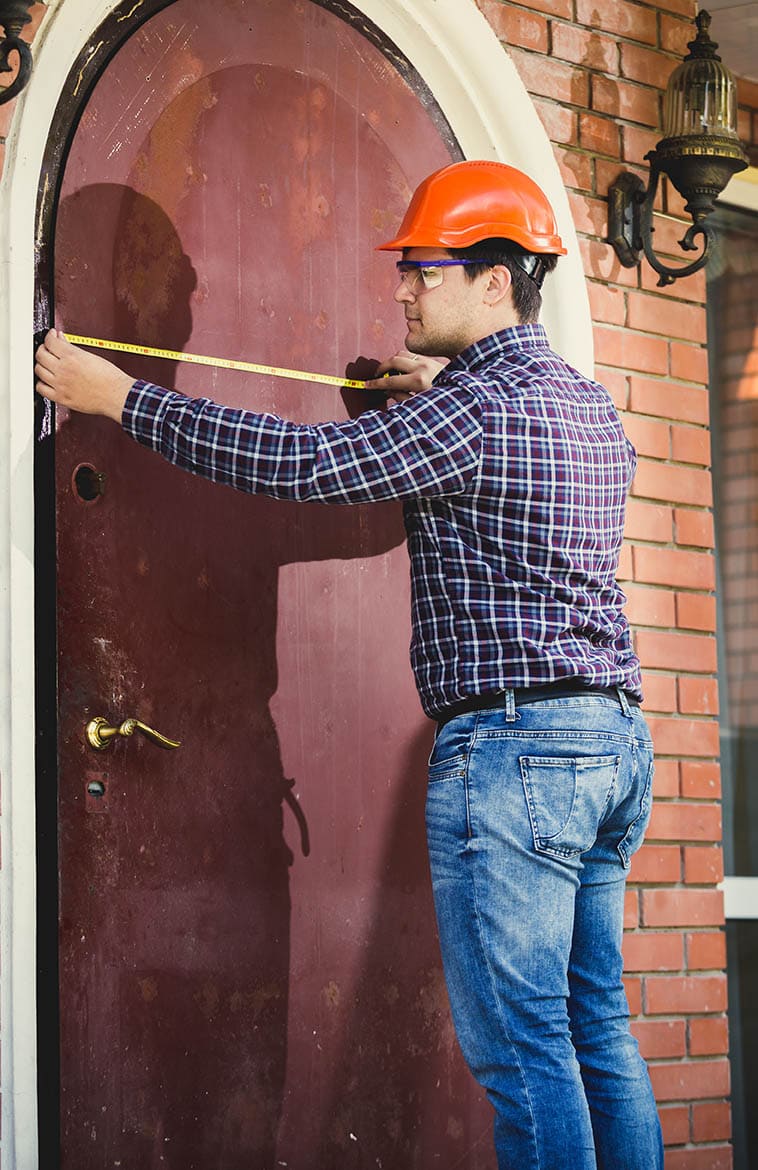
To check the width, you should measure the old door across the top, middle, and bottom from one stud to the other. The stud is simply the door side. The smallest number you get as you measure is the rough estimate for the width.
To measure the door height, you should measure the middle and the two sides of the door from the top to the floor. Again, the smallest number is the correct estimate of your door height. You should also measure the door jamb width.
Measure the old door against the measurements of the new door you want to install. If they match, that is perfect. If the measurements do not match, you should get another door. You can avoid this problem by measuring the old door dimensions before shopping for the new door.
After taking the measurements and confirming they are correct, you can move to the next step.
4. Remove Interior and Exterior Trim
Remove the exterior and internal trim. Here, you need to remove the old exterior door, its frame, and the insulation. Before removing the door and frame, cut the caulk, remove the exterior and interior trim.
You should also remove the 1 x 4 nailing boards around the frame exterior and any nails or shims that stick out of the trimmer studs. To reduce dust as you demolish, remove the door just before removing the main frame. Use a nail set and hammer to remove hinge pins and separate the old door from the hinges.
Groove the caulk to break the seal. Use a hammer and pry bar to remove the molding. Pry away the framing, doorjamb, and threshold. Now scrape the old caulking. Once you do this, the old exterior door is removed.
5. Check the Fit of the New Door
Now you can test fit and center the frame and door. If you want to install a pre-hung door, slide into the opening to see how it fits. Check if there are gaps between the wall and the frame. You can have a gap above your door frame. If you find a sizable gap, it shows that the door is sitting too low in relation to your house. This prevents it from opening efficiently.
Build up the sill under the door to fix this problem. Put wooden shims below it to provide the right level of snugness. Ensure it is level to avoid having a lopsided door. It is also advisable to put a layer of flashing tape over the sill to guard against water.
If the doorframe is extra-large, you should reduce its size. Do so by centering the door against the opening. Check for the frame outline onto the molding and remove the door from the way. This helps you understand how much you will reduce. Shear away or sand down the molding until it is of the correct size to insert the new exterior door.
When you make the appropriate adjustments, test fit your door again. If it fits perfectly, you can now remove it. Finally, put a building paper on the inside of the opening to prevent moisture from getting in.
6. Start the Installation
Now you are in the major task of installing the exterior door. Follow these steps to do the installation.
- Place the door where it will be set to ensure that it will fit perfectly. If there are issues, deal with them first before proceeding.
- Apply the caulk. Apply it along the sill top and a thin layer on each side of the opening. You can apply up to two inches.
- Reinsert your door into the opening placing its bottom first. Tilt the top side towards you and slide it into place. Work from the outside as you insert the door. Make sure you center it with equal space on the two sides.
- Shim the door frame. Place shims on the hinge side of your door until it gets plumb in both directions. You should place the shims behind all points where the hinges will be attached. In the end, you need to have a continuous gap measuring 1/8 inch between the edge of the jamb and the door.
- Secure your door. After making all the required adjustments, secure the exterior door temporarily. Use 16d finishing nails for the process. Drive the nails through the jamb, close to where the hinge will be installed. Avoid putting the nail entirely inside.
7. Finish the exterior door installation
- Test the door swing. Test if the door is opening and closing smoothly. At times, pre-hung doors feature an adjustable sill. The sill helps if the door is not adjusted well. Make sure that the door is not scraping the floor inside the house. Check from the outside if there is even contact between the weather-stripping on the frame part opposite the jamb and the door front. Adjust by moving the hinge jamb in or out at the bottom and top if needed.
- Check the edges of your door’s inside face. There should be a gap between the jamb and door, all around the door.
- Secure the jambs. To secure the doorjamb, drive three-inch screws through the shims at the sites of the hinges on the hinge jamb. Secure all the other jambs around the exterior door by driving nails or screws through the shims.
- Remove the brackets. Remove all the brackets you may find where the exterior door meets the frame so that they don’t prevent the door from opening effectively. Once the exterior door is firmly anchored, you can continue to the last step.
8. Insulate and Put the Trim
In the last step, clean up the spots where the frame meets your house by applying insulation. Keep the gaps around the frame using shims. However, they don’t get sealed. Apply expanding foam or caulk around the border’s frame to seal the gaps completely. Before covering the gaps with caulk, put a foam backer rod into the gaps. Once you do the insulation, add a new interior trim. You can reapply the old trim if it is still in perfect condition. Put it over the door frame’s border as the ultimate insulation layer.
Now you can perform all the finishing touches you deem essential. If the sill is higher off the floor, put a beveled piece of wood. You can also attach the knob and lock or paint the door and frame with your favorite paint color. Some doors feature a coat primer, meaning they are ready to be painted. You can also install a doorbell matching your new exterior door.
Bottom line
By following the above steps, you will find it easy to install the exterior door in your home. In the end, your home will be spruced up. You get to enjoy energy efficiency, added security, and improved curb appeal with the new exterior door.
See also: 10 Brilliant Uses for Old Doors (Reuses & Repurposing Ideas)
Featured Image Credit: Odua Images, Shutterstock
Contents
