

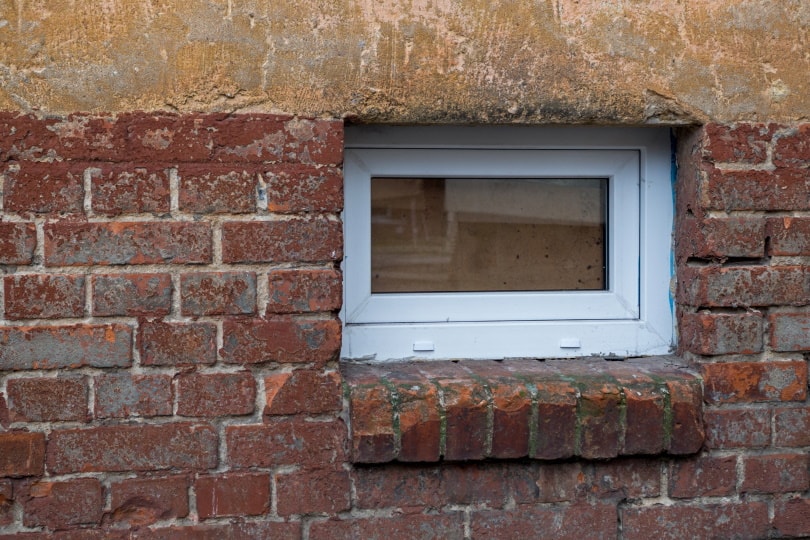
We have to begin by saying that replacing windows isn’t the average DIY project. It requires special tools and a skillset that the casual DIYer may not have. That’s especially true with older homes. The primary concerns are not damaging the existing brickwork and dealing with lead paint for houses built before 1978.
The latter puts this project in the deal-breaker category. The US Environmental Protection Agency’s (EPA) Lead Renovation, Repair, and Painting Rule (RRP) means that only certified renovators can undertake these jobs. If the EPA hasn’t trained you, you can’t replace your windows if your house has lead paint. Exposure can cause serious health effects for children and adults.

Before You Start
You’ll likely need a building permit to do this job. We strongly urge you to check before you start to avoid any fines. In this case, it’s wiser to ask permission than beg forgiveness. Your municipality will probably address the question of lead paint when you apply.
The project will take a whole day’s work per window, depending on your skills and experience. It’s considerably more manageable if your window is at ground level. You must first decide whether you want a pocket replacement or a full-frame window. The former uses the existing sashes and frames. The latter is a complete makeover that is a more involved—and expensive—project.
The other issue is the brickwork. Older ones are more fragile. Damage to them can increase your costs considerably. If you’re doing a complete restoration, you’ll have to add these expenses to your budget.
Window Replacement Supplies
We mentioned earlier that you would need specialized tools for this job. There’s the standard safety equipment you’d need for any home improvement project, such as safety goggles, gloves, and ear protection.
- Pry bar
- Power drill-driver
- Chisel
- Angle grinder
- Compound miter saw
- Reciprocating saw
- Tape measure
- Level
- Hammer
- Caulk gun
- Putty knife
- Shims
- Flashing tape
- Aluminum flashing
The length of the list provides a fair assessment of what’s involved with this project. Each job is different with its challenges. Our guide will cover the basic steps. However, you may need to complete additional steps, depending on the state of your windows and brickwork. We’re assuming you’ve done your homework about the legalities of this job, including proper disposal of the old window.

How to Replace Windows in a Brick House (8 Steps)
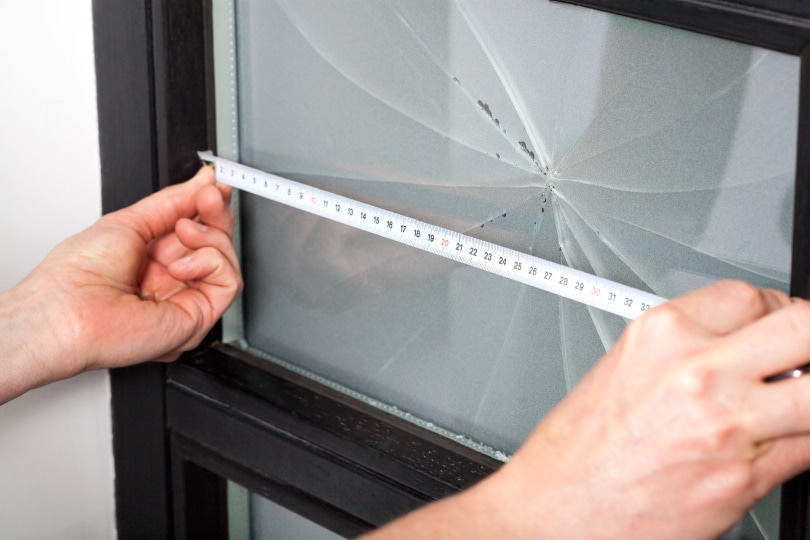
1. Measure Your Space
Inaccurate measurements are one of the most common mistakes with these projects. That’s particularly true if you have an older home with windows outside of the standard sizes. Get figures for jamb-to-jamb and the inside width of the frame at the top, center, and bottom. We also suggest following the carpenter’s adage to measure twice.
2. Take Out the Existing Window
This step sounds deceptively simple. However, it’s critical to avoid damage to the brickwork. It takes a balance between enough force to remove the window that doesn’t put the frame in harm’s way. You’ll find it easier to tackle it from the inside first by removing casing edges and interior molding. It’s best to take things out in pieces to minimize damage.
3. Remove the Existing Screws and Nails
A gentle hand is vital to avoid damaging the brickwork. Don’t wrench against it or the interior wall. You can use a putty knife to get rid of the old insulation and caulk so that the frame is clean and free of debris. A chisel and angle grinder will help you chip away any mortar that can interfere with the new installation.
4. Install the Flashing
Flashing will protect the brickwork and interior. The removal of the old window will leave gaps that you’ll have to fill later to weatherproof it. The flashing protects against the elements that could damage the replacement window.
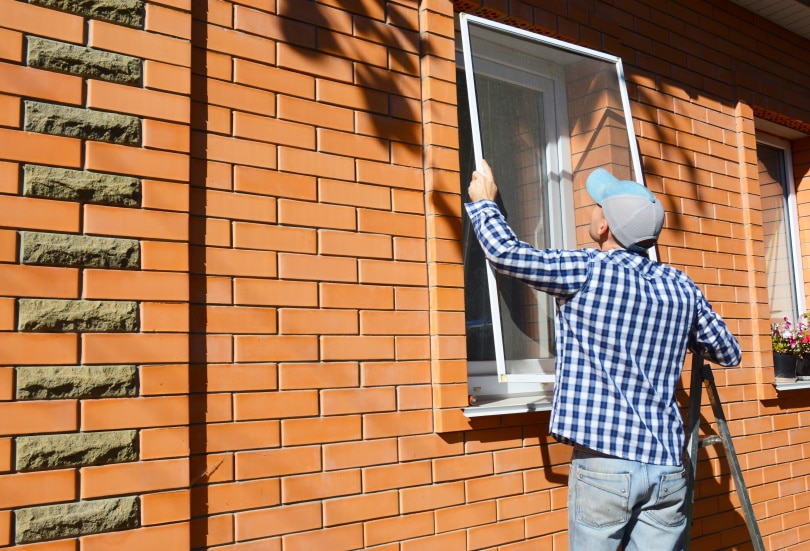
5. Set the Replacement
This step is the most labor-intensive one. A standard 33.75-inch x 56.75-inch window can weigh 34 pounds or more. That may not sound like a lot until you try to center it in the opening and fit it in place. Use a level to make sure that it’s straight and plumb. Slip some shims under the window to secure it for the next step.
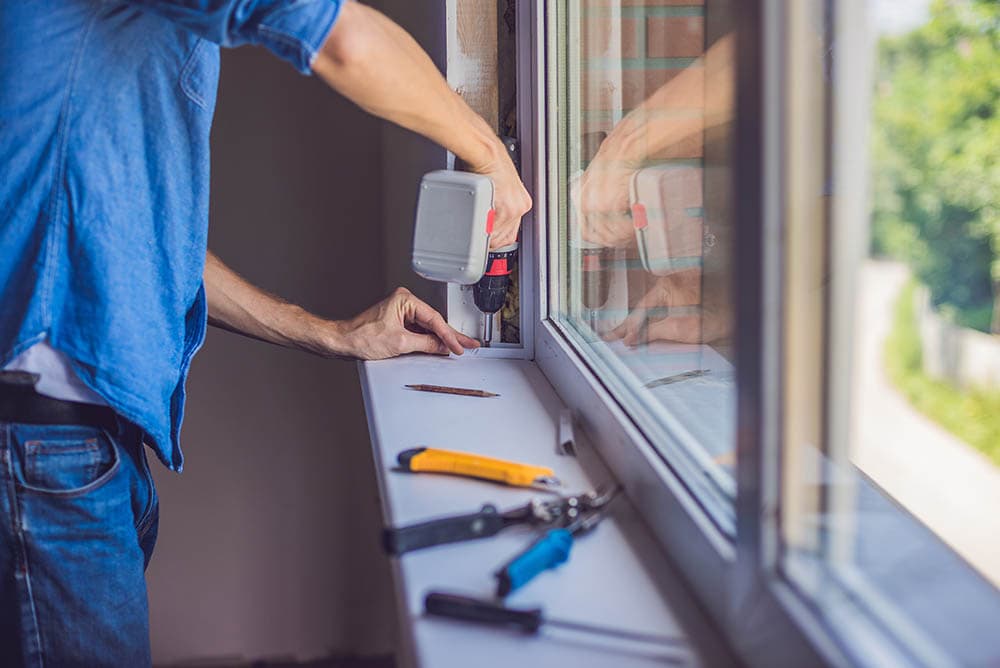
6. Screw the Window in Place
Verify that the window is level before you set the first screw. Make sure it is secure before moving to the final steps.
7. Insulate the Frame
Undoubtedly, there will be gaps between the window and the frame, no matter how meticulously you clean up the space after removing the old one. Even a small space will cause drafts. Spray foam insulation will do an excellent job filling it in and making the installation airtight.
8. Replace the Trim
If your trim survived its removal, you can put it back in place or replace it if it is damaged. Make sure that it’s level before nailing it into place. The last thing you must do is to prep and stain the trim. We also suggest that you inspect the window inside and out for any damage.
Final Thoughts
Replacing windows is a more advanced DIY project, particularly if you have an older brick home. It adds more challenges to the mix, with the risk of damage high on the list. If you don’t have the tools or the skills, we suggest that you seek out a professional. You’ll save yourself a lot of effort and frustration if it’s your first time tackling a project of this caliber.
Featured Image Credit: juandavinci, Pixabay
Contents
