

If building a lemonade stand has been on you and your child’s list for a while, we have you covered. We put together the best free lemonade stand plans that you can start today. Each of these is an actual plan with real actionable directions, supply lists, and tool requirements. If you are serious about taking on this project, there is absolutely an option here that will get this project checked off your list.
Whether you are new to DIY projects or this is your passion, we picked out plans for all skill levels. This is a great project to get your child involved in some woodworking. Be sure to follow all safety procedures when carrying out any of these plans.

Top 21 DIY Lemonade Stand Plans
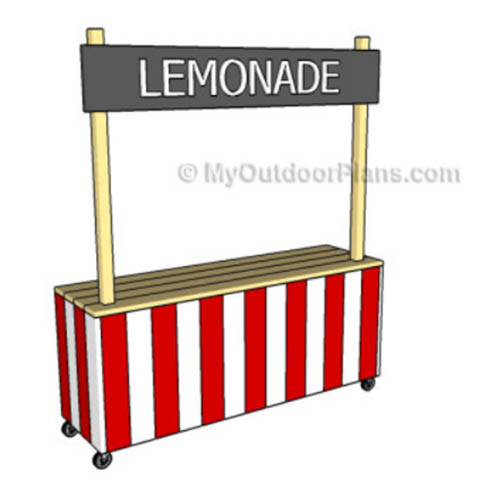
1. Lemonade Stand Plan by My Outdoor Plans
| Skill Level: | Beginner to Intermediate |
| Tools: | Saw, Level, Hammer, Drill, Tape Measure |
| Supplies: | Wood, Glue, Stain, Paint, Screws |
First on our list is the Lemonade Stand Plan by My Outdoor Plans. There are a few things we love about this plan. The ability to customize the front to match the coloring and décor you are looking for is very appealing. In addition, we love that they put this lemonade stand on wheels. If you are going to spend the time putting this together, you may as well wheel it out on the weekends!
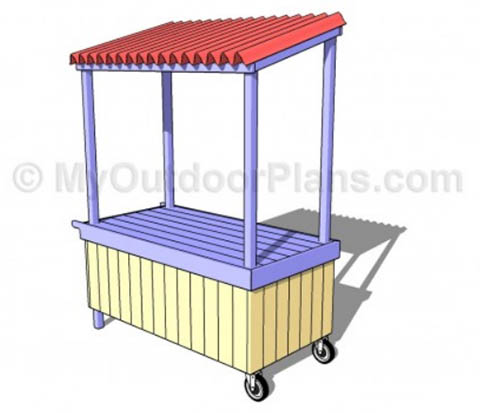
2. Lemonade Stand Plans With Roof by My Outdoor Plans
| Skill Level: | Intermediate |
| Tools: | Saw, Drill, Hammer |
| Supplies: | Wheels, Roofing Material, Paint, Wood |
If you want to get a bit more involved than our first model, you may want to consider this Lemonade Stand Plan with a Roof by My Outdoor Plans. The plan for this lemonade stand is easy to follow and easy to customize to create the perfect fit for you and your family. We love that this model provides a bit of shade for those busy entrepreneurs. Again, this lemonade stand is on wheels to help you get it in out of the garage each time it’s needed.
3. Fence Picket Lemonade Stand by Ana White
| Skill Level: | Beginner to Intermediate |
| Tools: | Drill, Saw, Hammer, Tape Measure |
| Supplies: | Paint, Casters (optional), Wood or a Pallet, Nails, Screws, Glue |
Next on our list is the Fence Picket Lemonade Stand by Ana White. This adorable lemonade stand can be built for about $30. If you have some old pallets lying around, you may be able to do it for even less. The plan to set up this lemonade stand is clear, easy to follow, and should only take a little bit of time. Let the kids help with painting to give this lemonade stand an even more homemade feel.
4. Lemonade Stand by Skip To My Lou

| Skill Level: | Intermediate |
| Tools: | Saw, Drill, Hammer, Tape Measure, Sander |
| Supplies: | Hinges, Chalk Paint, Wood, Screws, PVC Pipe |
This colorful Lemonade Stand by Skip To My Lou has some great features that are worth paying attention to regardless of the model that you choose to build. A little bit of chalk paint on the front makes this entirely customizable. Also, this stand folds up thanks to the hinges used to hold the legs in place. Low on space in the garage? This is the lemonade stand for you!
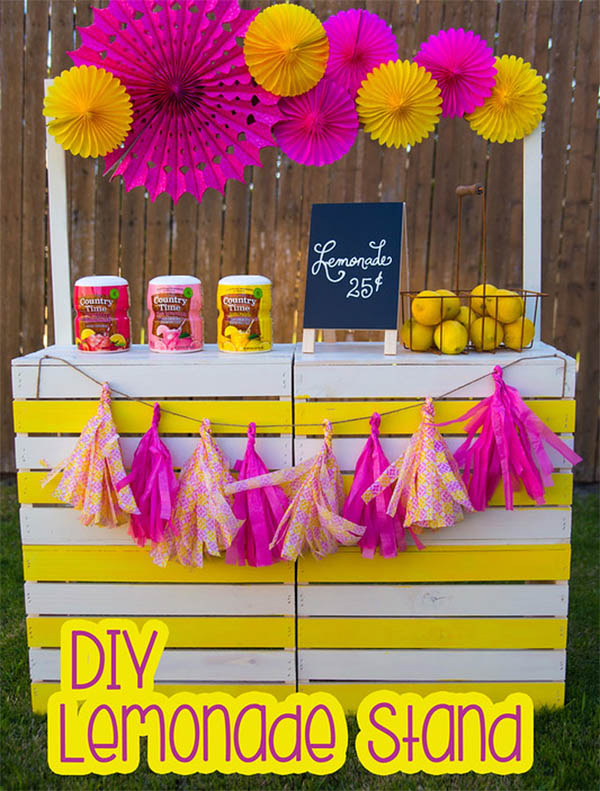
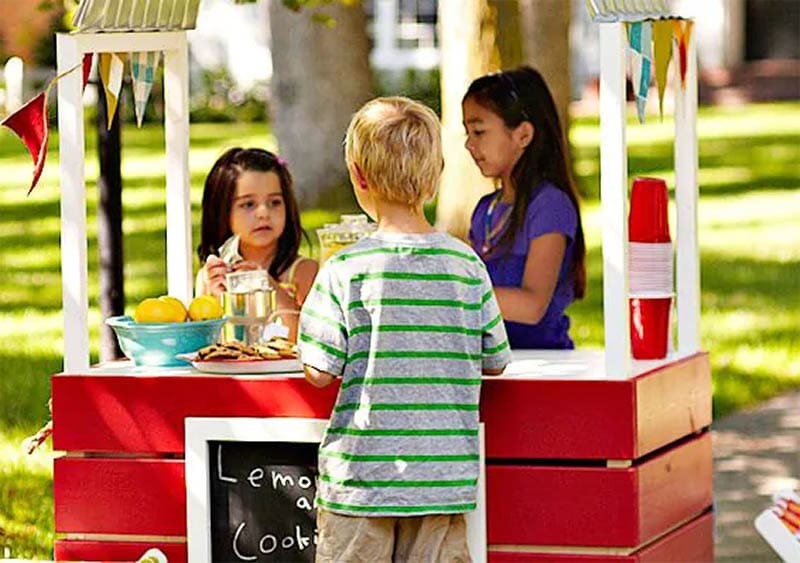
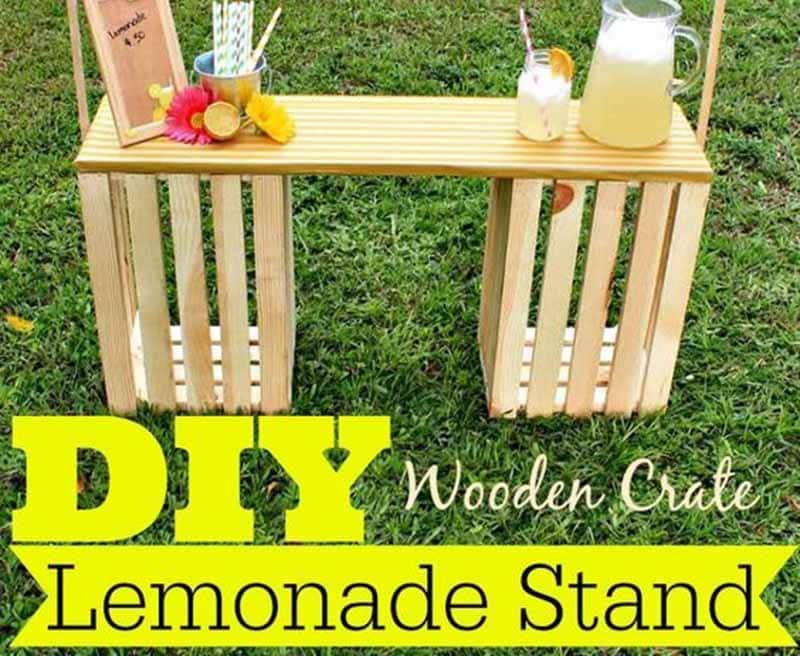
5. Crate Lemonade Stand by Fantabulosity

| Skill Level: | Beginner |
| Tools: | Drill |
| Supplies: | Crates, Screws, Paint and Finishing Supplies |
If you are looking for a quick and easy lemonade stand, this option from Fatabulosity would be a great choice. This tutorial is very easy to follow and has some great pictures along the way. The good news is that once you purchase the crates for the base, you can have this lemonade stand completed in a matter of minutes. This model is best suited for smaller children, but you could always add some crates to make it suitable for big kids as well.
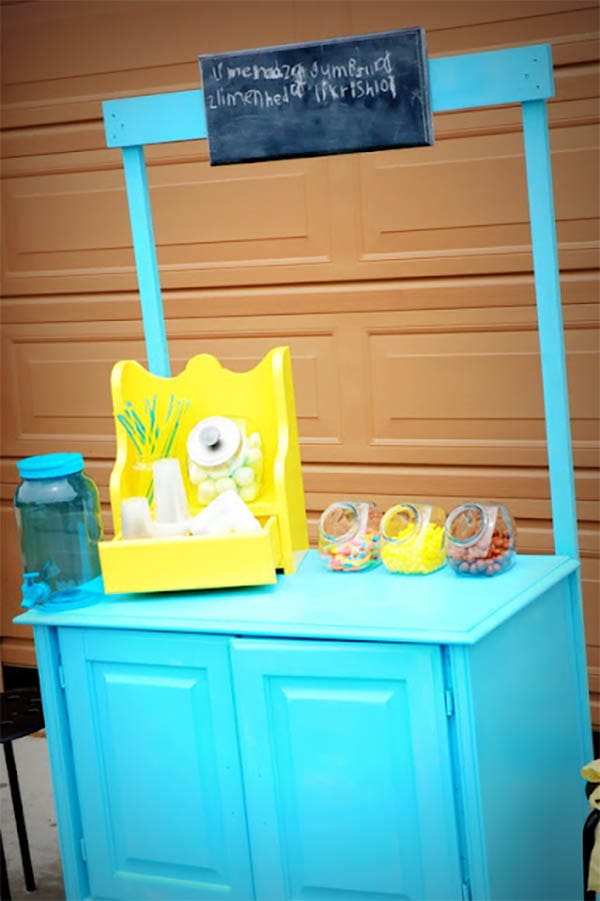
6. Cabinet Lemonade Stand by Restless Risa
| Skill Level: | Beginner |
| Tools: | Glue, Paintbrush, Nails |
| Supplies: | Chalk Paint, Spray Paint, Sand Paper |
If you happen to have an old kitchen cabinet lying around, the Cabinet Lemonade Stand by Restless Risa is for you. With a quick coat of paint, a few scrap pieces of wood, and some accessories, your lemonade stand will be ready to go. This entire model costs less than $20 if you can find an old kitchen or bathroom cabinet to repurpose. The cabinet also doubles as some extra storage space when your lemonade stand is not in use.
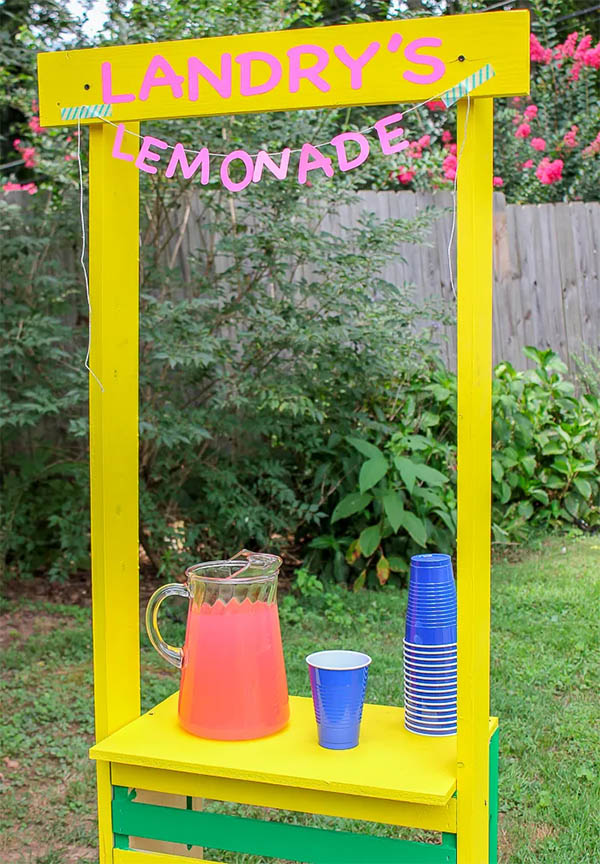
7. Lemonade Stand by The Nerds Wife
| Skill Level: | Beginner |
| Tools: | Drill, Paintbrush |
| Supplies: | Crates, Screws, Paint |
If you need a plan for an easy lemonade stand with a recipe included, this is the place to go. The Lemonade Stand by The Nerd’s Wife is a straightforward model that also uses crates. Crates seem to be a common theme in the lemonade stand world, mostly because of their price and ease of use. The directions will clearly show you how to put this together and how to get this great yellow and white paint pattern to help your lemonade stand shine.
8. Crate Lemonade Stand by See Vanessa Craft
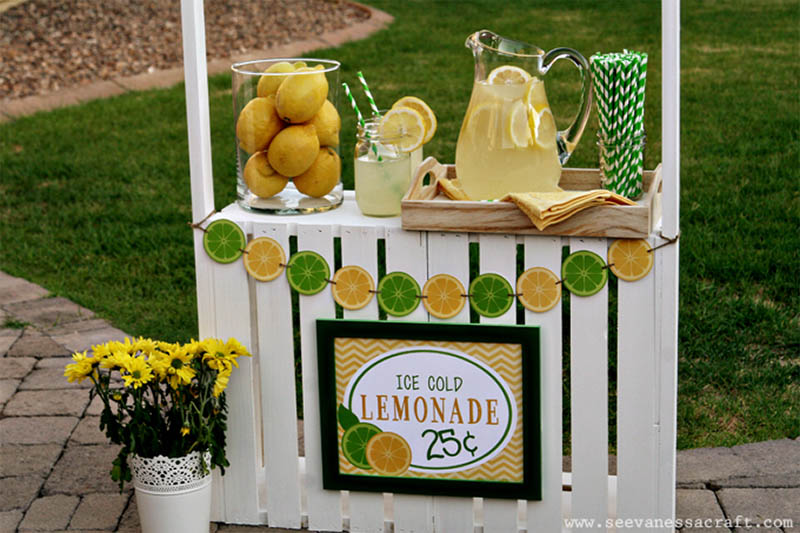
| Skill Level: | Beginner |
| Tools: | Drill, Paintbrush |
| Supplies: | Crates, Paint, Accessories |
If you like the crate concept but want something a bit smaller, this option from See Vanessa Craft could be a good fit. You can have this stand up and running in a few short hours. The costs in this plan are also quite low; if you find some accessories around the house to add that would be even better!
9. Play Lemonade Stand by Jamie Costiglio
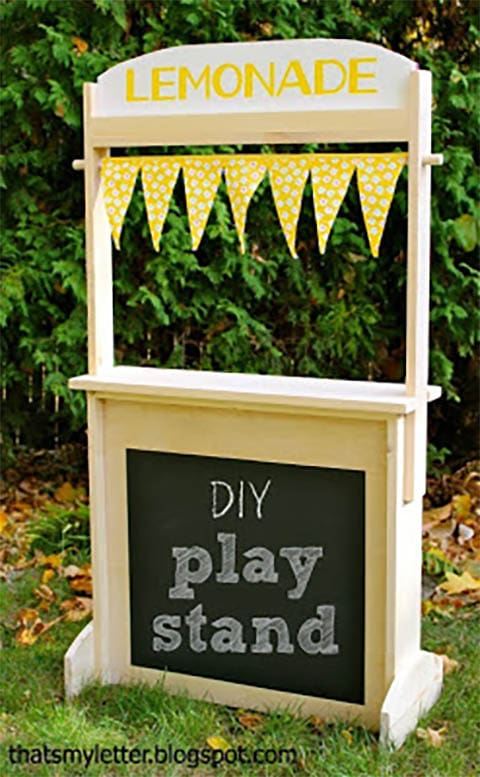
| Skill Level: | Beginner to Intermediate |
| Tools: | Saw, Drill, Paintbrush |
| Supplies: | Chalk Paint, Wood, Painters Tape |
The Play Lemonade Stand by Jamie Costiglio is one of the most versatile designs you will find on this list. We love that you can customize this plan to be exactly what you need it to be. If you need a real lemonade stand or just a play one for the kid’s room, this is a great choice. The project is quick and easy to complete, and it is quite cost-effective as well.
10. Lemonade Stand With Wheels by Her Tool Belt

| Skill Level: | Expert |
| Tools: | Saw, Sander, Drill, Hammer |
| Supplies: | Wheels, Fabric, Wood, Screws, Nails |
Up to this point, we have put together some very simple lemonade stands that require few supplies and just an hour or so of your time. This Lemonade Stand With Wheels by Her Tool Belt takes things to another level. This is a really professional and fun looking lemonade stand that has a ton of great features. The plan will take you step-by-step through the process, and if you have some skills in woodworking, then you will have no problem following along. Check out all the storage as well that this stand has to help you stay organized.
11. DIY Nightstand Lemonade Stand from Faithfully Gluten Free
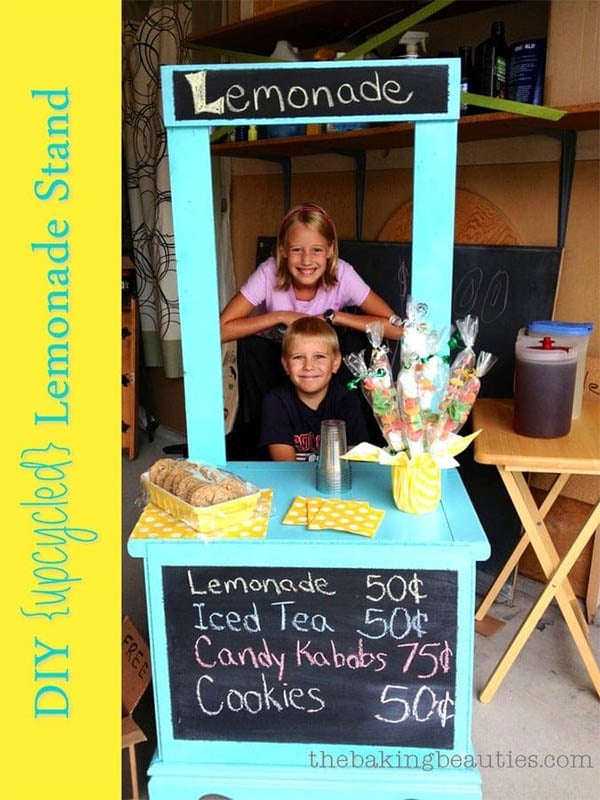
| Skill Level: | Beginner |
| Tools: | Paint Brush, Screwdriver |
| Supplies: | Wood, Nightstand, Paint, Accessories |
Not only does this guide explain the ins and outs of building this lemonade stand, but you will also get a few recipes and even a recipe for chalk paint. This DIY Nightstand Lemonade stand is just simply an old nightstand that was repurposed. You can take a concept like this and turn it into whatever you need it to be. Since a nightstand is a bit on the small side for such a purpose, this particular lemonade stand is best suited for younger children.
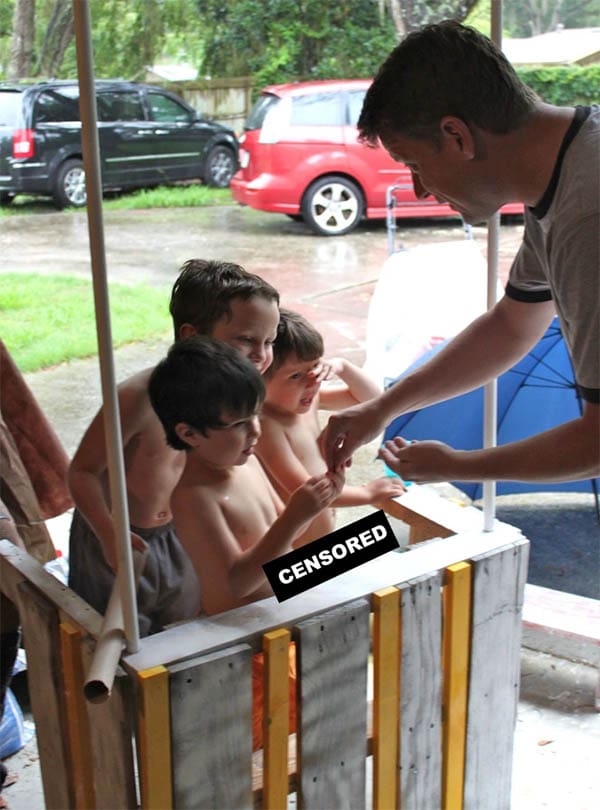
12. DIY Roadside Lemonade Stand by This Charming Life

| Skill Level: | Beginner to Intermediate |
| Tools: | Saw, Drill |
| Supplies: | Reclaimed Wood, Nails, Screws, Paint |
The DIY Roadside Lemonade Stand only costs you about $3 to build! You will not be able to purchase a ready-made lemonade stand for your child at anywhere near this price. The reason it is so inexpensive is that reclaimed wood was used. The wood on this lemonade stand gives it so much character, and it gives it that homemade, neighborhood feel that will be sure to boost sales.
13. Do It Yourself Lemonade Stand from Lowe’s
| Skill Level: | Intermediate to Expert |
| Tools: | Drill, Saw, Hammer, Tape Measure |
| Supplies: | Wheels, Wood, Chalk Paint, Paint, Roofing Materials |
The DIY Lemonade Stand from Lowes is a great piece if you want something high quality and built to last. This is made with all brand new wood and painted to perfection. We love the shade that the top piece of this model provides. This particular lemonade stand will end up costing a bit more than some of the others on our list, simply because of the size and the use of brand new wood and materials. If you have a few young children, this is an excellent investment and will help keep them busy for hours.
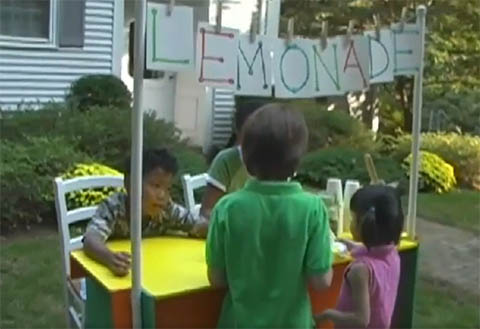
14. Lemonade Stand Plan from This Old House
| Skill Level: | Intermediate |
| Tools: | Hammer, Nails, Drill, Saw |
| Supplies: | Velcro, Paint, PVC, Wood, Screws, Nails |
If you like to stick with the building experts when you head the DIY route, then we have found the plan for you. This Lemonade Stand Plan by This Old House comes complete with a video tutorial. You won’t have any trouble following the steps involved to get this lemonade stand up and working in just a few hours. We love that This Old House puts this plan together in a way that your children can help in the process.
15. Easy DIY Lemonade Stand by Rain On A Tin Roof
| Skill Level: | Beginner |
| Tools: | Saw, Hammer, Drill, Paintbrush |
| Supplies: | Paint, Screws, Nails |
This Easy DIY Lemonade Stand by Rain On A Tin Roof is a quick weekend project that will leave your kids smiling. We love how simply this plan is laid out and the fact that even a novice woodworker could put this together for their kids. Add some bright paint and a pitcher of lemonade and nobody will ever be able to tell that you put this together for just a few dollars.
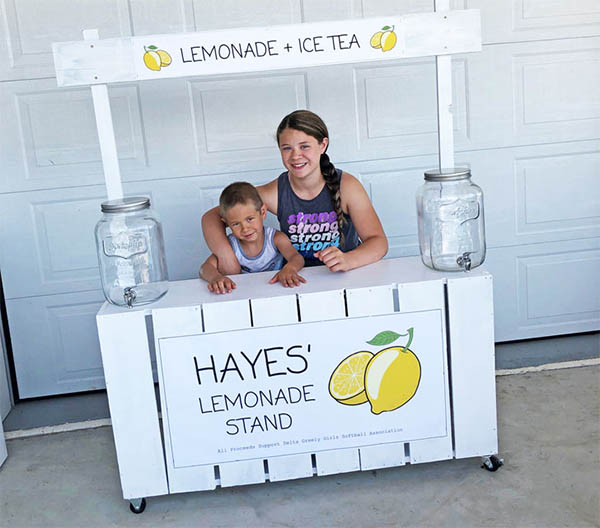
16. Low Effort Lemonade Stand by Building Strong

| Skill Level: | Intermediate |
| Tools: | Saw, Hammer, Drill, Tape Measure |
| Supplies: | Fence Boards, Plywood, Handle, Wheels |
This Low Effort Lemonade Stand by Building Strong is exactly as it is titled, low effort. This plan uses fence boards and some plywood that would work even for the bigger kids. Don’t forget to put this lemonade stand on wheels as the fence boards make things slightly heavy to move around. This model even has a handle on it to help you pull it around a bit, smart idea!
17. Pallet Lemonade Stand by I’m The Boss Of Me
| Skill Level: | Intermediate |
| Tools: | Saw, Hammer, Drill, Sander |
| Supplies: | Paint, Pallets, Nails, Sandpaper |
Last but certainly not least on our list is the Pallet Lemonade Stand by I’m The Boss of Me. Using pallets is a great way to keep the cost down on your lemonade stand. Just be sure to carefully sand and paint the pallet, so it is a bit more kid-friendly. Also, watch when you take a pallet apart that you don’t hurt yourself; those things can put up quite a fight.
18. Perfectly Portable Lemonade Stand by HGTV
| Skill Level: | Beginner |
| Tools: | Paintbrush, drop cloth, marker, drill & bit, tape measure, sandpaper, wood glue, pencil |
| Supplies: | 4 x wood crates, pine board, dowels, white & yellow paint, pipe clamps & hardware, decorations |
From HGTV comes this easy-to-make lemonade stand that also has the added benefit of being portable! There are very few tools needed to make this stand, but you need four wooden crates, which you can get used or purchase new. You’ll create an attractive lemonade stand with a little white and yellow paint (and a couple of other steps)! Set it up when the sun’s out and, after dark, move it inside your garage for the next day’s sales. It’s a real back saver for busy parents!
19. Rolling Lemonade Stand from Projects with Jaimes
| Skill Level: | Beginner to intermediate |
| Tools: | Circular saw, hammer, nails, drill & bits, tape measure, angle iron, level, pencil, sandpaper, wood glue |
| Supplies: | Caster x 4, various lumber, wood screws, furring strip, cedar fence planks. |
This attractive lemonade stand has casters, so you can roll it in place when the stand is open and roll it back home at night! The plans and instructions are available from Projects with Jaimes on his website and YouTube channel. You get a lot more help and advice on the YT channel, so we suggest you look at both while making this fantastic lemonade stand for your kids. If they’re older, you might also want to get them involved so they learn about how to handle tools.
20. Vintage Lemonade Stand From Phillip Miller Furniture

| Skill Level: | Beginner to intermediate |
| Tools: | Table saw, miter saw, orbital sander, jigsaw, air compressor, nail gun (optional), drill, hammer, drill bits, pencil, tape measure, |
| Supplies: | Sandpaper, wood glue, paint in white and yellow, plywood, various boards, screws, hinges x 4, paintbrush, bolts, wing nuts |
If a vintage-looking lemonade stand floats your proverbial boat, these plans from Phillip Miller Furniture will be perfect! While relatively easy to build, you’ll need a decent supply of tools and DIY skills to complete this project. The results should be fabulous and add a touch of class to your ordinary lemonade stand. The tool and materials list and excellent directions are on the company’s website, and they also have a video on YouTube to help you get the best results.
21. Easy DIY Lemonade Stand from Divine Lifestyle
| Skill Level: | Beginner |
| Tools: | Spray adhesive, drill, drill bits |
| Supplies: | Square dowels x2, contact paper, screws, clear contact paper, 10” x 34” board |
One of the easiest DIY lemonade stand plans we’ve seen is this one from Divine Lifestyle. With two basic crates, a medium-sized board, and just a couple of tools, you’ll have an attractive lemonade stand that costs next to nothing. This would be a perfect project to make with your children since it’s easy and only takes a few steps. Chances are, you’ll be done in less than an hour, and the kids will be out front selling refreshing lemonade by the pitcher full!

Conclusion
Finding a free lemonade stand plan is not the hard part — the hard part is narrowing down which one you want to make! All of these plans have positives and negatives to them, but each one is more than capable of putting a smile on a child’s face. Just be sure to properly analyze your budget and your time commitment before starting any of these types of projects. Good luck and be sure to enjoy an ice-cold glass of lemonade!
Other fun projects to try:
Featured Image Credit: marybettiniblank, Pixabay
Contents
