
The warm, inviting look of wood paneling certainly had its heyday, but there’s rarely a place for it in the modern home. If you’re trying to remodel or update the look of a new home, one of the first places to start is getting rid of this dated fashion.
You can rip out the old paneling and replace it with drywall, but an easier way to eliminate the paneling look is to make it disappear behind a few layers of paint. You’ll end up saving a ton of time and money, and the results will be just as good.
It isn’t hard to make painted paneling look incredible, but the wrong approach can make the wood peek out and look even worse than it did before. For fantastic results, follow these seven easy steps to paint wood paneling.

Preparation For Painting Wood Panelings
Before you start painting your wall, it’s crucial to assess whether you have solid wood paneling or veneer. The thin, uniform paneling popular in the ‘70s is veneer, and it’s generally easier to paint. These panels do not expand, contract, or warp with temperature changes, and with proper preparation, it isn’t difficult to hide the wood grain behind the paint.
If you have solid wood panels, you must consider how they expand and contract from temperature changes. That can cause cracks to open in the paint over time and require regular repairs. And if you have any unique knots, it can be challenging to cover the texture no matter how much primer or paint you use.
Whether you’ve got veneer or solid wood, the process of refreshing your walls is the same once you decide to paint.
- Caulk gun
- Putty knife
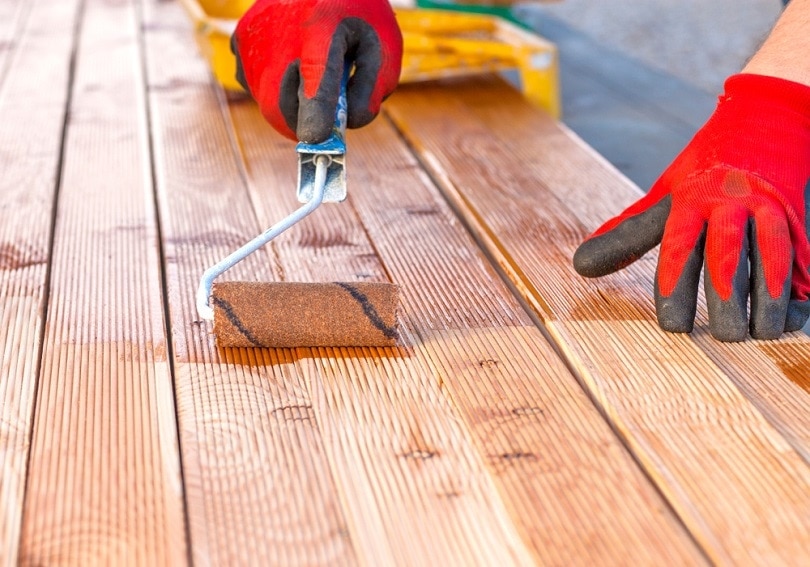
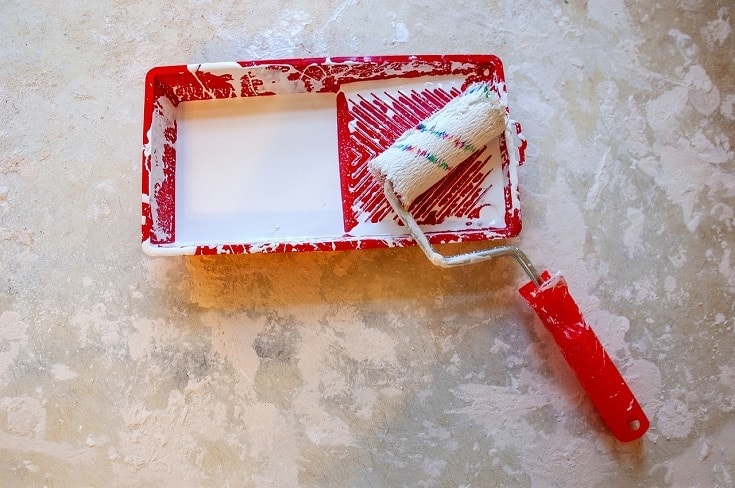
- Paint roller
- Angled brush
- Paint tray
- Drop cloth
- Goggles
- Dust mask
- Rags
- TSP
- Wood putty
- Medium-fine grit sandpaper (150–220 grit)
- Paintable caulk
- Spackle
- Painter’s tape
- Oil-based or stain-blocking primer
- Interior paint
How to Paint Wood Paneling (7 Steps)
1. Clean and Prep the Wall
Before sanding your wall, you’ll need to remove outlet covers, fixtures, and fasteners so that there is nothing in the way of the paint. Then, clean any debris from the surface to prevent it from working its way into the paneling as you paint. You can clean light layers of dirt, dust, and cobwebs with a damp rag.
A heavily soiled wall might need a more powerful cleaner/degreaser, such as trisodium phosphate (TSP). TSP is a powerful but poisonous chemical, so it is crucial to wear protective gloves, clothing, eyewear, and face coverings to limit exposure.
Mix ¼ cup of TSP per gallon of water to create a wall-cleaning solution. Dampen a sponge or cloth with the solution and wipe down the walls.
2. Fill Cracks, Gaps, and Holes
Use wood putty to fill any cracks or holes in the wood paneling and smooth it out with your putty knife. Let it dry.
3. Lightly Sand the Wall
Veneer paneling often has a high-gloss finish that doesn’t hold paint well. Modern primers are generally strong enough to adhere to veneer paneling, but to play it safe, it’s a good idea to rough the surface and strip back the initial glossy finish.
Using medium-fine grit sandpaper (150-grit works well), lightly sand the wall in smooth, circular motions. Veneers are thin, so you must take care to only sand down the superficial layers. After sanding, wipe the walls with a damp cloth and vacuum the dust from the floor.
- Note: Sanding creates a lot of dust, so you must wear appropriate eyewear and a dust mask. As an alternative to sanding, you can also apply a deglosser. Deglossing liquid strips the gloss to expose the rougher surface underneath without kicking up dust. Wipe the deglosser on the wall with a clean rag, and it will pull the smooth outer layer off.
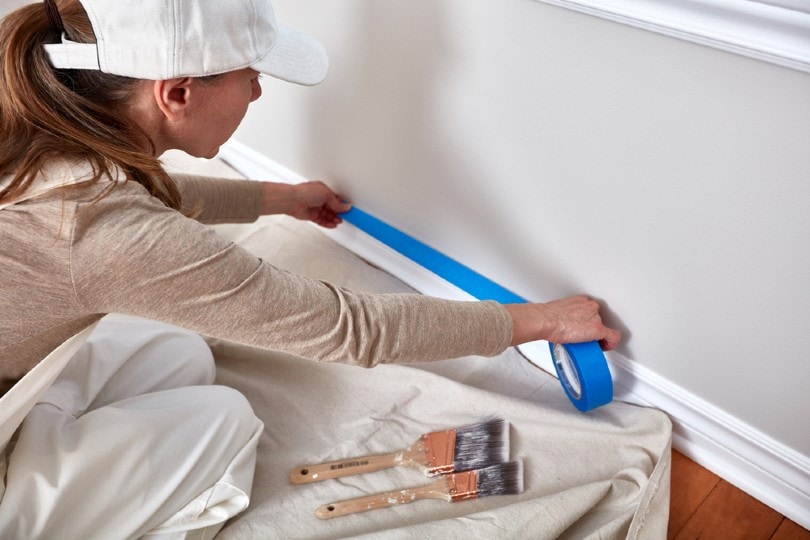
4. Tape Baseboards and Wall Edges
Tape the baseboards, window trim, molding, and any fixtures that meet the wall to prevent paint drips and caulk from getting on them.
5. Caulk and Spackle Gaps Between Boards
If you plan to fill the gaps between the board to give a drywall-like look to your finished wall, you can fill them after sanding.
Use a paintable caulk (acrylic works best), running a line down each gap. Smooth the caulk with a putty knife if needed. Then, apply the spackle to fill in the minor gaps between the caulk and paneling, using a putty knife to smooth it down.
Once everything is dry, lightly sand the caulk and spackle until it is smooth and flush with the surrounding wall. Wipe the leftover dust from the wall with a damp rag.
6. Apply Two Coats of Primer and Touch Up the Wall
After cleaning the wall free of dust, start your first coat of primer. Stain-blocking primer will prevent oils and wood textures from breaking through the paint layers. For solid wood, a water-based stain-blocking primer will help cover knots in the wood, while an oil-based or shellac-based primer works well for veneer paneling.
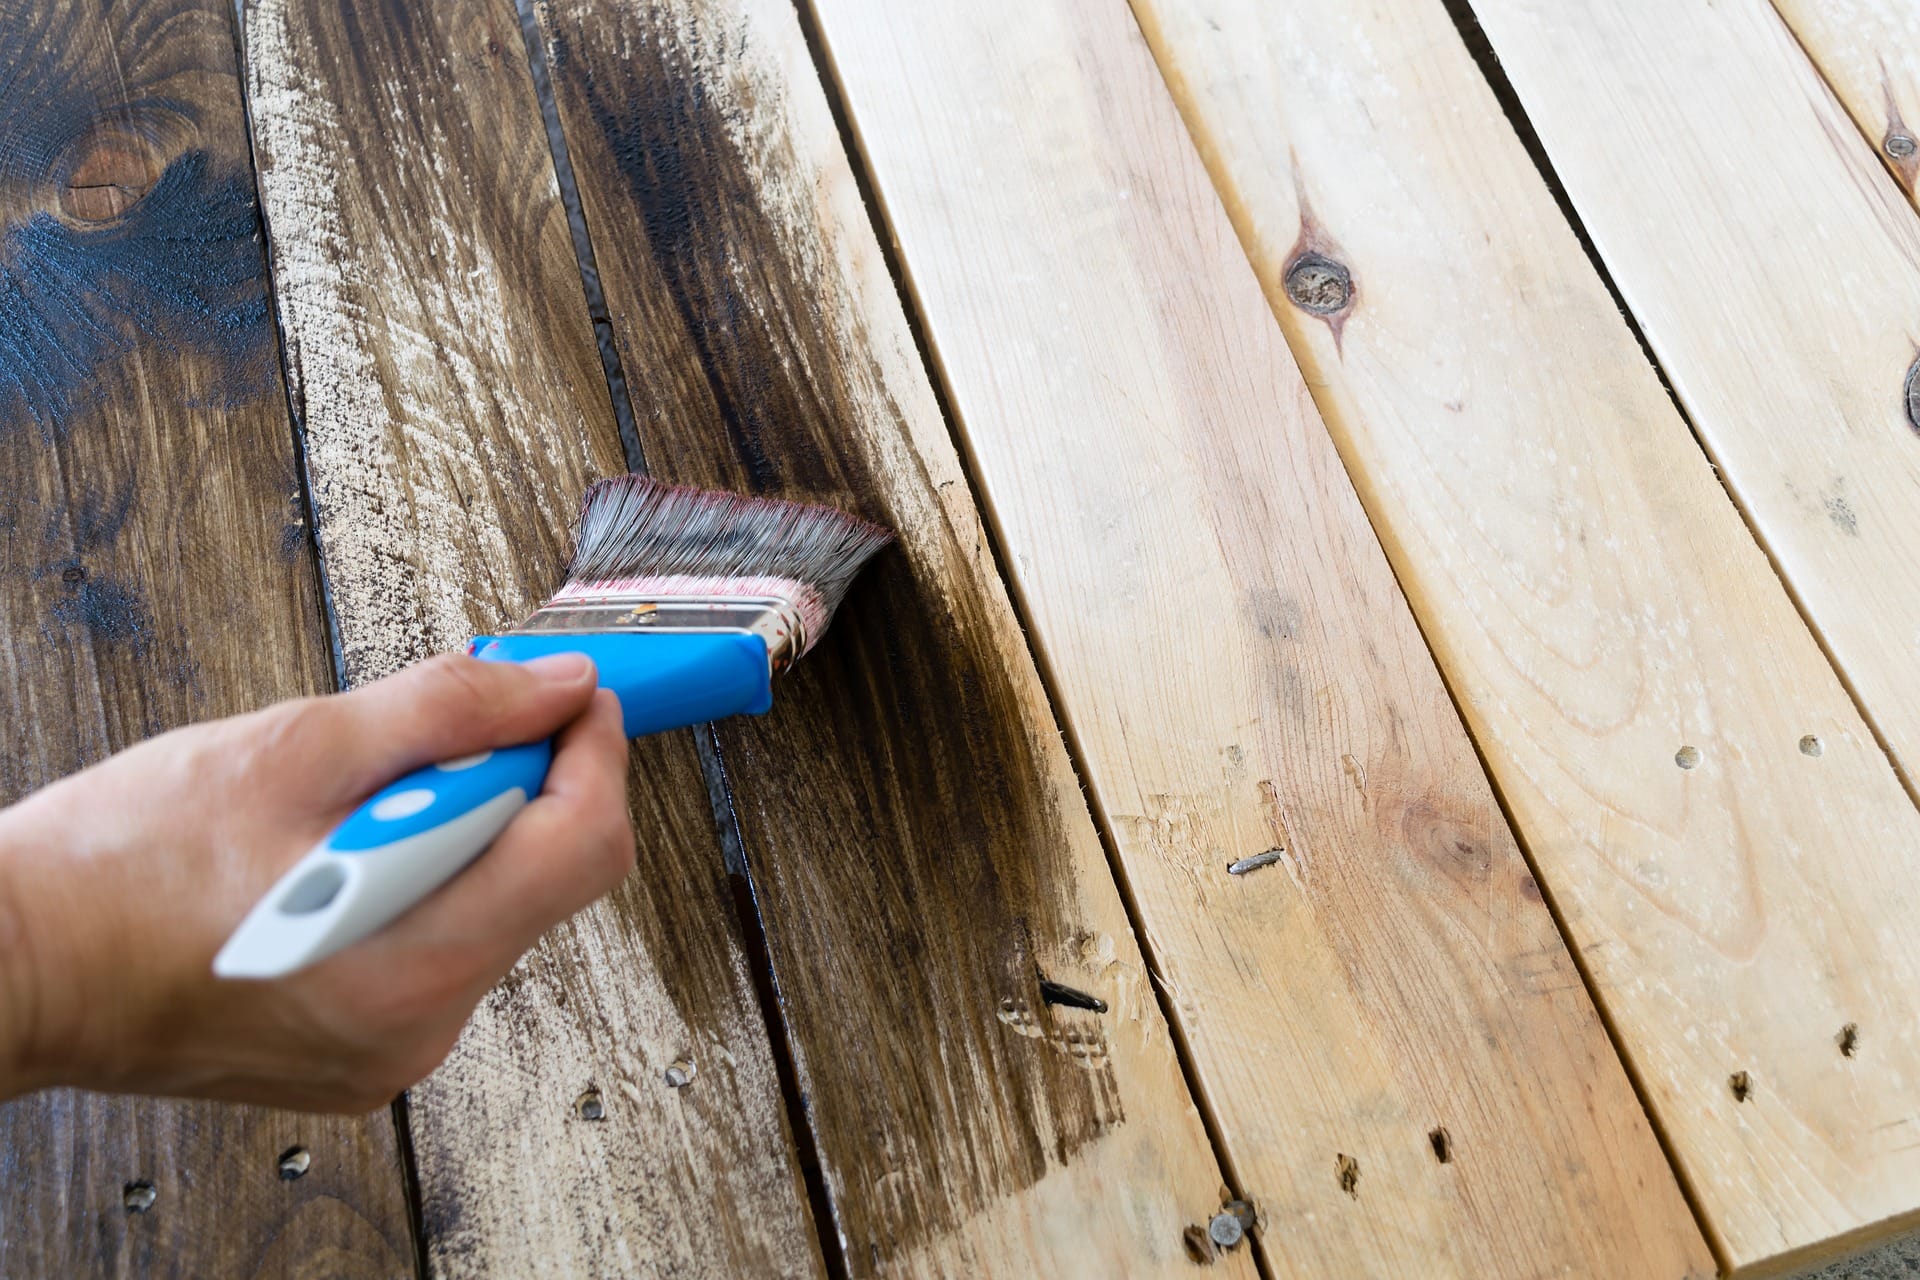
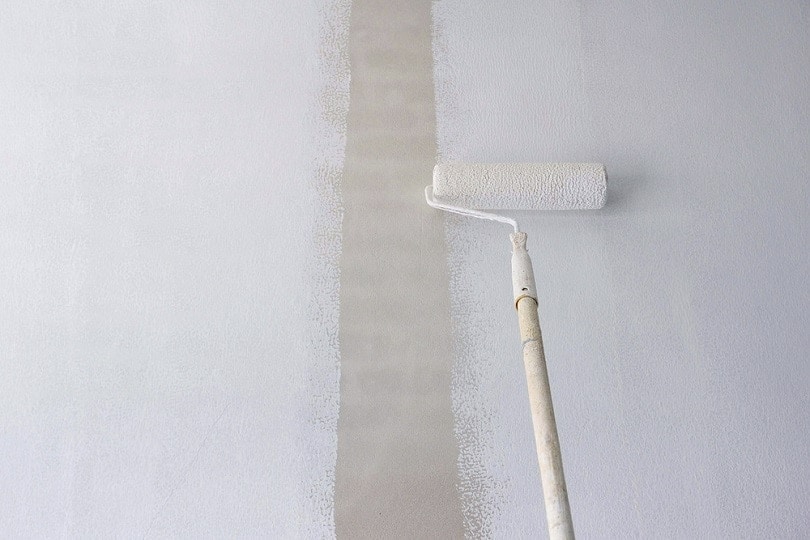
Put on your first coat of primer. Paint around the edges of the wall first. Then, use your paintbrush to paint the gaps between the panels. Finish by rolling the primer on the rest of the wall. Let it dry.
Take a look over your wall for any imperfections to address after applying your first coat of primer. The white primer will help point out holes and cracks to fill with wood putty. Fill, sand, and clean any remaining gaps.
After touching up your wall, roll on another thin coat of primer.
7. Apply Two Coats of Paint
After the second coat of primer dries, apply your first coat of paint. The best painting technique will depend partially on whether you fill the gaps between the panels.
Always start by painting the edges of the wall, using either the painter’s tape to block any paint bleeding or a cut-in technique.
If you didn’t fill the gaps before painting, you might get away with only using your brush to paint the wall. When the panels are narrow (only a few inches wide), you can paint both the panels and the space between them at once.
For the classic ‘70s-style veneer, it’s easiest to use a roller, even if you didn’t fill in the spaces between the panels. Paint the gaps with your brush first, making a thin but consistent layer and smoothing away any drips. Then, use your paint roller to go over the entire wall as you would with drywall. Doing so will hide any brush strokes and create a uniform texture.
After your first coat dries, follow up with a second coat. Again, start with the edge first, followed by the paneling gaps and then the main body of the wall.

What Kind of Paint Should You Use on Wood Paneling?
Interior latex paint is ideal for painting wood paneling. It’s easy to roll on, simple to clean and maintain, and available in a wide range of finishes.
The crucial consideration is the primer that you use. If it has a solid foundation to hold onto, it doesn’t matter too much which kind of paint you choose.
To create that foundation, you need a stain-blocking or oil-based primer. It will prevent wood grain, knots, and greasy residue from seeping through the primer and paint layers. At the same time, it will prevent the wood from absorbing the paint, thus saving you from adding extra coats to get the color right.

Final Thoughts
Wood paneling may be outdated, but it’s surprisingly easy to transition it to an updated style. And don’t assume that you have to fill in the gaps between the panels to get a modern look. With a proper application, a fresh coat of paint can completely revitalize the atmosphere of a room, whether you opt for a flat aesthetic or decide to keep the paneled look.
Whatever your taste, follow these seven easy steps to paint your wood paneling, and you’ll be sure to create a long-lasting look your family will love!
Featured Image Credit: Dagmara_K, Shuttterstock
Contents