

Replacing windows is often a professional job because some things can go wrong. However, it’s not a difficult job if you do your homework first so that you know what you’re getting into with this DIY project.
Unlike conventional homes, there aren’t standard window sizes for mobile homes. That may mean making some adjustments to the opening, which is why we referred to it as something for a professional. However, if you feel motivated and do not mind a bit of extra work, keep reading. This article goes over how to replace mobile home window glass in 10 steps!

Before You Start
Interestingly, you can often tell the age of a mobile home by its windows. Like houses, the styles followed the trends of the day. For example, jalousie windows indicate the home was built before the 1980s. Opting for popular models today can give your place an attractive makeover that will improve its energy efficiency, too.
We strongly recommend that you contact your HOA before you start. Some have rules about the types of upgrades you can make. A simple phone call will keep you in the clear. We also suggest looking for replacements from a mobile home supplier. They are more likely to have something that will fit your home, especially if your model is still available.
You should also consider the type of window you want: aluminum, vinyl, and fiberglass. The latter is the most expensive of the three. However, it’s also the most energy-efficient. Single or double-hung windows are popular choices, with the latter probably the top one.
The supplies you’ll need include:
- Tape measure
- Pry bar
- Screwdriver
- Power drill
- Putty knife
- Chisel
- Hammer
- Level
- Shims
- Screws or fasteners
- Caulk
- Safety glasses
- Work gloves
How to Replace Mobile Home Window Glass in (10 Steps)
1. Inspect and Clean the Outside of the Window.

We suggest beginning on the outside to determine the shape of the outer frame. While you inspect the outside, begin to clean the window and surrounding area of debris and spider webs with a broom or brush. It’ll make your clean-up easier when you’re done.
2. Measure the Window Horizontally and Vertically.
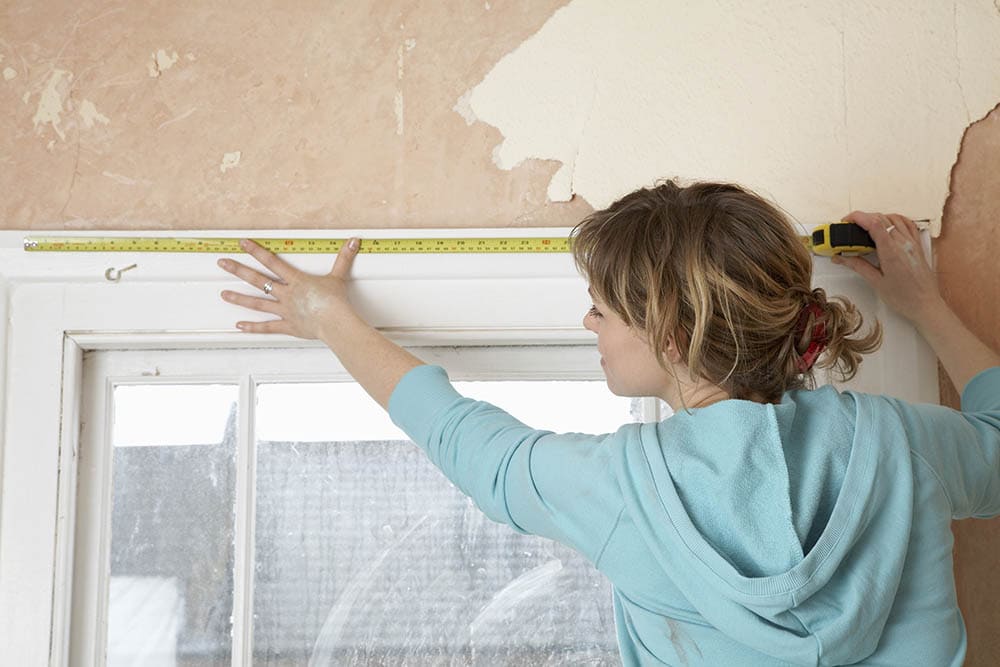
You should measure the window at a few points on each side. It’s not a bad idea to measure twice to ensure that you get it right. It’ll save you a lot of hassle in the long run.
3. Remove the Siding.
This step is only necessary if the frame isn’t visible. Be sure to wear gloves when handling it to prevent cuts from the sharp edges. Take care not to bend it, either.
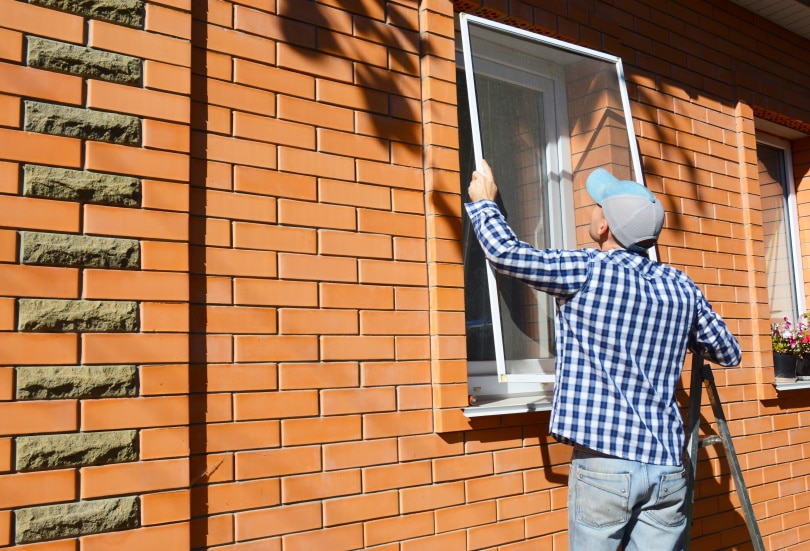
4. Remove the Old Window.
Begin by removing the screws with a drill. Discard the old screws since you’ll be replacing them with new ones. Using a pry bar, gently work the window free and set it aside where it is out of the way.
5. Clean the Opening.
Use a putty knife to scrape away the old material. You may find a hammer and chisel helpful for debris that’s hard to remove. Use a brush to sweep the area clean.
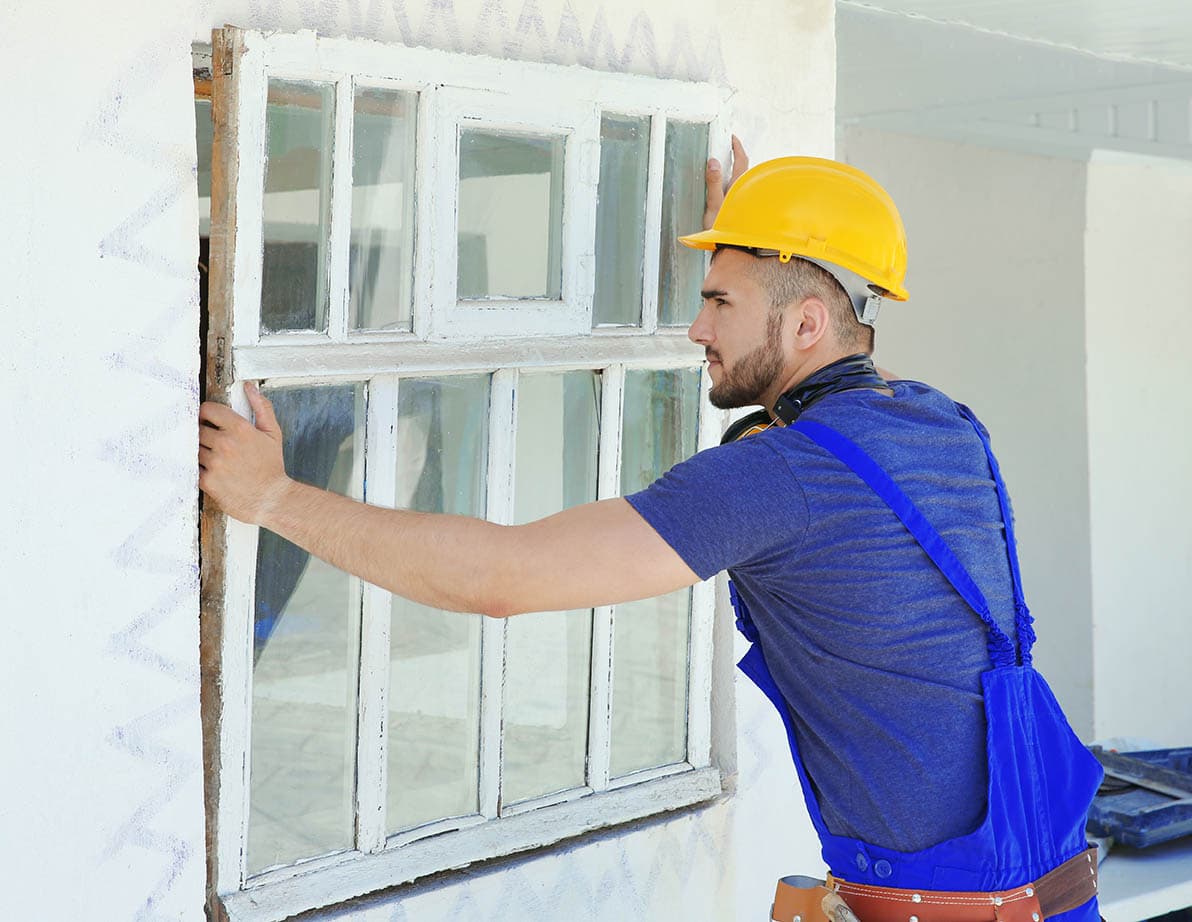
6. Install the Replacement Window.
The manufacturer’s instructions may vary at this point. You’ll need to apply caulk to some products to install the window after ensuring that it’s going to fit. Put the prepared replacement in the opening. Insert a screw into each side, making sure not to tighten it all the way.
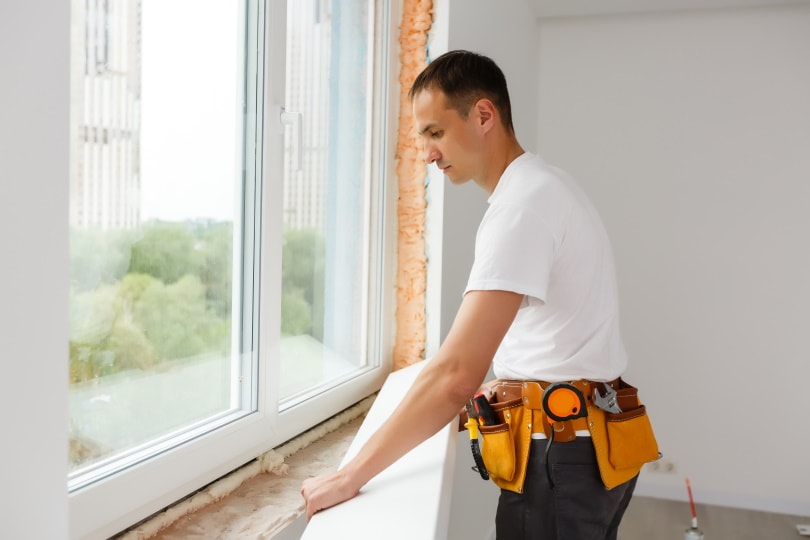
7. Make Sure the Window is Level and Plumb.
This step is the most critical one. It’ll ensure that the window isn’t drafty, defeating the purpose of the upgrade. You can use shims if necessary to make sure that it’s plumb.
8. Screw the Window into Place.
Once everything checks out, you can put in the rest of the screws or fasteners, depending on your product. Tighten them for a good fit that will seal out any drafts.
9. Run Caulk Along the Outside of the Window.

Run a bead of caulk along the entire outside of the window to seal it into place. Reinstall the siding if you have to remove it in Step 3.
10. Double-Check Your Work on the Inside of Your Home.
It’s always wise to make sure something works as it should. We also suggest feeling for any drafts to determine if you need a bit more caulk on the outside.
Final Thoughts
Replacing windows is an easy way to give your mobile home a welcome makeover that will increase its value and energy efficiency. Even if they are still in decent shape, it’s worth the investment if just for what you’ll save on your utility bills. While it’s not the most challenging DIY project, it requires attention to detail to get it right, beginning with precise measurements.
Related Read: What Is the Best Roof for a Mobile Home? 4 Common Types
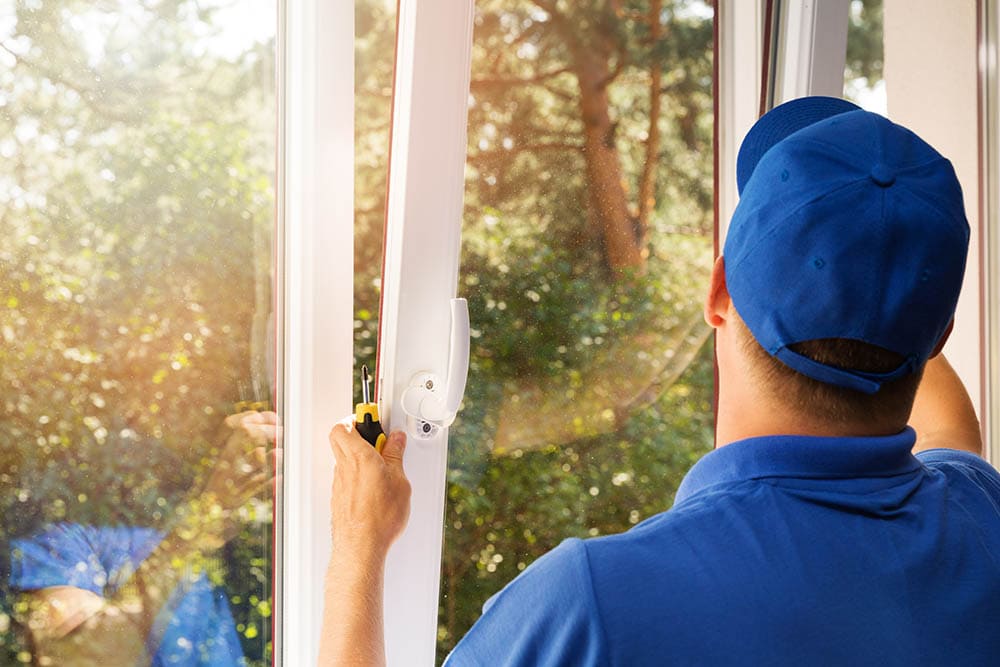
Featured Image Credit: hans engbers, Shutterstock
Contents
