

Not many floors compare to the beauty of a hardwood floor. They are prized for their versatility in style and color and how durable they are. But even the densest woods are not immune to scratches and gouges. That said, the benefit of a hardwood floor compared to a tile floor, for example, is that the hardwood floor can be fixed—easily in most cases.
This is a DIY fix that pretty much any homeowner can accomplish with only basic knowledge, tools, and materials.
- Safety: rubber gloves
- Materials: stain, sealer, filler of choice
- Tools: rags, iron, sandpaper or sanding block, paintbrush

The 4 Steps to Fix Gouges in Hardwood Floors
1. Clean Gouge of Debris
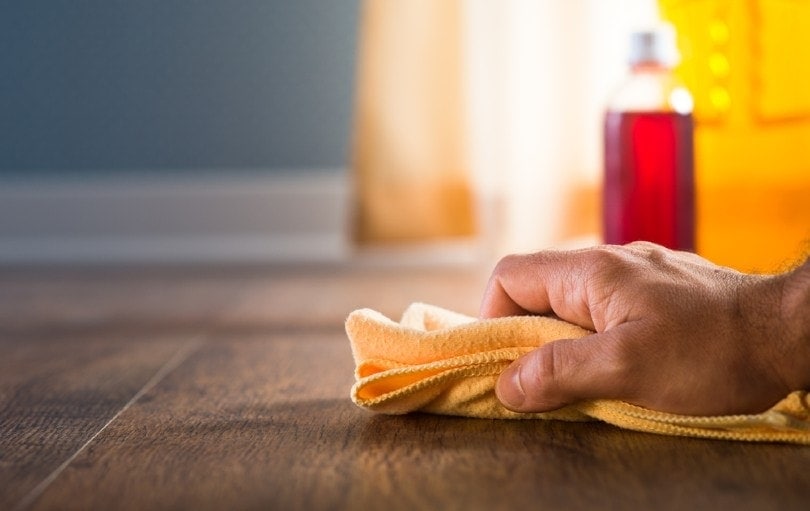
Before beginning any repair on your floor, you’ll want to clean the area thoroughly. This does two things. First, it will enable you to see the gouge that needs to be repaired clearly. Second, it will ensure that any filler you use will adhere inside of the wood properly.
A good sweep should be all that’s necessary. However, it’s also not a bad idea to use a lightly dampened cloth or rag to make sure the gouge is clear of any debris if it’s deep.
2a. Cloth and Iron
Depending on how deep and wide the gouge is, you may actually be able to avoid having to fill it. Wood will naturally expand when subjected to moisture. This is not usually a good thing, but a targeted shot of moisture can be beneficial in this case.
Lay a rag over the damaged area of the floor. Then using a hot iron, give the floor a shot of steam. You’ll notice that the raw wood fibers in the gouge will start to swell to fill the hole naturally. You may have to do this a couple of times to get it flush.
If this works and the gouge flushes up, then move on to step four: staining and sealing.
Important Note: Do not steam the area for an extended period of time, as this could permanently damage your hardwood floor. You want to use a couple of quick bursts of steam. If this doesn’t work, then let it dry completely and move on to using a filler.

2b. Fill Gouge
When it comes to filling the gouge, you have a few different options that you can use. There is no major difference in the finished product. It mostly depends on your preference or what you have available.
- Wood Filler: There are many types of wood filler available. Most are stainable, and if you’re not staining, there are multiple colors available as well. The drying time on these depends on the particular type of filler you get.
- Wax Filler Stick: These wax sticks are super handy if you’re not staining. There is no drying time. Basically, you just “color” in the gouge and then wash it to remove excess wax around the edge.
- Filler Crayon: These crayons are similar to the wax filler stick, except some of them can be stained. They don’t stain as nicely as regular wood filler, but there is no drying time if time is an issue. You’ll fill the gouge the same way as with the wax stick.
Important Note: Wood filler always shrinks once it dries. So, when filling the hole, make sure you overfill it a bit. Don’t worry about the bump. You’ll deal with that in the next step.
If you went the wood filler route, then move on to step three: sand filler flush. Otherwise, the repair should be complete at this point.
3. Sand Filler Flush
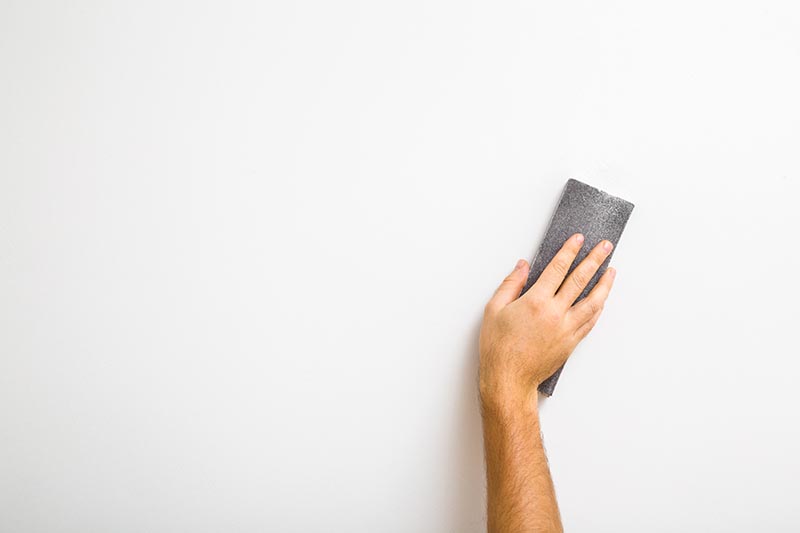
Using your sandpaper or sanding sponge, sand the filled area flush. Don’t get too aggressive with this step, or else you just increase the staining and sealing you will have to do. Pay extra attention to doing this gently if you aren’t finishing the floor. There will be nothing to hide scratches from the sandpaper.
4. Stain and Seal
Follow the manufacturer’s directions for both stain and sealer that you’ve chosen as far as prep, drying times, number of coats, etc.
Generally, you can apply stains with a rag or brush. The rag method gives you a little more control over the color and shading. Many sealers are available in an aerosol can; otherwise, you’ll apply it with a high-quality brush.
Important Note: Stain not only stains wood but just about anything else it touches. Be very careful when opening and mixing it. Also, make sure you wear rubber gloves because it can stain your skin for weeks with no way to get it off.

Tips For Preventing Gouges
One of the primary ways to prevent gouges in your hardwood floor is by keeping it clean. Dirt and tiny rocks can be ground into the floor by traffic or furniture, causing scratches and gouges over time. The simple act of sweeping regularly can go a long way.
Another way to help prevent gouges is by putting pads on furniture legs such as tables and chairs. There are kits available that come with different sizes of pads with sticky backs. You can also make homemade pads with felt and hot glue.
Not Dealing With Just One Gouge
The beautiful thing about a hardwood floor is that it can be refinished. Suppose you have a floor that is particularly beaten up with scratches and gouges. In that case, it’s as simple as sanding the entire floor down with a special floor sander and re-staining and sealing the floor.
While this is a relatively simple task, it does take a few specialty tools and some technical know-how to do it right. So, this probably won’t be your first choice. Unless you can do it yourself, it can get quite expensive.

In Conclusion
As you can see by the steps above, a scratch would have to be pretty severe to be unfixable. That being said, if there was a gouge that was deep enough that the board actually cracked, hope is not lost. However, it would be best to call in a flooring professional at that point because it would not be as simple as filling a crack and sanding it flush.
Featured Image Credit: Kiddkos, Pixabay
Contents
